Energy-Efficient Lighting Upgrade Guide for Homeowners
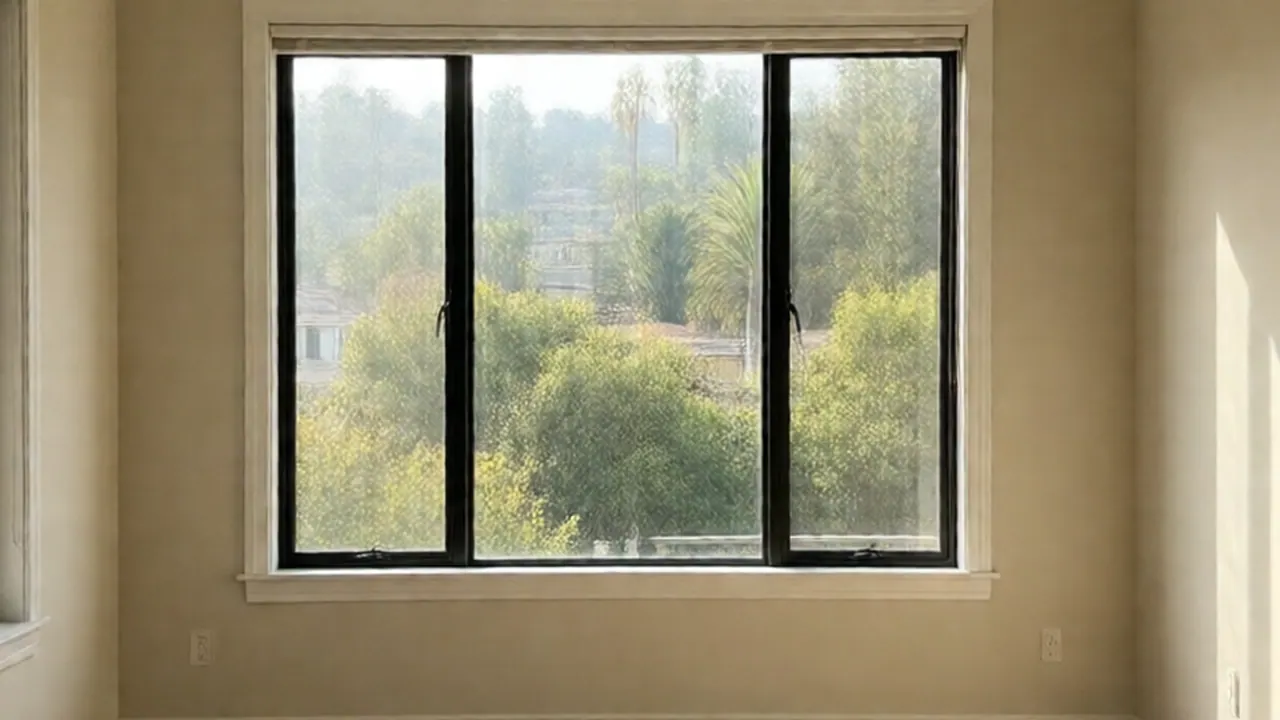
Energy efficient lighting uses solid-state technology like light-emitting diodes (LEDs) to produce high illumination while consuming up to 85 percent less electricity than traditional incandescent bulbs. Upgrading your fixtures reduces overall energy consumption, cuts heat generation inside living spaces, and eliminates frequent bulb replacements.
Homeowners planning a lighting refresh face specific structural and electrical conditions in Southern California. From plaster-and-lath ceilings in older homes to strict state energy codes, understanding hardware specifications helps you build a system that delivers clean light without flickering or circuit overloads.
Energy efficient lighting meaning and California standards
The baseline energy efficient lighting meaning centers on lumens per watt—the amount of light produced for every watt of electrical power consumed. A traditional 60-watt incandescent bulb generates roughly 800 lumens. A high-efficiency LED bulb produces that same 800 lumens using only 8 to 10 watts. This reduction directly lowers circuit demand and prevents excess heat from building up inside wall cavities and light enclosures.
In California, lighting standards are governed by the California Energy Commission under Title 24, Part 6 building regulations. Residential upgrades must meet specific high-efficacy standards known as Joint Appendix 8 (JA8).
To satisfy local building inspections and energy efficiency targets, fixtures must meet three primary technical thresholds:
- Color Rendering Index (CRI): Fixtures must rate 90 CRI or higher to ensure colors appear true and vivid under artificial light.
- Correlated Color Temperature (CCT): Warm light ranges from 2700K to 3000K for bedrooms and living rooms, while cool neutral light (3500K to 4000K) suits kitchens and workspaces.
- Flicker Rate: JA8-compliant LEDs must limit low-frequency stroboscopic flicker to under 30 percent when dimmed, preventing eye strain and headaches.
Upgrading plaster-and-lath ceilings in older Los Angeles homes
Upgrading fixtures in pre-1950 homes—such as Spanish Revival bungalows in Silver Lake or Craftsman homes in Pasadena—presents distinct challenges. These structures feature plaster-and-lath ceiling construction rather than standard 1/2-inch drywall. The combined thickness of the wood lath strips and heavy plaster coat often measures 3/4 inch to 1 inch thick.
Old ceiling light points in these homes frequently rely on shallow 1/2-inch-deep metal "pancake" junction boxes nailed directly into 2x6 ceiling joists. Standard recessed light housings or deep driver boxes cannot fit inside these shallow enclosures. Attempting to force modern fixtures into old pancake boxes can pinch conductor wires or leave fixtures sitting proud of the ceiling plane.
To install energy efficient lighting in plaster ceilings without tearing out structural plaster:
- Use canless ultra-thin LED wafers: Modern edge-lit LED wafer disk lights have an overall thickness under 1/2 inch, allowing them to sit flat against plaster surfaces.
- Cut plaster with proper tools: Standard drywall saws will shatter aged plaster. Use an oscillating multi-tool equipped with a carbide-grit blade to score and cut clean circles through plaster and wood lath without causing spiderweb cracks.
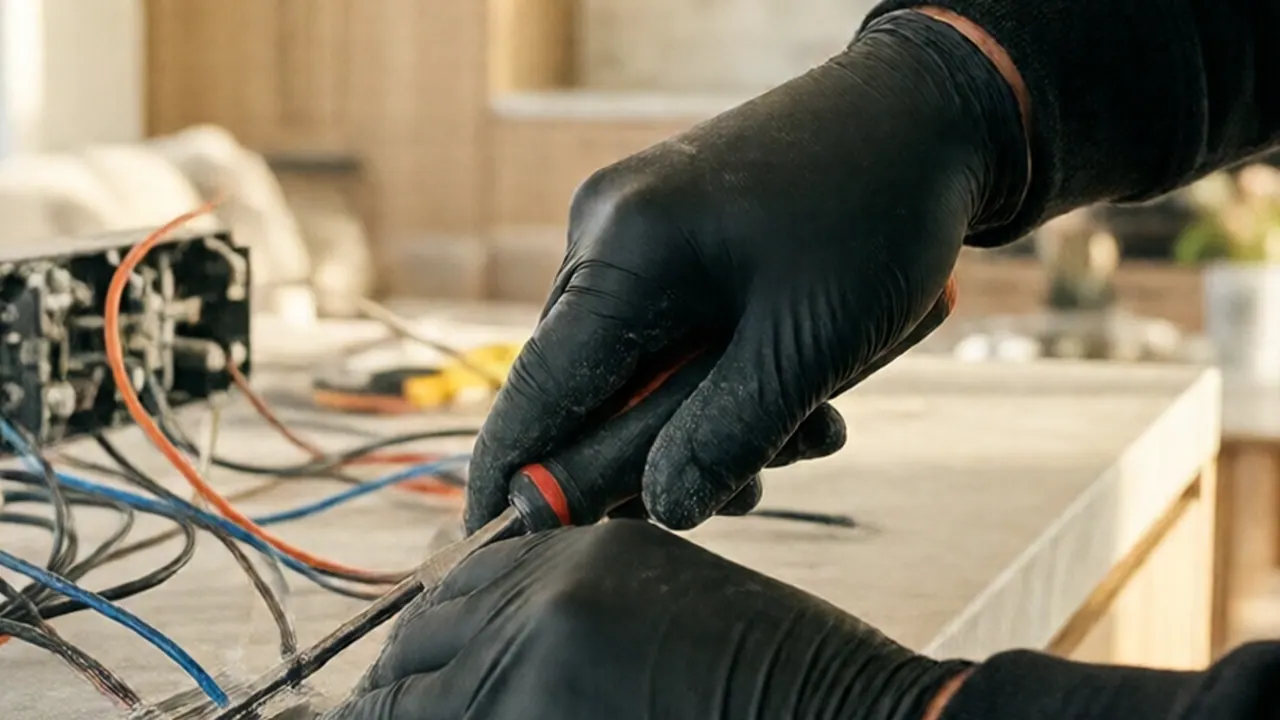
- Select remote junction boxes: Ultra-thin wafers come with small tethered aluminum driver boxes. These compact boxes slip through the ceiling cutout and rest inside the joist bay, connecting to the light fixture via a low-voltage quick-connect cable.
Building a modern energy efficient lighting system
Designing an energy efficient lighting system requires matching the fixture hardware, driver type, and control switch. Mixing legacy dimmers with modern electronic drivers leads to buzzes, humming, or erratic step-dimming.
The comparison table below details common fixture options used during residential energy retrofits:
| Fixture Type | Power Consumption | Operating Heat Output | Lifespan Expectancy | California JA8 Status |
|---|---|---|---|---|
| Standard Incandescent | 60W – 100W | High (Up to 350°F surface temp) | 1,000 – 2,000 hours | Non-Compliant |
| Screw-in LED Retrofit | 8.5W – 14W | Low (100°F – 130°F surface temp) | 15,000 – 25,000 hours | Select Models (Must display JA8 mark) |
| Integrated LED Wafer | 9W – 15W | Very Low (Under 110°F) | 35,000 – 50,000 hours | Fully Compliant |
| Low-Voltage LED Strip | 4.8W/ft – 7.2W/ft | Negligible | 50,000 hours | Compliant with matching driver |
When installing dimmable LED fixtures, ensure your wall control uses a dedicated C•L dimmer or an Electronic Low Voltage (ELV) reverse-phase dimmer. Standard TRIAC dimmers designed for incandescent bulbs cut the voltage wave cleanly for resistive filaments, but they disrupt the electronic power supplies inside LED drivers, causing flicker at light levels below 50 percent.
Practical energy efficient lighting solutions for high-heat spaces
In Southern California homes, uninsulated flat roofs and tight attic crawlspaces retain extreme ambient heat during summer months, often compounded by windblown Santa Ana dust accumulating in roof cavities. Installing recessed lights under these conditions requires strict attention to thermal performance ratings.
Fixtures placed in ceilings below uninsulated attics must carry an Insulation Contact (IC) rating. An IC-rated fixture features a double-walled housing or thermal cutout sensor that permits loose-fill fiberglass or cellulose insulation to touch the fixture enclosure directly without creating a fire risk.
Additionally, select fixtures marked Air-Tight (AT). Air-tight housings seal the ceiling penetration with an integrated foam gasket, preventing warm attic air and dust from pulling into conditioned living spaces through the light fixture cutouts.
Step-by-step wafer light installation checklist:
- Isolate power supply: Shut off the designated branch circuit at the main breaker panel and verify zero voltage using a non-contact voltage tester.
- Inspect box and conductors: Remove the old fixture. Check existing Romex or armored cable wire jackets for brittle, heat-damaged insulation (common in older cloth-covered wire).
- Mark cutout template: Trace the manufacturer-supplied circular cardboard template between ceiling joists using a stud finder.
- Cut access hole: Carefully cut through drywall or plaster-and-lath using a carbide-grit blade.
- Wire the driver enclosure: Secure NM-B cable to the driver box using a 1/2-inch clamp connector. Join black-to-black, white-to-white, and bare copper-to-ground using spring-lever wire connectors.
- Insert and clamp fixture: Push the aluminum driver box up through the cutout into the joist cavity. Compress the spring-loaded side clips upward, slide the LED wafer into the opening, and release the springs to seat the fixture flush.

When to call a pro
Replacing standard screw-in bulbs or swapping simple surface-mount light fixtures on existing electrical boxes is a manageable DIY project for most homeowners. However, certain structural and electrical conditions require specialized tools and professional handling.
Consider bringing in help when: Handling knob-and-tube or cloth-braided wire: Pre-1940 homes often have rubber-and-cloth insulated conductors that crumble when flexed, exposing bare copper inside junction boxes. Adding new recessed light layouts: Cutting multiple holes through lath-and-plaster ceilings or running new NM-B cable through joist bays without access to an attic space requires specialized fish-tape tools and structural awareness. * Resolving missing neutral wires: Older switch boxes often lack a neutral wire, which is necessary for installing smart switches or modern electronic dimmers.
When you contact STATOX for a project, you can simply send a photo for a written quote detailing your room space and ceiling type. We provide one written price upfront with no unexpected add-ons. Upon arrival, our field technicians test line voltage, inspect ceiling box ratings, verify load capacity on your existing circuits, and select compatible components. Whether you need a single room switch conversion or complete house fixture swaps, explore our complete lights electrical service options for safe, clean installations.
FAQ
What is an energy efficient lighting system?
An energy efficient lighting system combines high-efficacy fixtures (like LEDs), compatible electronic drivers, and controls (such as ELV dimmers or occupancy sensors) designed to deliver optimal light output while minimizing wattage and heat generation.
What is the main difference between an integrated LED and a retrofit LED bulb?
An integrated LED fixture has light-emitting diodes built directly into the housing assembly as a permanent circuit module, offering superior heat sinking and slim profiles. A retrofit LED bulb has a standard Edison screw base (E26) designed to thread into an existing incandescent light socket.
Why do my energy efficient lights flicker when adjusted on a dimmer switch?
Flickering occurs when standard incandescent dimmers (TRIAC type) feed chopped AC voltage into an incompatible LED electronic driver. Replacing the switch with an LED-compatible C•L or reverse-phase ELV dimmer resolves wave distortion and eliminates light flicker.
Are IC-rated LED fixtures necessary if my attic has blown-in insulation?
Yes. Insulation Contact (IC) ratings ensure the fixture housing remains at safe operational temperatures even when completely buried under blown-in cellulose or fiberglass insulation, preventing thermal shutdown and reducing fire hazards.
Can practical energy efficient lighting solutions work in older homes without ground wires?
Yes, but specific precautions apply. While LED fixtures draw very low current, modern metal-housed drivers and smart switches require proper grounding for safety and surge protection. When ungrounded two-wire systems exist, specialized isolation techniques or non-conductive fixture bodies must be utilized.
Sources
- California Energy Commission - Building Energy Efficiency Standards
- Los Angeles Department of Building and Safety - Permits & Inspections
- Contractors State License Board - Consumer Info
- Los Angeles Department of Water and Power
Permit work: Permit jobs get a written project estimate; permits handled as required.
STATOX Handyman Service · Send a photo · +1 (820) 200-4919
Keep reading
 lights electricalDimmer Switch Not Working With LED Bulbs? Compatibility GuideUnderstand why your dimmer switch LED bulbs buzzing flickering occurs and learn how to choose compatible dimmers for smooth lighting control.
 lights electricalDIY or Pro: Replacing Light Fixtures, Switches and OutletsDIY vs hire pro replace light fixture: learn which swaps are fair game for a careful homeowner and which need a pro. Read before you shut off the breaker.
 lights electricalFlickering Lights at Home: Common Causes and Next StepsWhy are my lights flickering? Learn the common causes, simple checks you can do safely, and the warning signs that mean it's time to call a pro for help.