What to Expect When a Handyman Installs a Ceiling Fan
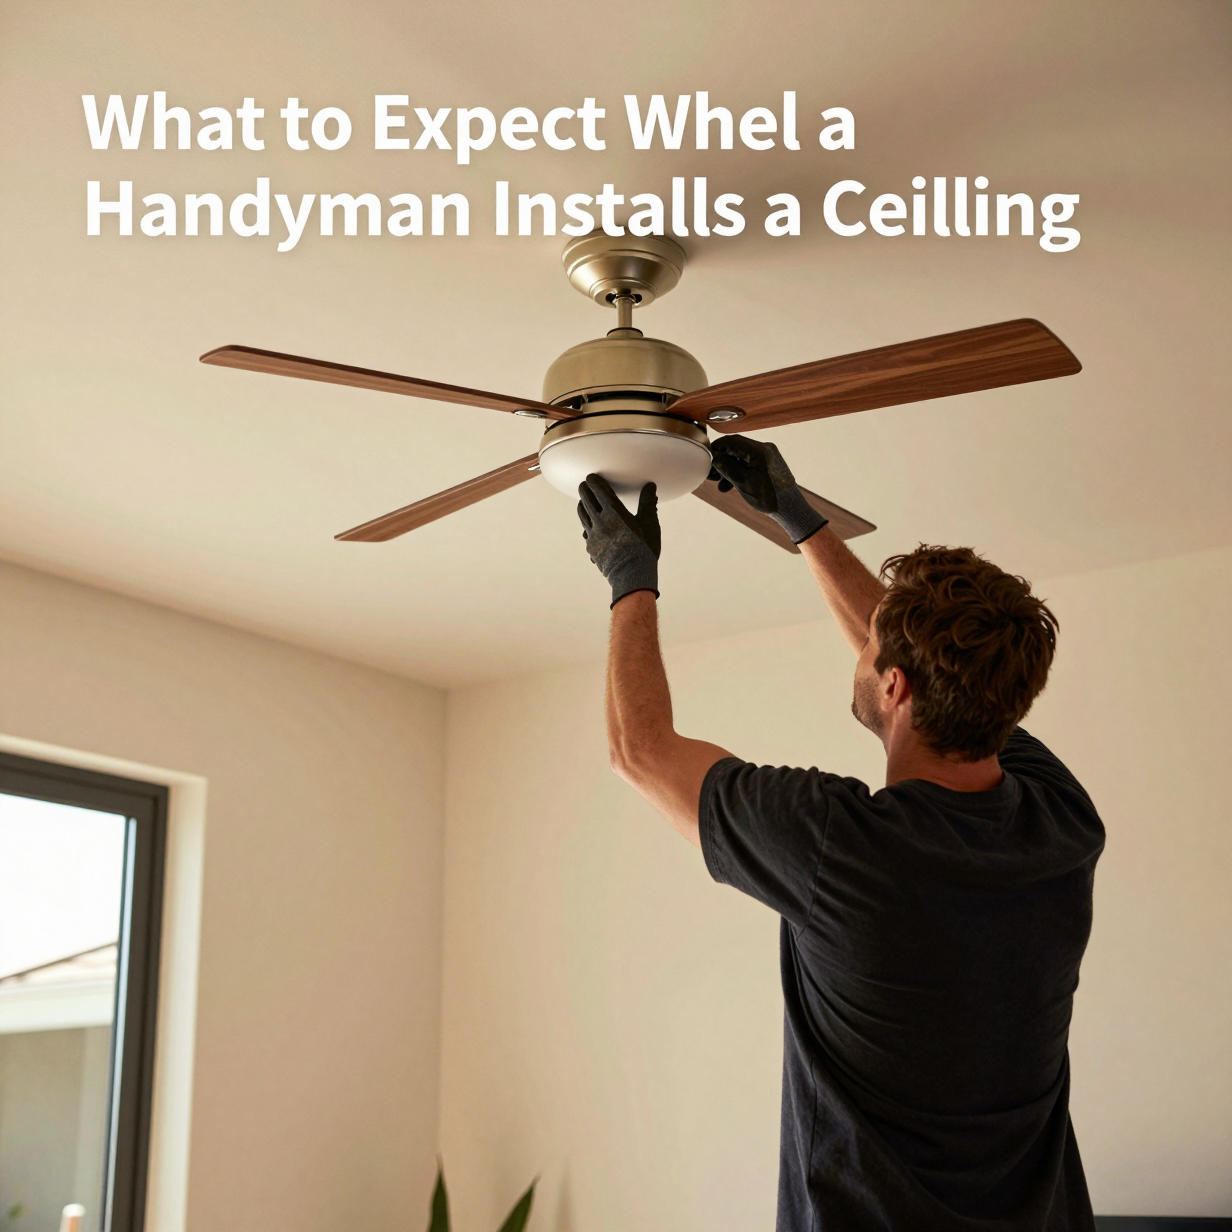
Ceiling fan installation what to expect, in short: the handyman checks your ceiling box and wiring, turns off power at the breaker, mounts the bracket and fan, connects the wires, tests every speed and light, and cleans up. The key question is whether the existing box is rated to hold a moving fan. If it isn't, that gets fixed before anything is hung.
Here is how a typical visit unfolds, from your prep to the final test.
Before the visit: what to prepare
A little prep keeps the job smooth. Most delays come from blocked access or missing information, not the install itself.
- Clear the floor under the work area. Move furniture, rugs, and anything fragile. Ladders need a flat, open footprint.
- Know your ceiling height. Standard ceilings and tall or vaulted ceilings need different mounting hardware, such as a downrod.
- Have the fan on hand, unopened if possible, with all parts and the manual inside.
- Find your breaker panel and make sure the door opens easily.
- Note the existing fixture. Is it a light only, or a fan already? Is there one wall switch or two?
- Take a photo of the ceiling and the old fixture. It helps when you send a photo for a written quote.
Pets and kids should stay out of the room while a ladder is up and the power is off.
The first check: power, ceiling box, and wiring
Before touching the fixture, the handyman shuts off the circuit at the breaker and confirms the power is actually dead with a tester. A wall switch turned off is not enough.
Then comes the most important inspection of the visit: the electrical box in the ceiling.
A light fixture hangs still. A fan pulls, wobbles, and vibrates every moment it runs. That is why a fan needs a box that is listed for ceiling fan support and anchored to a joist or a brace. A standard light box may not be built for that.
Things the handyman looks at:
- Box type. Is it marked as fan-rated? Is it firmly attached to framing?
- Wire condition. Brittle, cracked, or scorched insulation is a stop sign.
- Wire count. A fan with a light often needs separate switching for each, which can mean an extra conductor in the ceiling.
- Grounding. A ground wire should be present and connected.
- Switch setup. A single switch, a dual switch, or a remote kit changes the wiring plan.
If the box is not fan-rated, expect a conversation about swapping it. In many attic-accessible homes that means installing a brace between joists. In finished ceilings it can mean opening a small section of drywall.

A careful look at the ceiling box comes before any fan hardware goes up.
The installation steps, in order
Once the box is confirmed solid, the work usually follows this sequence.
- Remove the old fixture and set it aside for you.
- Mount the bracket to the fan-rated box with the supplied screws.
- Assemble the fan on the ground or a stable surface: downrod, motor housing, and canopy, if the model calls for it.
- Hang the motor on the bracket and secure it.
- Connect the wires with the right connectors: ground to ground, neutral to neutral, and the fan and light leads to their switched conductors.
- Tuck the wiring into the canopy without pinching it, and attach the canopy.
- Attach the blades to their brackets, then to the motor. Blades go on last to keep the motor housing light while hanging.
- Install light kit and bulbs, if the fan has them.
- Restore power and test.
Blade balance matters. Most fans include a balancing kit. A wobble that remains after a proper install can come from a bent blade arm or a loose screw, not only from the ceiling.
Choosing the fan setup: what changes the job
Not every fan install is the same. A few choices change the scope of work.
| Situation | What it usually involves |
|---|---|
| Replacing an existing fan with a similar one | Simple swap, box check, rewire |
| Replacing a light fixture with a fan | Box upgrade likely, possibly new switch wiring |
| Adding a fan where there is no fixture | New wiring and ceiling work, may need an electrician |
| Vaulted or high ceiling | Longer downrod, angled-ceiling mount, taller ladder setup |
| Fan with remote or wall control | Receiver fits in canopy; wiring differs |
| Outdoor patio or covered porch | Needs a damp- or wet-rated fan |
Low ceilings call for a flush-mount (hugger) style. A common guideline is to keep blades well above head height, and the fan's manual lists its required clearances. Follow those.
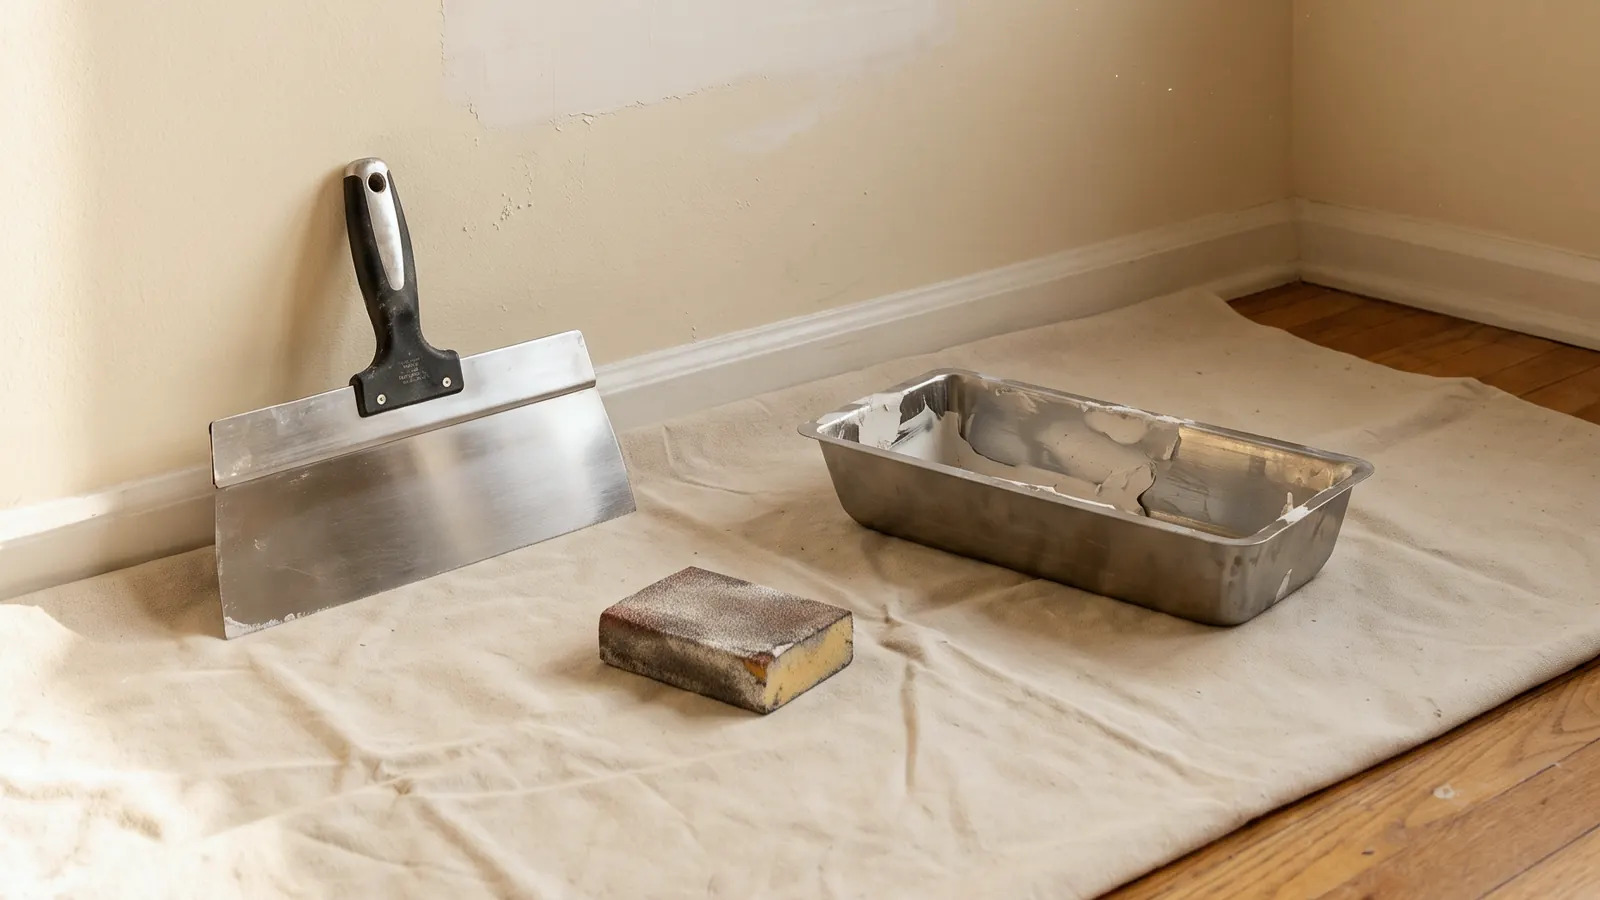
A finished install: level mount, tight canopy, and no wobble at any speed.
Testing, cleanup, and what you should walk through
A good visit ends with a test, not just a "done."
Final walk-through checklist:
- Every speed runs smoothly with no clicking or heavy wobble.
- The reverse switch works (summer and winter direction).
- The light turns on and off from the wall switch or remote.
- The canopy sits flush with the ceiling.
- Blades are tight and level.
- You know where the breaker is and which switch controls what.
- Packaging, old fixture, and debris are removed or set aside as you prefer.
Ask the handyman to show you the remote pairing or pull-chain behavior. Keep the manual and any extra hardware in a drawer near the fan's room.
Los Angeles homes often have older wiring, plaster ceilings, or attic spaces that are hard to reach. These are normal reasons a fan install turns into a bigger conversation. Fans also affect cooling habits. California's building energy efficiency standards, published by the California Energy Commission, are a useful read if you're thinking about how fans fit into a home's cooling plan.
When to call a pro
Many homeowners can swap a fan in a room with a fan-rated box and clear wiring. But some jobs deserve experienced hands, and it is okay to say so.
Reasonable DIY: replacing a fan with the same type, in a ceiling you can reach, with no surprises in the box.
Call a pro when:
- The ceiling box isn't fan-rated or feels loose.
- You see aluminum wiring, cloth-covered wires, or damaged insulation.
- There's no existing wiring at the spot you want a fan.
- The ceiling is high, angled, or needs a long ladder setup. OSHA publishes ladder safety guidance worth reading before you climb.
- A breaker trips when you test it.
- You're unsure which wire is which.
Work that adds new circuits or changes wiring beyond a fixture swap may involve permit rules. The Los Angeles Department of Building and Safety explains when permits and inspections apply. You can also check how to hire a contractor on the California Contractors State License Board site before you commit to any larger project.
If you want help, our lights electrical service covers fan and light installs, and a photo of your ceiling and fixture is a good start.
FAQ
How long does a ceiling fan installation take?
It depends on the fan, the ceiling, and what the box inspection finds. A straightforward swap goes faster than a new location or a box replacement. Your handyman can give you a clearer picture once they see the ceiling.
Do I need to buy the fan first?
Usually it helps. Bring the fan you want, or ask for guidance on size and type for the room. Make sure it's rated for the space, such as damp-rated for covered patios.
Can a fan be installed on a light fixture box?
Only if that box is rated for fan support and secured to framing. Otherwise it should be replaced with a fan-rated box or brace.
Why does my new fan wobble?
Common causes are loose blade screws, a bent blade arm, an unbalanced blade set, or a ceiling box that isn't solid. A balancing kit and a tightened mount fix many cases.
Will the handyman patch drywall if they have to open the ceiling?
Ask before the work starts. Some visits include a simple patch; larger repair and paint may be a separate step. Agree on the scope up front.
Sources
- California Contractors State License Board: Hire a Contractor
- Los Angeles Department of Building and Safety: Permits and Inspections
- OSHA: Ladder Safety
- California Energy Commission: Building Energy Efficiency Standards
Safety note: work on electrical panels, gas, structure or anything that needs a permit should be done by a licensed contractor with the required permits.
STATOX Handyman Service · Send a photo · +1 (820) 200-4919
Keep reading
 lights electricalHow to Choose a Handyman for Light Fixture InstallationLooking for a light fixture installation handyman Los Angeles homeowners can trust? Learn what to ask, what to check, and which red flags to skip.
 lights electricalOutlet or Light Switch Not Working: Causes and FixesOutlet not working or light switch not working? Learn the common causes, safe checks you can do yourself, and when to stop and call a pro. Read first.
 lights electricalStudio City Older Homes: Lighting and Outlet Upgrade TipsPlanning a Studio City handyman lighting outlet upgrade for an older home? Learn what to fix first, what needs a permit, and when to call a pro.