Drywall Patch vs. Skim Coat: Which Repair Do You Need?
A drywall patch fixes a damaged spot, such as a hole, a dent, or a cracked seam. A skim coat is a thin layer of joint compound spread over a larger area to even out the surface. If the damage is isolated and the rest of the wall looks fine, a patch is usually enough. If the wall is uneven, pitted, or has texture you want to remove, you likely need a skim coat.
Start With What You Are Looking At
Before you buy materials, spend a few minutes studying the wall in both daylight and the angled light of a lamp. Most surface problems look different depending on the light.
Ask yourself these questions:
- Is the damage limited to one spot, or is it spread across the wall?
- Does the wall look flat when you step back, or does it show waves, ridges, or patchy shine?
- Are there several old repairs that look slightly different from the surrounding wall?
- Is the damage caused by a one-time impact, or does it keep coming back?
A single nail pop or a fist-sized hole usually points toward a patch. A wall that looks blotchy, has overlapping old repairs, or reflects light unevenly usually points toward a skim coat.
It also helps to find out whether the damage is cosmetic or a sign of something bigger. Stains, soft spots, or bubbling paint can mean moisture is getting into the wall. The U.S. Environmental Protection Agency explains that moisture problems can lead to mold growth, so it is worth checking the source before you cover anything. You can read their guidance in the EPA brief guide to mold, moisture, and your home.
Patch vs. Skim Coat at a Glance
The two repairs solve different problems. This table lays out the main differences.
| Factor | Drywall Patch | Skim Coat |
|---|---|---|
| Good for | Holes, dents, cracks, damaged corners | Uneven, pitted, or mismatched surfaces |
| Area covered | Small, localized spot | Whole wall or large section |
| Main goal | Restore the damaged area | Create a smooth, even finish |
| Typical steps | Cut out or fill, tape, mud, sand, prime, paint | Mud a thin layer over the whole surface, sand, prime, paint |
| Effect on texture | Blends into nearby texture if matched | Usually removes or hides existing texture |
| Mess and time | Relatively contained | Larger job with more dust and cleanup |
| Common DIY fit | Suitable for many homeowners | Possible for careful DIYers, but demands patience |
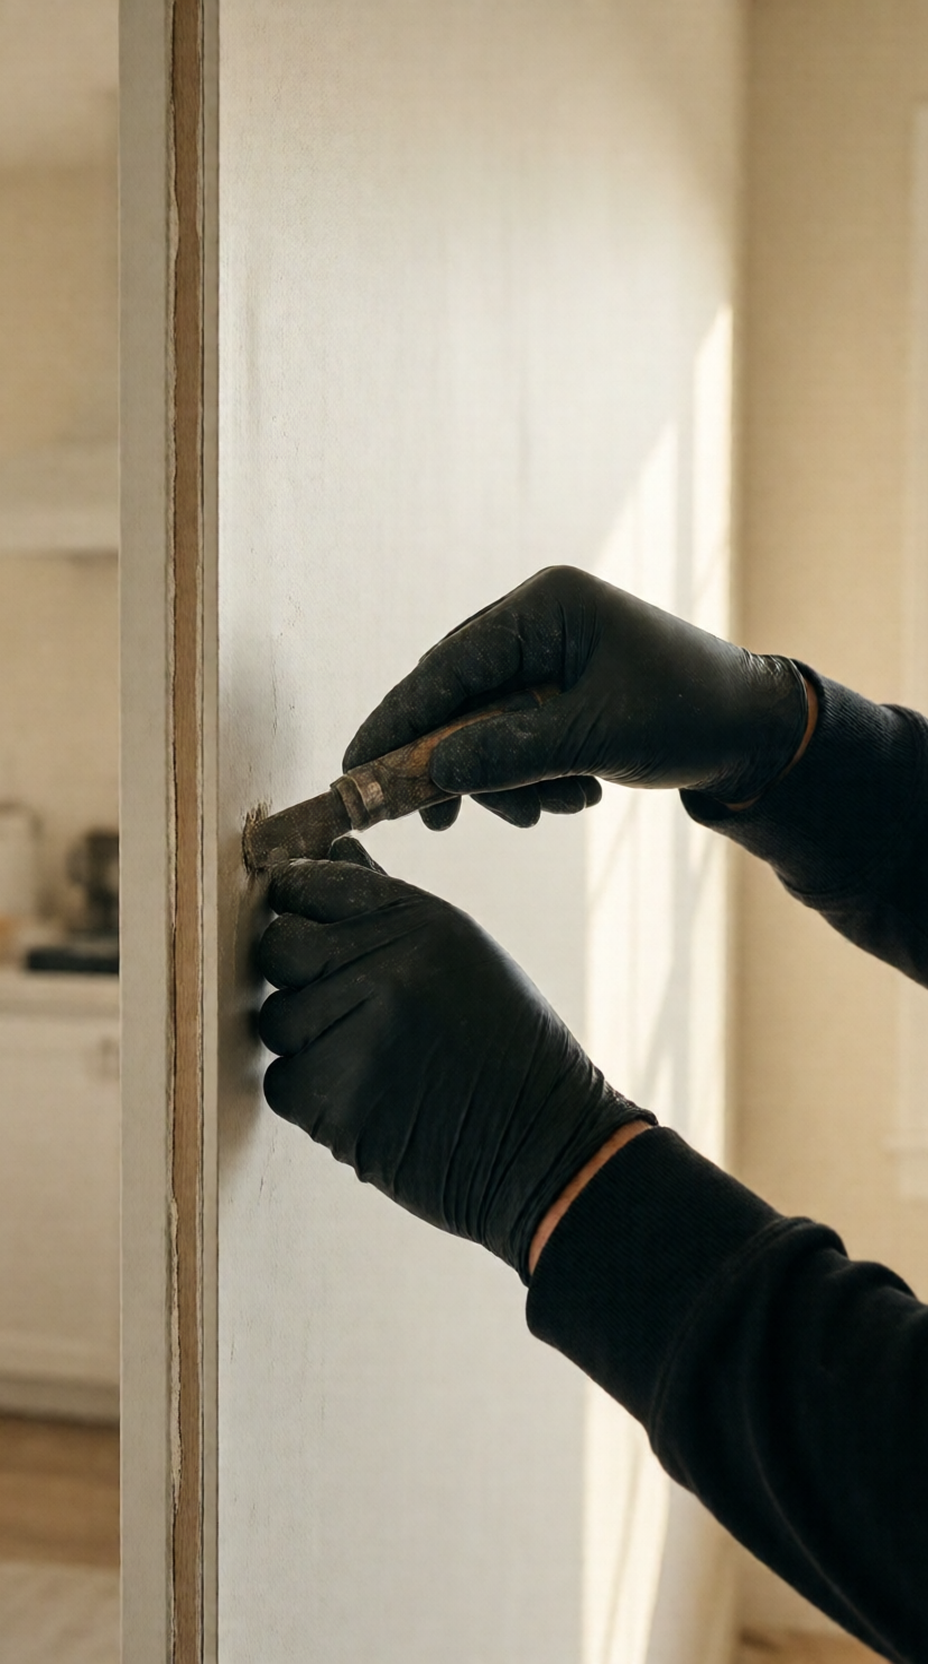
When a Simple Patch Is Enough
A patch is the right choice when the problem is local and the rest of the wall is sound. It is also quicker, less messy, and uses fewer materials than a full skim coat.
Consider a patch if your wall matches this checklist:
- The damage is a hole, dent, or crack roughly the size of a dinner plate or smaller.
- The surrounding wall is flat and smooth when viewed at an angle.
- The texture around the damage is consistent and easy to match.
- Previous repairs in the area are minimal and blend in.
- There are no signs of ongoing moisture, such as stains or soft drywall.
For a small hole, a self-adhesive mesh patch or a pre-formed patch can work well. For a larger opening, you may need to cut the damaged section back to solid drywall and install a new piece. Either way, the goal is to make the repaired spot disappear into the wall.
Texture matching is where many patches reveal themselves. A smooth patch on a textured wall stands out under paint, even when the mud is perfectly flat. If your walls have knockdown, orange peel, or spray texture, test your technique on scrap board or a hidden area before working on the visible spot.
When the Whole Wall Needs a Skim Coat
A skim coat makes sense when the wall itself is the problem. Common signs include:
- Overlapping old patches that create a bumpy or dimpled look
- Lap marks, ridges, or uneven seams showing in raking light
- Heavy texture that you want to remove for a smoother modern finish
- Walls that have been painted many times, with fine cracks or uneven build-up
- Surfaces where patching would create too many visible edges
A skim coat is a thin layer of joint compound applied across the surface, then feathered out and sanded smooth. Because it covers a large area, the goal is to hide minor irregularities rather than fix one defect. Most skim coats are applied in one or more thin passes. Thick, heavy layers are more likely to crack or shrink.
A skim coat is more demanding than a patch. You need a wide, clean knife, consistent pressure, and good lighting so you can see high and low spots as you work. Sanding can produce a lot of fine dust, so plan on containing the work area and cleaning thoroughly.

How Each Repair Works, Step by Step
Here is a general overview of each process. Always follow the instructions on the products you buy.
Basic patch steps:
- Clean the area and remove loose paint or debris.
- Cut back to solid material, or apply a mesh patch for small holes.
- Apply joint compound in thin coats, letting each one dry.
- Feather the edges so they blend into the wall.
- Sand lightly and wipe away dust.
- Prime the patch so it does not absorb paint differently.
- Paint the wall, matching the sheen if possible.
Skim coat steps:
- Inspect the whole wall in raking light and mark high or problem areas.
- Remove loose paint and any flaking texture.
- Prime the wall with a suitable primer so the compound bonds well.
- Apply a thin first coat across the surface with a wide knife.
- Let it dry fully, then apply a second thin coat if needed.
- Sand gently, checking your progress often under good light.
- Prime again, then paint the entire wall for an even finish.
Notice that a skim coat involves more layers and more checking along the way. Rushing it is the most common reason the final surface looks blotchy.
When to Call a Pro
Many homeowners can handle a small patch with basic tools and a little patience. A skim coat is a different level of work. It takes practice to keep a wide, even layer and to sand without leaving swirls or flashing.
Consider hiring help when:
- The skim coat covers a whole room or multiple rooms.
- The ceiling is involved, since overhead work is harder to control.
- The wall has water damage, soft drywall, or signs of mold.
- The home is older and the work could disturb paint. The U.S. EPA explains that renovation and repair work in homes built before 1978 can involve lead-based paint hazards, and it describes the federal rules that apply to contractors. You can read more in the EPA renovation, repair, and painting program overview and the EPA guide on protecting your family from lead exposure.
- You want a finish that looks flawless under raking light, and you do not have time to practice.
If you hire someone, ask for references you can check, a written scope of work, and a clear description of what will be sanded, primed, and painted. The California Contractors State License Board offers a consumer guide to hiring a contractor with useful questions to ask. For larger projects in Los Angeles, check whether a permit is needed through the city's permits and inspections page.
If you are not sure which repair fits your wall, you can send a photo for a written quote and describe where the damage is. For a broader look at what the work involves, see our drywall repair service page.
FAQ
Can I skim coat over an old patch?
Yes, in many cases. Old patches should be cleaned, primed, and checked for loose edges first. A skim coat can help blend patches into the surrounding wall, but it will not fix a patch that is cracking or lifting. Address those areas before you spread the compound.
How many coats does a skim coat usually need?
It depends on how uneven the wall is and how smooth you want the result. Many people use one or two thin coats. Thick single layers tend to crack or shrink, so building up gradually is usually the wiser approach.
Do I need to remove wall texture before a skim coat?
Not always, but heavy texture makes it harder to achieve a smooth finish. Some people skim over light texture, while others scrape it off first. If you remove texture, expect more dust and cleanup. Test a small hidden area to see how your materials behave.
Why does my patch show through after painting?
The most common causes are poor feathering at the edges, skipping primer, or a sheen that does not match the surrounding wall. Patches also show when the texture is different. Prime the repaired area, then paint the full wall if you want the most even look.
Is patching or skim coating the less work?
Patching is generally less work and uses fewer materials, so it is often the lower-effort option for small damage. A skim coat covers much more area and takes more time, but it may be the right choice when the whole wall needs to look smooth. Compare the scope of the damage before deciding.
Sources
- California Contractors State License Board: Hire a Contractor
- Los Angeles Department of Building and Safety: Permits and Inspections
- U.S. EPA: Renovation, Repair and Painting Program
- U.S. EPA: A Brief Guide to Mold, Moisture, and Your Home
Safety note: work on electrical panels, gas, structure or anything that needs a permit should be done by a licensed contractor with the required permits.
STATOX Handyman Service · Send a photo · +1 (820) 200-4919
Keep reading
 drywall repairCommon Drywall Problems: Cracks, Holes, Dents and FixesLearn how to fix drywall cracks and holes, from nail pops to doorknob dents, and when a repair needs more than patch and paint. Read before you patch.
 drywall repairDIY vs. Pro Drywall Repair: When to Call a HandymanWeighing diy vs professional drywall repair? Learn which wall damage you can fix yourself and which to hand off, so you avoid redoing the job.
 drywall repairDrywall Cracks in Hollywood Hills Hillside HomesLearn what causes drywall cracks in hillside homes and how drywall repair Hollywood Hills owners can tell cosmetic from serious. Read before you patch.