Drywall Repair Prep Guide: What Homeowners Should Know
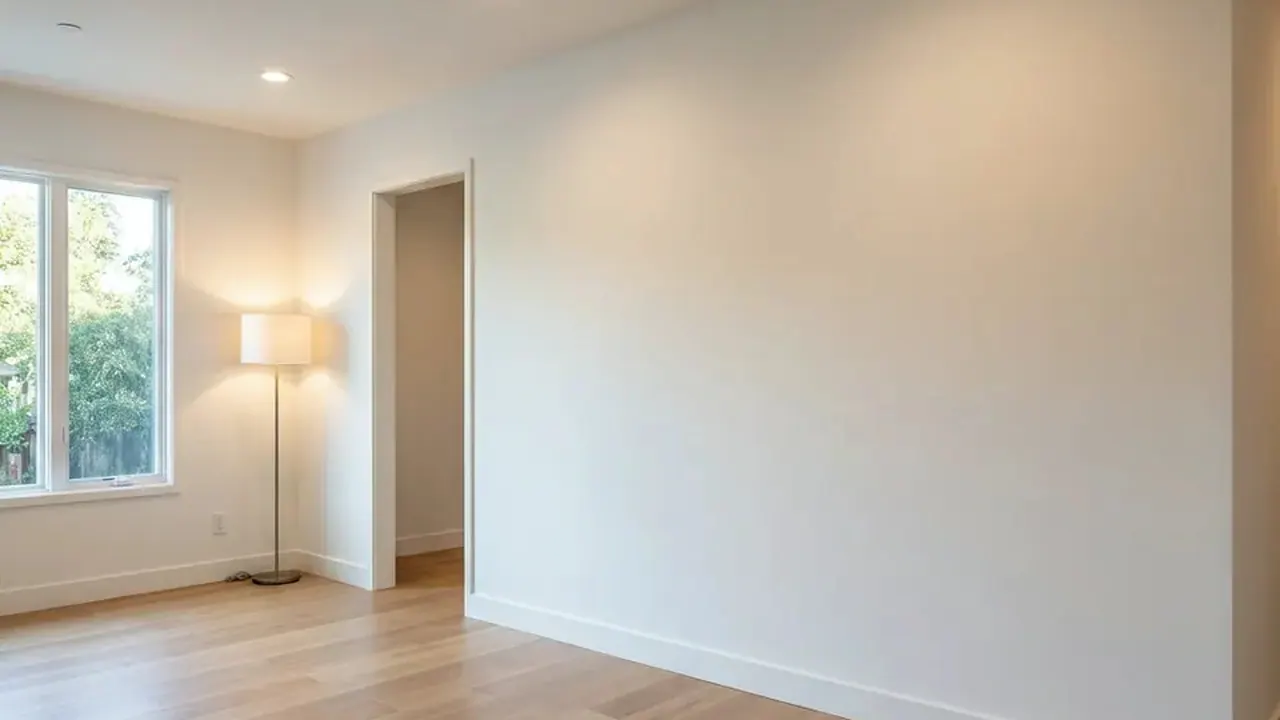
Drywall repair prep requires clearing working space, identifying whether your wall is gypsum board or older plaster-and-lath, and cutting back loose material to clean framing. Setting up dust protection and verifying that hidden moisture or foundation movement has stopped ensures a patch that will not crack or blister later.
Taking time to prepare the site properly saves hours of corrective sanding and prevents patch outlines from showing through fresh paint.
Identifying Wall Material and Substrate Integrity
Before cutting into a wall, determine the exact material and thickness of the wall assembly. Modern Los Angeles homes built after 1960 typically use standard 1/2-inch gypsum drywall on interior partition walls and 5/8-inch Type X fire-rated drywall on garage-adjacent walls or ceilings.
Pre-1950 homes in older neighborhoods like Silver Lake, Pasadena, or Hancock Park often feature lath-and-plaster construction. Plaster ranges from 3/4 inch to over 1 inch in thickness, consisting of a scratch coat, brown coat, and smooth lime finish over wood strips or gypsum button board.
``` Modern Drywall Assembly: [ 1/2" Gypsum Board ] ---> Screwed directly to [ 2x4 Wood Stud (16" on center) ]
Older Plaster-and-Lath Assembly: [ Lime Finish ] + [ Brown/Scratch Coat ] ---> Applied over [ Wood Lath Strips ] ---> Nailed to Framing (Total thickness: 3/4" to 1-1/8") ```
Attempting to patch a plaster wall with standard 1/2-inch drywall leaves a noticeable recess that requires excessive joint compound to bridge, leading to shrinkage cracks.
Homes built along hillside zones face ongoing structural settling. Settling subjects interior walls to shear forces that produce diagonal stress cracks near door heads and window corners. Preparing these areas requires digging out loose material down to solid wood framing or intact lath rather than filling over surface cracks.
Room Protection and Controlling Gypsum Dust
Fine gypsum dust spreads quickly through a home during sanding and cutting. During dry periods or Santa Ana wind events, drafts pull fine white dust through open windows and interior doorways, settling into upholstery and flooring.
Set up a containment barrier around the work zone using 6-mil polyethylene sheeting taped securely to door frames with low-tack blue painter's tape. Cover return air vents within six feet of the work zone to keep gypsum dust out of your HVAC ductwork.
Laying down heavy rosin paper or canvas drop cloths across hardwood, tile, or carpet protects flooring from sharp debris and dropped joint compound.
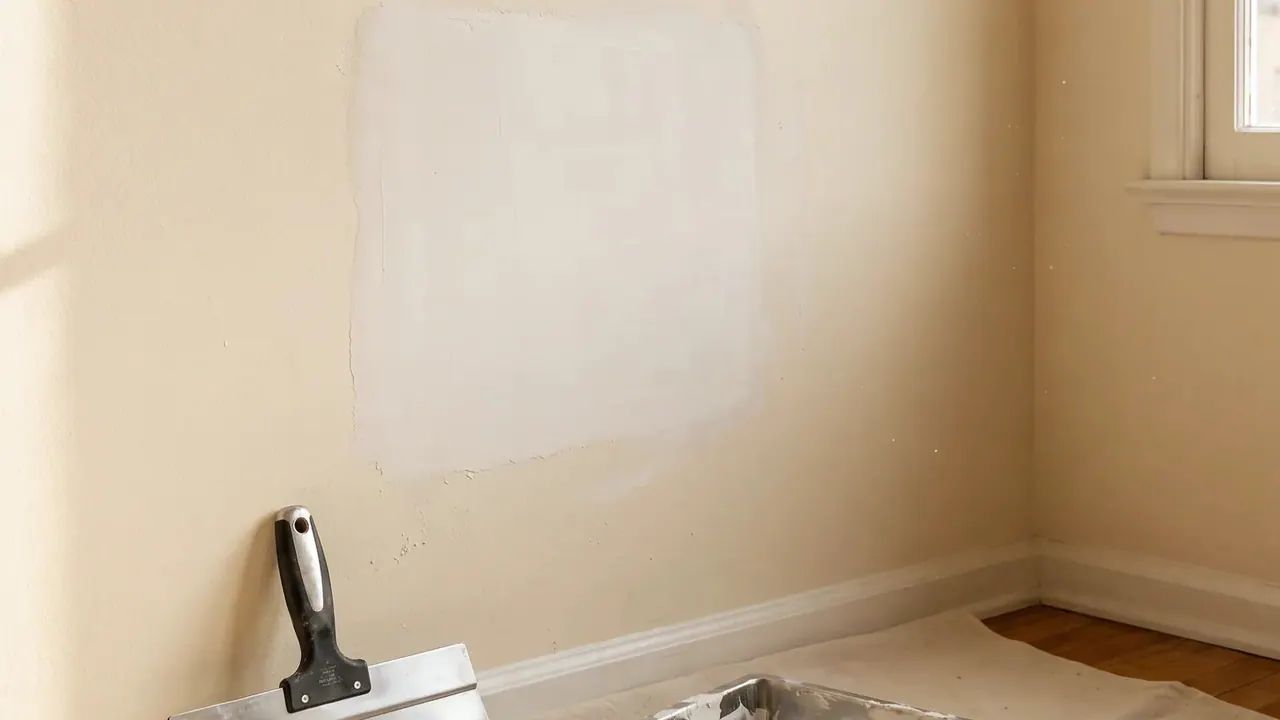
Key Tools and Equipment for Site Prep
Having the right tools ready before making cuts ensures straight lines and sound mechanical bonds:
- Utility knife with sharp hook and straight blades: Cuts clean outer paper faces without tearing the inner gypsum core.
- Drywall jab saw: Cuts clean rectangular openings between wall studs.
- Digital pin-type moisture meter: Confirms framing and drywall behind water damage are completely dry before repair.
- Stud finder: Locates centerlines of 2x4 framing studs spaced at 16-inch or 24-inch centers.
- Setting-type joint compound (Hot Mud 20 or 45): Hardens through chemical reaction rather than evaporation, ideal for deep fills.
- 1-5/8 inch coarse-thread drywall screws: Fastens backing lumber and patch panels to wood framing.
Step-by-Step Wall Damage Site Preparation
Prepping a damaged wall site properly requires stripping away crushed material, establishing solid mounting points, and cleaning edges.
- Verify Moisture Content: Press a pin moisture meter into the drywall surrounding the damage. The reading must show below 12% wood moisture equivalent (WME) before patching. If moisture is present, resolve the plumbing leak or exterior entry point first.
- Mark a Square Cut Boundary: Use a speed square and pencil to draw a rectangle around the hole or crack. Extending lines outward to the nearest stud centerlines creates two solid mounting points for the patch.
- Cut Away Damaged Material: Cut along your marked rectangle using a sharp utility knife or jab saw. Angle your blade slightly inward so the cutout edges are clean and square.
- Install Wood Backing Blocks: When damage occurs between studs where edge support is missing, insert 1x3 inch or 2x4 inch pine wood backing blocks behind the opening. Secure them by driving 1-5/8 inch drywall screws through the existing wall drywall into the backing lumber, sinking screw heads slightly below the surface plane.
- Bevel the Drywall Edges: Use a utility knife to cut a 45-degree chamfer along the outer edges of both the cut opening and the new drywall patch. Beveling creates a V-shaped groove that locks joint compound deep into the seam, preventing edge lifting.
- Clean Away Loose Dust: Vacuum all cut edges with a brush attachment and wipe down the perimeter with a slightly damp sponge. Dust left on raw edges breaks the bond between joint compound and the paper facing.

Comparing Patching Materials and Tape Options
Selecting the right combination of tape and joint compound prevents joint separation and surface cracking.
| Material Combination | Ideal Use Case | Substrate Compatibility | Prep Requirements |
|---|---|---|---|
| Paper Tape + Premixed All-Purpose Compound | Standard butt joints and flat seams | Modern 1/2" or 5/8" drywall panels | Requires pre-wetting or bedding coat of wet compound to prevent air bubbles. |
| Fiberglass Mesh Tape + Setting Compound (Hot Mud) | High-stress areas, small patches, door frame cracks | Drywall and solid backing plaster | Must use setting-type compound; premixed mud over mesh tape will crack under load. |
| Self-Adhesive Metal Backed Mesh Patch | Door handle punctures, small holes under 4 inches | Flat interior drywall surfaces | Requires sanding existing paint sheen away 3 inches beyond the patch border. |
| Wood Lath + Setting Compound Fill | Repairing pre-1950 plaster stress cracks | Stucco-adjacent interior plaster | Requires cleaning out loose lime dust and priming wood lath with a bonding agent. |
Paper tape provides strong tensile resistance across straight seams but requires a wet bedding layer of compound to adhere. Self-adhesive fiberglass mesh speeds up small repairs, but it requires chemical-setting compound (such as 20-minute hot mud) for its structural coat because standard air-dry compound remains too flexible over mesh.
Addressing Water Stains and Hard Water Leak Damage
Water leaks from plumbing pipes or roof drains leave mineral rings and weaken gypsum cores. Mineral-rich municipal water leaves yellow-brown mineral deposits on paper facings that bleed through standard interior latex primer.
Inspect water-stained ceiling drywall for sagging. If drywall sags more than 3/8 inch below ceiling joists, the gypsum core has disintegrated and requires replacement rather than simple patching.
After removing damaged material and installing new drywall, seal the perimeter paper and repair area with an oil-based or shellac-based stain-blocking primer. Water-based latex primers rewet the water-soluble mineral salts in the drywall, pulling yellow stains through fresh joint compound and topcoat paint.
How STATOX Handles Drywall Prep in Practice
When you contact STATOX for a drywall repair service, we take a structured approach to evaluation and preparation:
- Assessment from Photos: Homeowners start by sending a clear photo of the damage. We review the scope and provide one written price before scheduling the visit.
- Substrate Inspection on Arrival: On site, our handyman checks wall thickness, verifies whether the substrate is plaster or modern drywall, and uses a digital moisture meter to confirm surrounding materials are fully dry.
- Dust Protection: We isolate the repair area using floor coverings and dust protection barriers before making any cuts or sanding.
- Backing and Cutouts: We cut openings back to stud framing centers or install custom 1x3 solid wood backing, beveling all patch edges to ensure a flat finish that matches existing wall contours.
Homeowners can send a photo for a written quote to review scope and prep steps before work begins.
When to Call a Pro
Small nail holes, minor screw pops, and shallow dings under two inches are manageable DIY projects using a simple spackling compound and a 4-inch putty knife.
Call a professional when facing:
- Large openings or ceiling patches: Heavy ceiling patches over 8 inches require overhead structural backing and mudding to prevent sagging.
- Plaster-and-lath repairs: Thick plaster repairs require multi-layer basecoats (scratch and brown coats) and special bonding agents to adhere to old wood lath.
- Matching custom textures: Replicating knockdown, heavy orange peel, or Spanish lace textures on visible wall surfaces requires specialized equipment and material consistency.
- Recurrent stress cracks: Cracks near door headers or window frames caused by foundation movement require deep reinforcement and heavy-duty setting compounds.
FAQ
How far back should I cut damaged drywall when preparing a patch?
Cut back until you reach solid, dry gypsum and paper that remains firmly adhered to its core. If the damage sits close to a wall stud, extend the rectangular cut to the center of that stud to provide a solid mechanical mounting edge for your patch.
Do I need paper tape or fiberglass mesh for wall patch prep?
Paper tape suits long, flat seams when embedded in premixed joint compound. Self-adhesive fiberglass mesh tape is faster for small patches but must be covered with a setting-type compound (hot mud) to create a rigid, crack-resistant joint.
How do I prep plaster walls differently than modern drywall?
Plaster is significantly thicker and denser than drywall. Clean away loose lime mortar, scrape old lath free of dust, and apply a liquid acrylic bonding agent to the edges. Patch deep plaster cavities using a setting-type compound applied in thin layers rather than a single thick coat.
Why does joint compound shrink and crack over fresh patches?
Cracking occurs when joint compound is applied too thick in a single coat or when water-evaporation compound dries too quickly in hot, dry weather. Using a setting-type compound (hot mud) for base coats prevents shrinkage cracks because it cures chemically rather than by water loss.
How do I prevent dust from spreading during drywall prep?
Isolate the doorway of the work room with heavy 6-mil plastic sheeting, seal off central air return vents in the area, and use a vacuum fitted with a HEPA filter when clearing away debris before patching.
Sources
- CSLB Consumer Information & Hiring Guidelines
- LADBS Building Permits and Code Requirements
- EPA Guide to Mold, Moisture, and Your Home
- USG Gypsum Board Installation and Finishing Guides
Permit work: Permit jobs get a written project estimate; permits handled as required.
STATOX Handyman Service · Send a photo · +1 (820) 200-4919
Keep reading
 drywall repairCommon Drywall Problems: Cracks, Holes, Dents and FixesLearn how to fix drywall cracks and holes, from nail pops to doorknob dents, and when a repair needs more than patch and paint. Read before you patch.
 drywall repairDIY vs. Pro Drywall Repair: When to Call a HandymanWeighing diy vs professional drywall repair? Learn which wall damage you can fix yourself and which to hand off, so you avoid redoing the job.
 drywall repairDrywall Cracks in Hollywood Hills Hillside HomesLearn what causes drywall cracks in hillside homes and how drywall repair Hollywood Hills owners can tell cosmetic from serious. Read before you patch.