Essential Tools and Materials for Drywall Repair Projects
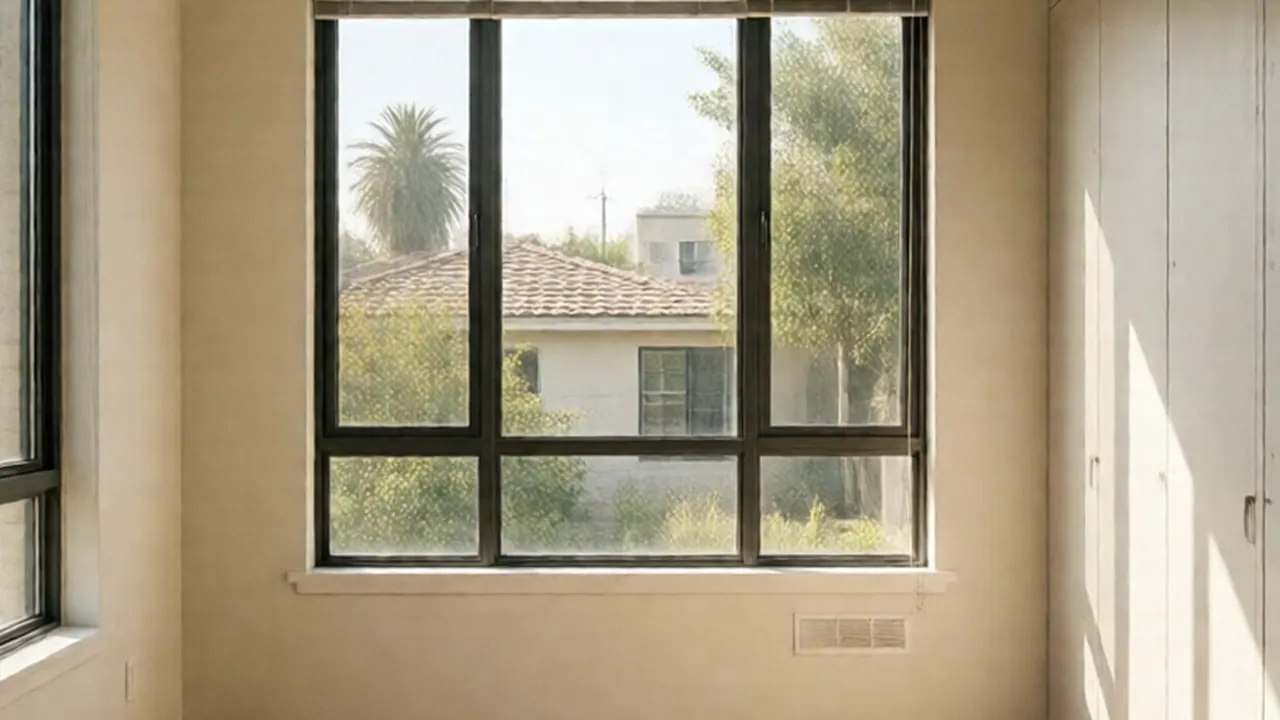
The essential tools and materials for drywall repair include taping knives in multiple widths, joint compound, paper or fiberglass tape, a utility knife, drywall screws, and solid backing wood. Gathering these core supplies ensures clean cutouts, structural backing, and smooth feathering across hollow wall cavities.
Using the wrong knife size or skipping backing lumber leads to sagging patches, cracked edges, and visible ridges once paint dries. Having the proper kit on hand allows you to stabilize wall cavities, layer joint mud accurately, and control airborne dust during sanding.
Standard Repair Gear for Cutouts and Wall Patches
A complete repair kit requires mechanical hand tools for structural preparation alongside hand-applied compounds for surface finishing. Drywall relies on physical support from framing studs or timber backing strips, not adhesives alone.
Essential Hand and Cutting Tools
Taping Knives (4-inch, 6-inch, and 10-inch): Use a 4-inch stiff putty knife to butter small holes and scrape away loose paper. Use a 6-inch flexible knife to embed joint tape and apply fill coats. Use a 10-inch or 12-inch broad knife for feathering final coats 6 inches outward from the repair perimeter. Utility Knife and Keyhole Saw: A heavy-duty utility knife with fresh snap-off blades scores drywall paper cleanly without tearing the gypsum core. A manual keyhole saw with a jab tip cuts straight lines through sheetrock when expanding damage into square patches. Mud Pan: A 12-inch stainless steel or heavy plastic mud pan with straight scraping edges holds joint compound cleanly and keeps your broad knife clear of dried crutches. Drill Driver with Dimpler Bit: A cordless drill equipped with a magnetic drywall bit setter (dimpler) drives 1-1/4 inch coarse-thread drywall screws to the correct depth, dimpling the paper surface without puncturing it. * Sanding Blocks and Sponges: Dual-grit foam sanding blocks (120-grit medium and 220-grit fine) level dried compound. High-density open-cell damp sponges allow wet-sanding to eliminate dust clouds.
Core Materials
Matching Drywall Sheets: Select sheet thickness based on the original installation. Standard interior walls use 1/2-inch drywall panels. Walls attached to garages or fire-rated assemblies require 5/8-inch Type X fire-rated boards. Joint Tape: Standard cross-fiber paper tape provides high tensile strength along flat seams and inside corners. Self-adhesive fiberglass mesh tape speeds up flat repairs but must be coated with setting-type compound to prevent seam flex. Joint Compounds: Powder setting compound (20-minute or 45-minute hot mud) handles initial deep fill coats without shrinking. Pre-mixed lightweight topping mud provides smooth, easy-sanding top layers. Backing Lumber: Kiln-dried 1x2 or 2x4 pine lumber strips provide rigid anchor points behind wall cutouts wider than 4 inches across hollow stud bays.
Matching Tools and Materials to Los Angeles Home Construction
Los Angeles homes built across different decades present distinct wall structures. Pre-1950 homes in areas like Mid-City, Highland Park, and Pasadena feature original plaster-and-lath construction. Homes built from the 1960s onward in the San Fernando Valley typically feature standard 1/2-inch drywall over wood stud framing spaced 16 inches on center.
Plaster walls measure between 3/4 inch and 7/8 inch thick over wood lath strips or gypsum button board. Setting a standard 1/2-inch drywall patch into a cut plaster wall leaves a recessed gap. To align the patch with the surrounding wall:
- Measure the exact depth from the face of the wood lath to the finished plaster surface.
- Fasten 1/4-inch or 3/8-inch wood shims directly to the exposed wood lath using 1-1/4 inch drywall screws.
- Fasten your 1/2-inch drywall patch onto the shimmied frame so the patch face sits 1/16 inch recessed from the plaster.
- Fill the perimeter gap with a powder setting compound, which cures chemically and forms a hard bond against historic lime plaster.
In hillside homes located in Mount Washington or Sherman Oaks, foundation movement creates diagonal stress cracks at the top corners of door frames and window openings. Standard spackle fails on these dynamic cracks. Repairing them requires carving a V-notch groove along the crack with a utility knife, filling the channel with 45-minute setting mud, and embedding heavy-duty paper tape over the joint.
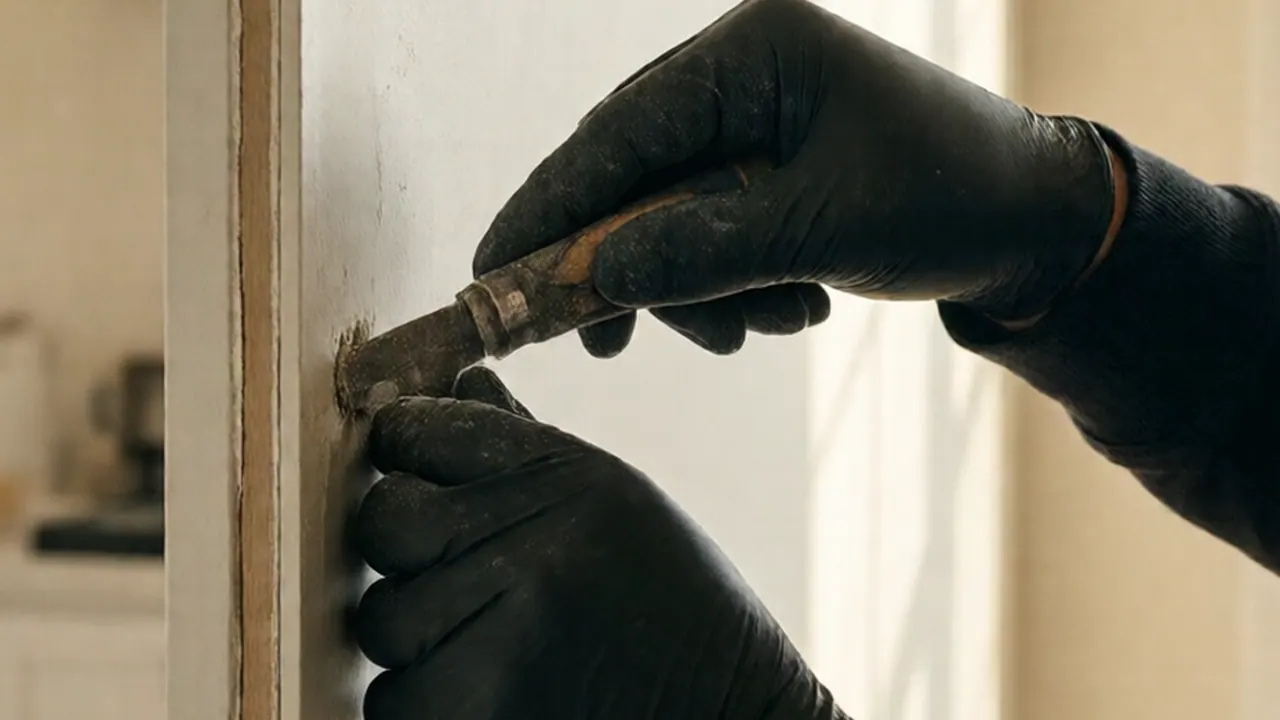
Essential Cleaning Tools and Materials for Wall Prep and Dust Mitigation
Managing fine dust and preparing the wall surface requires dedicated essential cleaning tools and materials. Drywall sanding creates microscopic powder that settles on surfaces and prevents paint from adhering to wallboard paper.
Surface Cleaning Gear
Trisodium Phosphate Substitute (TSP-PF): Mix TSP substitute with warm water to wipe down wall surfaces around the repair area. Oils, soot from fireplaces, and hand grease break the bond between joint compound and painted surfaces. Tack Cloths and Microfiber Towels: Wipe down the repair zone with a dry microfiber cloth after coarse sanding, followed by a slightly damp microfiber towel to pick up lingering powder. * Wall Prep Degreasers: In kitchens and near stove vents, clean walls with a non-abrasive degreaser before applying compound to prevent bubbling.
Dust Containment Equipment
Shop Vacuum with HEPA Filter and Dust Bag: Standard workshop vacuum filters pass fine drywall dust directly back into room air. Install a high-efficiency HEPA cartridge combined with a fine-dust filter bag inside the vacuum drum. Heavy Drop Cloths and Plastic Sheeting: Use heavy canvas drop cloths on hardwood or tile floors to absorb foot traffic. Use 4-mil polyethylene sheeting taped across doorways with painter's tape to isolate the room. * Drywall Wet-Sanding Sponges: Dual-sided contoured sponges absorb water and smooth wet mud edges without releasing airborne dust into indoor living spaces.
Step-by-Step Patching Guide and Compound Selection
Achieving a clean repair requires matching the correct tool to each stage of work. Follow this installation sequence for wall openings larger than 4 inches:
- Cut out a Square Opening: Place a small carpenter square over the damaged wall section. Trace a rectangle around the hole, then cut along the lines using a keyhole saw until you reach open wall cavity space.
- Mount Lumber Backing: Cut two 1x2 pine wood backing strips 4 inches longer than the vertical height of the opening. Slip the strips inside the wall cavity behind the left and right edges. Drive 1-1/4 inch drywall screws through the existing drywall into the wood to clamp them in place.
- Cut and Secure the Drywall Patch: Cut a new sheetrock piece 1/8 inch smaller than the opening. Insert it into the cavity and drive drywall screws through the patch into the backing lumber every 4 inches.
- Tape Seams: Apply a thin bed of setting compound over the four perimeter joints with a 4-inch taping knife. Center paper joint tape over the joints, then press firmly with your knife to squeeze out excess compound.
- Apply Skim Coats: Allow the base layer to harden. Apply a second coat using a 6-inch knife, extending the mud 2 inches past the paper tape edges. Apply a final feathering coat with a 10-inch knife, widening the layer another 3 to 4 inches.
- Sand and Prime: Sand light ridges with a 220-grit foam sanding block. Clean away dust using a microfiber towel, then apply a coat of drywall primer sealer before painting.
Compound Selection Guide
| Compound Type | Recommended Use | Setting / Drying Time | Shrinkage Rate | Sanding Characteristics |
|---|---|---|---|---|
| Setting Compound (20-90 Min) | Deep fills, backing seams, plaster bonding | 20 to 90 minutes (Chemical reaction) | Very low | Hard surface; scrape ridges early |
| All-Purpose Pre-Mix | Taping seams, surface skim coats | 12 to 24 hours (Evaporative) | Moderate | Standard effort; sands smooth |
| Lightweight Topping | Final feathering coats, broad smoothing | 8 to 12 hours (Evaporative) | Low | Soft surface; sands rapidly |
| Vinyl Spackle | Pin holes, small nail dents under 1/2 inch | 1 to 2 hours | High on deep holes | Very soft; minimal sanding required |
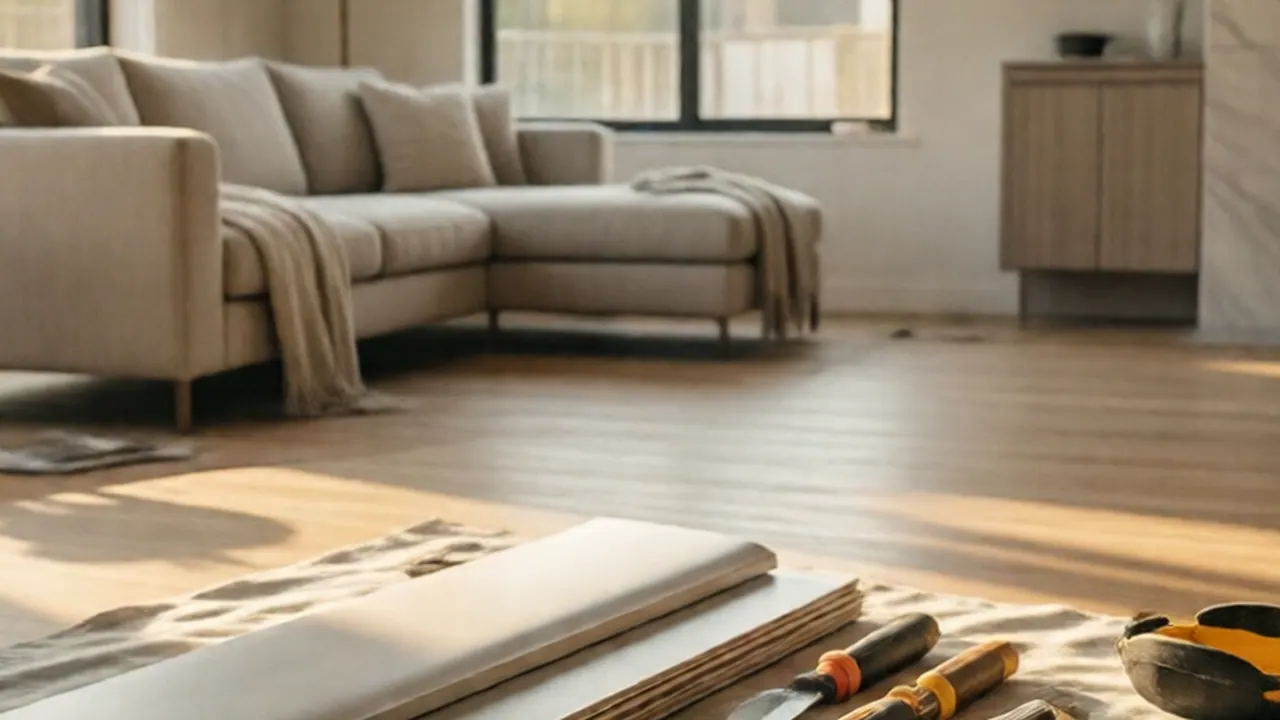
Addressing Settling Cracks in Hillside and Slab-Foundation Homes
Dry climate conditions during Santa Ana wind events drop indoor relative humidity rapidly. Accelerating moisture loss causes standard pre-mixed compounds to shrink and crack prematurely if applied thick in a single pass.
For homes built on concrete slabs or hillside slopes subject to seasonal movement: Do not rely on standard vinyl spackle for structural corner cracks. Spackle lacks internal fiber strength and re-cracks under minor framing shifts. Always use high-strength paper tape or alkali-resistant fiberglass mesh embedded in setting-type compound along seams near door casings and window corners. * Apply multiple thin layers (1/16 inch thick or less) rather than one heavy pass. When Santa Ana winds push humidity below 20 percent, mist air near the work zone or allow extra cure time between coats.
For comprehensive wall restoration details, view our drywall repair service page to learn how framing alignment and surface textures are restored.
When to Call a Pro
While filling minor nail holes and fixing small door-knob dents are straightforward DIY tasks, extensive wall damage benefits from professional equipment and framing experience.
Consider hiring a professional if: The wall cut extends across two or more stud bays (wider than 32 inches), requiring structural framing alignment. Water leaks have softened drywall sheets, created yellowing stains, or exposed internal wall cavities to moisture. Your home features vintage plaster-and-lath construction or heavy knockdown textures that require specialized spray hoppers to match. Fire-rated assemblies, such as the 5/8-inch Type X wall separating an attached garage from living spaces, require repair to local building code standards.
At STATOX Handyman Service, we handle wall repairs across Los Angeles efficiently. Homeowners simply send a photo for a written quote to get a single clear project cost without unexpected add-ons. On arrival, our technicians inspect wall thickness, check for hidden cavity moisture using a pinless meter, verify stud spacing (16-inch or 24-inch on-center), and match existing surface textures from smooth Level 5 to heavy orange peel.
FAQ
What essential cleaning tools and materials are needed after drywall sanding?
The most effective cleaning tools and materials include a HEPA-filtered shop vacuum equipped with a fine-dust filter bag, canvas drop cloths, lint-free microfiber towels, and a damp dual-sided drywall sponge. Avoid dry sweeping with standard brooms, which disperses microscopic silica dust into indoor HVAC systems.
Can I use spackle instead of joint compound for larger drywall patches?
No. Spackle is designed only for small surface dents and nail holes under 1/2 inch wide. On larger cutouts or joints, spackle shrinks heavily, dries brittle, and lacks the structural binder strength required to hold paper joint tape in place.
Should I use paper tape or fiberglass mesh tape on wall seams?
Paper tape offers higher tensile strength and prevents shearing along wall joints when embedded in setting mud. Self-adhesive fiberglass mesh tape is faster to position on flat surfaces, but it must be covered with setting-type compound (hot mud) for its base layer to prevent edge cracking.
What size taping knives do I need to start a repair project?
A practical starter set includes three knife sizes: a 4-inch stiff putty knife for buttering holes and scraping, a 6-inch flexible taping knife for embedding tape, and a 10-inch or 12-inch broad knife for spreading thin final coats over patch edges.
Sources
- California Contractors State License Board (CSLB)
- Los Angeles Department of Building and Safety (LADBS)
- EPA Guide to Mold and Moisture in Your Home
- USG Sheetrock Brand Installation and Finishing Manuals
Permit work: Permit jobs get a written project estimate; permits handled as required.
STATOX Handyman Service · Send a photo · +1 (820) 200-4919
Keep reading
 drywall repairCommon Drywall Problems: Cracks, Holes, Dents and FixesLearn how to fix drywall cracks and holes, from nail pops to doorknob dents, and when a repair needs more than patch and paint. Read before you patch.
 drywall repairDIY vs. Pro Drywall Repair: When to Call a HandymanWeighing diy vs professional drywall repair? Learn which wall damage you can fix yourself and which to hand off, so you avoid redoing the job.
 drywall repairDrywall Cracks in Hollywood Hills Hillside HomesLearn what causes drywall cracks in hillside homes and how drywall repair Hollywood Hills owners can tell cosmetic from serious. Read before you patch.