Exterior Paint Maintenance Guide for Long-Lasting Results
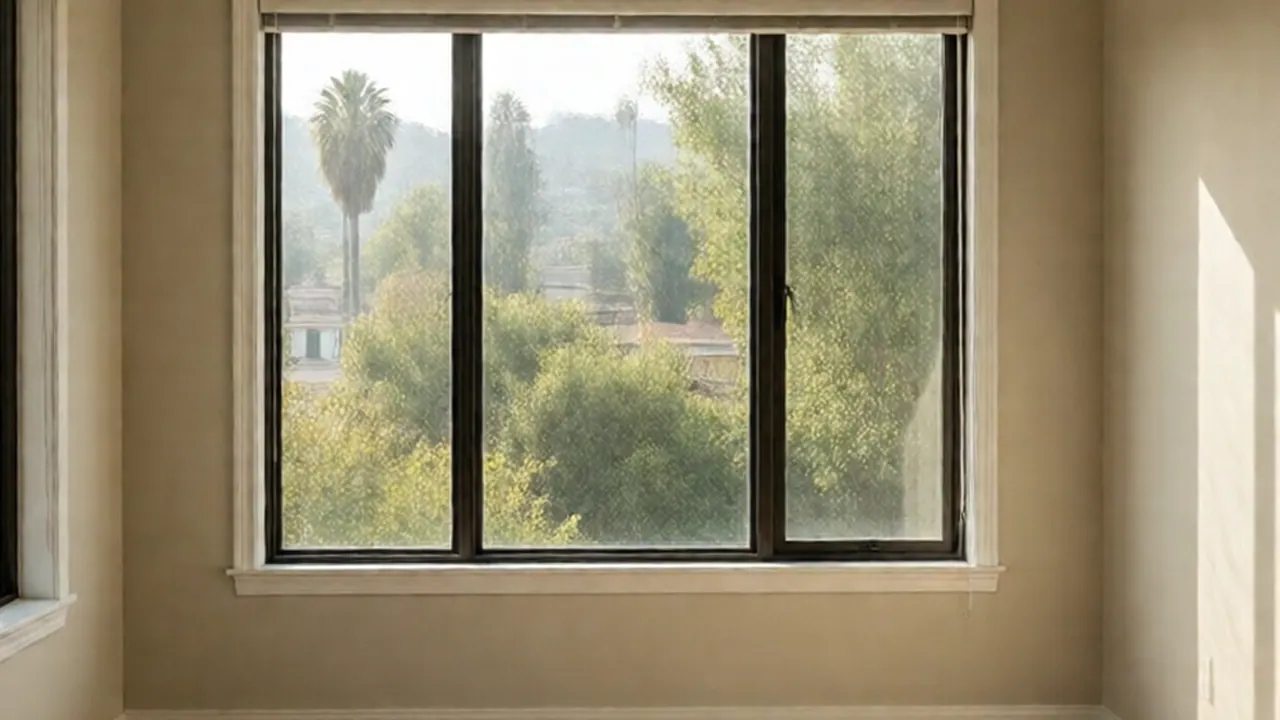
Exterior paint maintenance is the regular inspection, low-pressure washing, and minor caulking touch-up of siding, stucco, and trim to stop moisture and UV rays before the coating fails. Taking care of these small maintenance steps once or twice a year keeps the acrylic film intact, protects the framing underneath, and delays the need for a full repaint.
Maintaining an exterior finish in Southern California comes with distinct regional challenges. Homes in the San Fernando Valley sit under relentless summer heat that bakes west-facing walls, while coastal properties from Santa Monica to the South Bay deal with morning marine dampness and airborne salts. Across the Los Angeles basin, traditional three-coat stucco and pre-1950 Douglas fir wood trim expand and contract at different rates, stressing the coating at every joint.
The Los Angeles Climate: Sun, Stucco, and Santa Ana Dust
Exterior paint in Los Angeles degrades from the outside in due to three localized factors: solar radiation, windborne particulate, and sprinkler overspray.
South- and west-facing elevations absorb intense ultraviolet light for up to ten months of the year. This UV exposure breaks down the binder in exterior latex paint, turning the surface powdery—a failure called chalking. If you rub your hand along a sunny wall and pull away a chalky white residue, the resin has started to degrade.
Santa Ana wind events push fine desert dust and grit against building faces. That dust settles into the heavy sand-float or Spanish lace textures of LA stucco. If left to sit through the damp winter mornings, that dirt bonds to the acrylic binder and feeds mildew in shaded areas under eaves.
A third silent culprit is hard municipal water. Sprinkler heads aimed too close to the home strike the foundation or perimeter stucco, leaving heavy calcium and magnesium deposits. As these minerals dry, they form an alkaline crust that breaks the bond between the paint and the substrate, causing peeling right at the base of the wall.
Annual Exterior Paint Washing: Low Pressure vs. Blasting
Washing the exterior removes accumulated soot, pollen, and salts before they break down the topcoat. However, aggressive power washing often causes more damage than the weather itself. Blasting stucco at 3,000 PSI can blow water past the weep screeds at the bottom of your walls, gouge soft wood siding, and drive water deep behind window flashing paper.
For standard yearly cleaning, stick to low-pressure techniques.
- Rinse the surface: Use an ordinary garden hose equipped with a multi-pattern nozzle set to a wide fan or flat spray. Work from the top of the wall downward to rinse away loose dust and spider webs.
- Apply a mild cleaning solution: In a five-gallon bucket, mix warm water with a mild, biodegradable household cleaner or a phosphate-free TSP substitute. For mildew spots under north-facing eaves, add a cup of household oxygen bleach to help lift the spores.
- Scrub with a soft bristle brush: Use a car-wash brush mounted on a threaded painter's extension pole (adjustable from 6 to 12 feet). Gently work the soapy water into textured stucco and along the undersides of horizontal lap siding.
- Final thorough rinse: Wash down the wall completely with fresh water from your garden hose. Ensure no soapy residue dries on the surface, as dried surfactant leaves dull streaks in the paint finish.

Inspecting and Sealing Vulnerable Joints
Water does not usually enter through the broad, flat face of a wall; it enters through joints, gaps, and cracks. Conduct a walk-around inspection twice each year—ideally in early autumn before winter rains arrive, and again in spring.
Pay special attention to these high-movement areas: Window and door perimeters: Check where the wood or vinyl frame meets the stucco casing. Fascia board corners: Inspect the mitered joints on roof fascia boards, which pull apart as roof lines settle. * Stucco stress lines: Look above door headers, window corners, and along foundation transitions where ground shifting creates hairline fractures.
For stucco cracks narrower than 1/16 of an inch (hairline cracks), use a knife-grade elastomeric stucco patching compound rather than hard spackle. Apply a small dab with your finger or a putty knife, then immediately blend the edges with a damp grout sponge. The texture of the sponge mimics the surrounding sand finish and hides the repair.
For wood trim joints and window frames, clean out old, cracked caulking with a 5-in-1 tool. Wipe the seam clean and apply an exterior-grade, paintable elastomeric sealant meeting ASTM C920 specifications. Smooth the bead with a damp finger or profile tool, leaving a flexible seal that expands and contracts without tearing. Never use 100% silicone on surfaces you intend to paint, as exterior water-based paints cannot stick to silicone.
Touch-Up Strategies and Product Compatibility
Spot touch-ups keep raw materials protected without the expense of coating an entire wall. If you maintain premium paint products, such as Dulux Weathershield or high-grade domestic acrylics, matching the original color and sheen takes careful preparation.
| Paint Problem | Likely Cause in Los Angeles | Corrective Action |
|---|---|---|
| Flaking along the base | Hard water sprinkler spray or damp soil touching stucco | Re-aim irrigation heads; dig soil 2 inches below weep screed; scrape, prime, and repaint |
| Open trim miters | Seasonal wood movement from damp marine air to dry Santa Ana winds | Scrape old sealant, apply paintable elastomeric caulk, spot-coat with exterior acrylic |
| Hairline stucco cracks | Natural settling on hillside lots or thermal expansion | Fill with elastomeric patch using a damp sponge to match texture; spot-paint with roller |
| Chalky residue on finish | Prolonged UV radiation on south/west facing walls | Wash down with mild cleaner and soft brush; if chalking persists, apply an exterior binding primer |
| Peeling on wood sills | Standing water puddling on flat exterior surfaces | Sand down to bare wood with 80-grit then 120-grit paper; prime with exterior wood primer |
When addressing Dulux exterior paint maintenance or touching up similar 100% acrylic latex finishes, always blend your paint. Paint stored in a garage for two or three years can separate, and the paint on your house has naturally weathered under the sun.
Stir stored paint thoroughly with a drill paddle for two minutes. Pour some paint into a small working cup and thin it with about 5% clean water to keep the touch-up edges wet longer. Use a 2-inch or 2.5-inch synthetic angled sash brush for trim, or a 1/2-inch nap roller for stucco patches. Feather the edges outward into the existing paint by reducing pressure on the brush or roller as you move away from the repair center.

Protecting Wood Trim, Fascia, and Rafter Tails
Many architectural styles throughout LA—from 1920s Spanish Revivals to mid-century post-and-beam homes—feature exposed exterior wood rafter tails and wood fascia. These are the most common failure points for exterior paint.
End-grain wood absorbs moisture up to twelve times faster than face grain. When roof gutters overflow during seasonal downpours or leaf debris backs up near downspouts, water curls around the fascia board and soaks the ends of the rafters. Once the paint film cracks on an end grain, wood rot sets in quickly.
Inspect rafter tails by gently probing the lower ends with a small flathead screwdriver. If the wood feels soft or spongy, the paint has failed to seal out water, and the substrate requires wood hardener or partial replacement.
If the wood is sound but the paint is peeling: 1. Scrape loose paint back to a firm edge using a carbide scraper. 2. Sand the raw edge with 100-grit aluminum oxide sandpaper to smooth the transition. 3. Coat the bare wood—especially the end grain facing outward—with a high-solids exterior oil-based or acrylic bonding primer. 4. Topcoat with two coats of exterior satin or semi-gloss acrylic, wrapping the paint slightly around the backside of the rafter to fully encapsulate the wood tip.
When to Call a Pro
A dedicated homeowner can easily handle annual washing, ground-level caulk inspection, and low-level paint touch-ups. However, certain conditions make hiring a professional the smarter, safer path.
Working on two-story homes or steep hillside lots requires specialized scaffolding or heavy extension ladders. Falls from ladders remain one of the most common home maintenance injuries; OSHA ladder guidelines specify keeping a 4-to-1 angle ratio and maintaining three points of contact at all times. If your maintenance requires working high above sloping ground or balancing on pitched roofs, leave the job to experienced hands.
Older Los Angeles homes built before 1978 often contain original lead-based paint under modern coats. The EPA warns that scraping, power sanding, or torching old paint releases hazardous lead dust into soil and living spaces. If older paint is peeling down to original substrate layers, professional containment is essential.
When you contact us for a painting service, our process starts before anyone climbs a ladder. You can simply send a photo for a written quote showing the problem areas—whether it is blistered trim, failing stucco joints, or cracked rafter tails. We evaluate the image and provide one clear, written price for the scope of work.
When our crew arrives on site, we do not simply cover over problems with fresh paint. We inspect the weep screeds for clear drainage, probe framing around window corners for hidden dry rot, and test the adhesion of old paint layers to confirm whether spot repairs will hold or if full mechanical scraping is required.
FAQ
How often should I wash my home's painted exterior?
In most Los Angeles neighborhoods, washing your exterior once a year is plenty. If your home sits near heavy freeway traffic, coastal fog, or in wind corridors like the northern Valley, washing every six months prevents particulate matter and salt from grinding into the paint film.
What is the proper Dulux exterior paint maintenance schedule?
For homes coated in Dulux Weathershield or comparable premium acrylic systems, inspect joints and caulking every autumn before rain begins. Rinse down walls annually using a low-pressure garden hose. Because these paints have flexible elastomeric qualities, check hairline stucco cracks every twelve months and touch them up with matched paint before small surface fractures widen.
Can I use a pressure washer to clean peeling exterior paint?
Use extreme caution with pressure washers on residential exteriors. High-pressure tips can gouge wood, strip the surface texture off stucco, and blow water straight behind wall flashing into wall cavities. Scraping by hand with a sharp carbide scraper after a gentle wash is far safer for the home's framing.
Why is paint bubbling near the bottom of my stucco walls?
Bubbling near the base of an exterior wall usually stems from ground moisture or sprinkler overspray. If garden mulch, soil, or hardscaping covers the metal weep screed at the foundation base, moisture wicks upward into the stucco. When the sun heats the wall, that trapped moisture turns to vapor, lifting the paint off the surface in large bubbles.
Can I paint over hairline stucco cracks without patching them first?
Standard exterior paint bridges microscopic fractures, but true hairline cracks (up to 1/16 inch) will reappear within months if simply painted over. Work an elastomeric patching compound into the split with a damp sponge first, let it cure, and then apply matching paint.
Sources
- OSHA: Ladder Safety Rules and Regulations
- EPA: Protect Your Family from Exposures to Lead
- California Contractors State License Board: Consumer Guide to Hiring
- Los Angeles Department of Building and Safety: Permits and Code Requirements
Permit work: Permit jobs get a written project estimate; permits handled as required.
STATOX Handyman Service · Send a photo · +1 (820) 200-4919
Keep reading
 paintingAcrylic vs Oil-Based Paint: Which Fits Your ProjectAcrylic vs oil based paint explained for Los Angeles homes: where each works, how they differ in cleanup, smell, and finish, and how to choose with confidence.
 tileChoosing a Bathroom Floor Tile Layout, Size, and PatternChoosing bathroom floor tile requires balancing substrate stiffness, slip resistance, and tile format. Learn how to plan layouts for Los Angeles homes.
 bathroomBathroom Lighting Upgrade Guide for Better VisibilityPlanning a bathroom lighting upgrade in your Los Angeles home requires wet-rated fixtures, proper sconce height, and anchors for lath and plaster walls.