Choosing a Bathroom Floor Tile Layout, Size, and Pattern
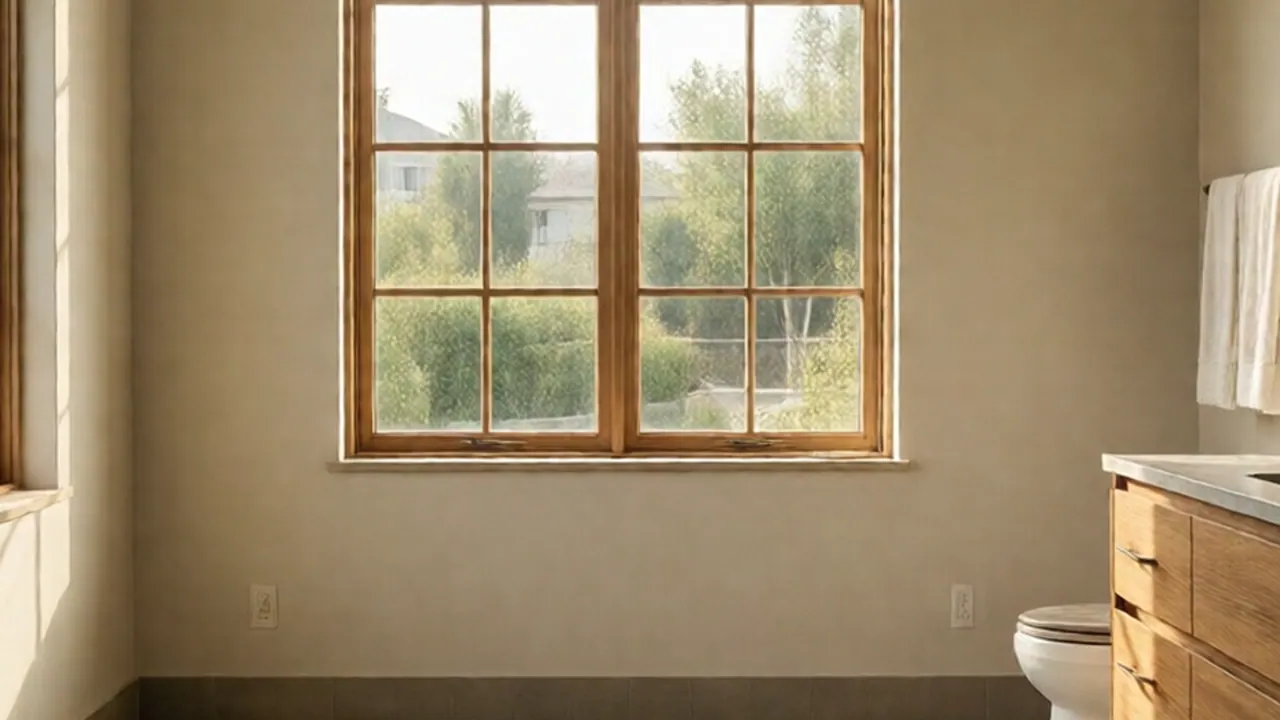
Choosing bathroom floor tile requires matching the tile dimensions and layout pattern to your room dimensions, substrate stiffness, and drainage slope. For safe footing and structural longevity, choose tiles with a dynamic coefficient of friction (DCOF) rating of 0.42 or higher wet and size your grout joints to accommodate subfloor deflection.
Selecting tile is not just an aesthetic decision; it directly affects structural performance and water resistance. Los Angeles homes present distinct structural framing conditions depending on the build era. Pre-1950 Craftsman bungalows and Spanish Colonial homes in neighborhoods like Highland Park or Miracle Mile often have 1x6 diagonal pine subfloors over 2x8 joists. Post-war mid-century tract homes in the San Fernando Valley typically sit on concrete slab foundations, while hillside structures in Silver Lake experience gradual soil settling. Each subfloor type flexes and shifts differently beneath heavy porcelain or natural stone.
Matching Tile Size to Subfloor Stiffness and Deflection Limits
Tile dimensions dictate how your subfloor responds to foot traffic. Large format tiles—defined by the Tile Council of North America (TCNA) as any tile with at least one edge longer than 15 inches (such as 12x24 or 24x24 inch porcelain)—demand a flat subfloor. TCNA guidelines specify that substrates for large format tile must not deviate by more than 1/8 inch over a 10-foot span, compared to a 1/4-inch tolerance over 10 feet for smaller standard ceramics.
If you lay a 12x24-inch tile over an uneven subfloor, the tile edges catch against each other, producing uneven vertical ridges known as lippage. In older Los Angeles homes with dimensional lumber subfloors, joist deflection will cause rigid porcelain tiles to crack under load unless the framing is reinforced. Standard ceramic tile requires a deflection limit of L/360, meaning the floor deflects no more than the joist span length divided by 360 when walked on. Heavy natural stones like marble or travertine require a stiffer standard of L/720.
For compact bathrooms under 45 square feet, smaller tiles such as 2x2-inch mosaics conform naturally to minor dips in the subfloor. Mosaics also allow installers to maintain a uniform slope toward a central floor drain or curbless shower entrance, an adjustment that rigid 24x24-inch tiles cannot accomplish without cutting envelope relief lines into the stone.
Tile Layout Patterns: Grid, Offset, and Herringbone
Layout patterns govern how sightlines travel through the room and determine the amount of material waste you need to order.
- Straight Grid (Stack Bond): Tiles align corner to corner in continuous rows and columns. This pattern emphasizes clean geometric lines and produces minimal installation waste, typically requiring only 5 to 7 percent extra material for end cuts.
- Running Bond (Standard 50-Percent Offset): Joints stagger by half a tile length, mimicking traditional brickwork. While effective for square tiles, never use a 50-percent offset on rectangular porcelain tiles longer than 15 inches. Kiln firing creates a natural upward bow or crown along the center of long porcelain tiles. Placing the end of one tile directly beside the crown of the neighboring tile highlights this height difference, causing noticeable lippage.
- 33-Percent Staggered Offset: The recommended layout for 12x24-inch or wood-plank porcelain tiles. Each row shifts by no more than one-third of the tile's total length. This places the tile corners near the lower shoulder of adjacent tiles rather than against the highest point of the center crown.
- Herringbone: Tiles sit at 45-degree or 90-degree angles in an interlocking V-pattern. Herringbone visually widens narrow bathrooms by directing sightlines outward toward the baseboards. However, the diagonal boundary cuts increase material waste to 15 or 20 percent.
Choosing Floor Tile for Small Bathroom Layouts
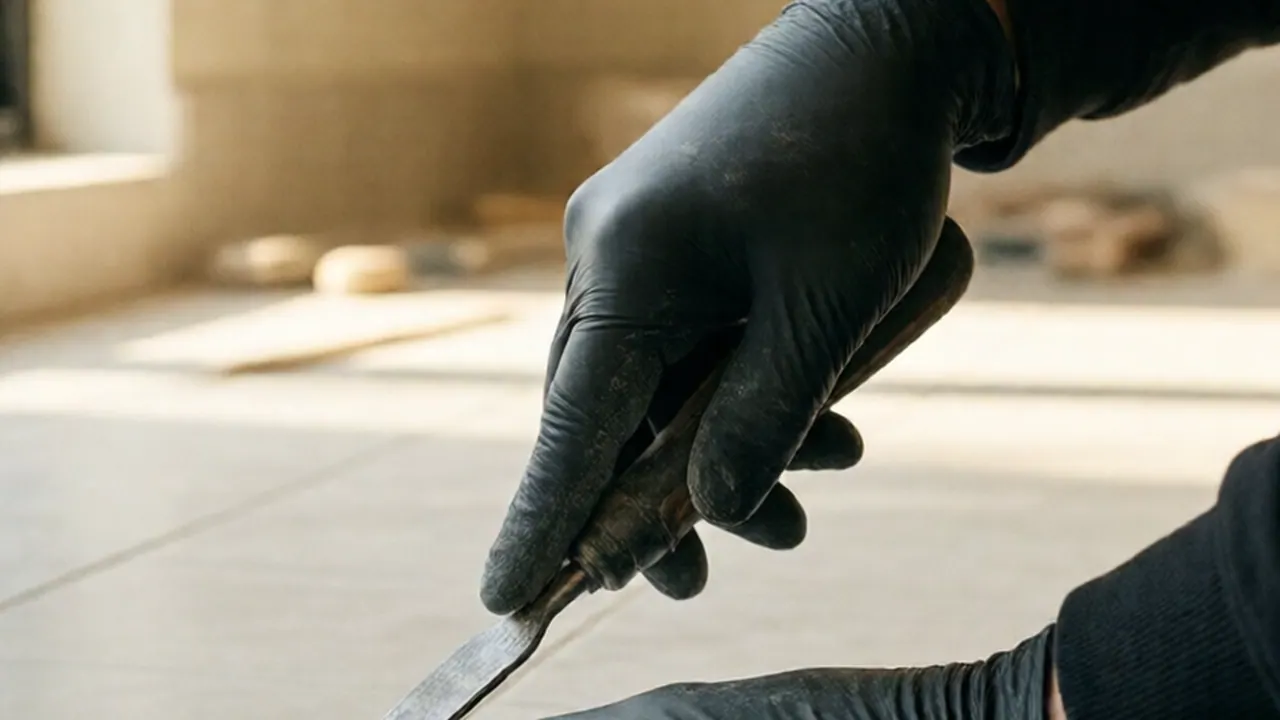
Homeowners frequently ask about choosing floor tile for small bathroom floorplans where vanities, toilets, and inward door swings leave limited open floor area. Compact rooms do not automatically require tiny tiles. Installing 12x24-inch tiles in a 33-percent offset reduces the overall number of grout joints, making a 35-square-foot room feel less broken up.
Using large tiles in small spaces does require advance measurement to prevent narrow, pencil-thin cuts along baseboards or shower curbs. Installers dry-fit the center row first so that cut tiles on opposing walls stay wider than half a tile.
| Tile Format | Slip Resistance (DCOF) | Recommended Grout Joint | Subfloor Requirement | Recommended Application |
|---|---|---|---|---|
| 2x2 Hexagon Mosaic | High (DCOF > 0.60) | 1/8 inch | Conforms to slight slopes | Sloped shower floors & powder rooms |
| 12x12 Ceramic | Moderate (DCOF 0.42–0.50) | 3/16 inch | 1/2-inch cement backer board | Standard residential bathrooms |
| 12x24 Porcelain | Varies by finish (DCOF ≥ 0.42) | 1/8 to 3/16 inch | Flat subfloor (Max 1/8 in dip per 10 ft) | Primary bathrooms & wide floorplans |
| 6x36 Wood-Look Plank | Textured (DCOF ≥ 0.50) | 3/16 inch (Max 33% offset) | Double-layer wood subfloor or uncoupling mat | Long, narrow hallway bathrooms |
Grout Joint Widths, Slip Resistance, and Hard Water Factors
Grout joint sizing depends on whether a tile has rectified edges and how much foot traction the room requires.
Slip Resistance (DCOF Ratings)
ANSI A137.1 specifies that interior level floor surfaces expected to get wet must carry a minimum dynamic coefficient of friction (DCOF) of 0.42. Highly polished porcelain and slick glazed tiles drop below this rating when wet. Matte glazes, textured stone, and smaller mosaic sheets provide mechanical grip through their surface profile and closely spaced grout joints.
Grout Sizing and Edge Profiles
Rectified tiles are cut to exact dimensions after firing, featuring crisp 90-degree edges that allow narrow grout joints of 1/8 inch or 1/16 inch. Non-rectified tiles retain slight dimensional variances from the kiln and require joints of at least 3/16 inch to absorb these differences. Use sanded cement grout or high-performance pre-mixed grout for joints 1/8 inch and wider. Unsanded grout is reserved for joints narrower than 1/8 inch or for polished surfaces that scratch easily.
Managing Southern California Hard Water
Tap water supplied across the Los Angeles basin contains elevated levels of dissolved calcium and magnesium. In bathrooms where water routinely drips onto the floor, dark charcoal or pure white grout lines show mineral crusting and soap residue quickly. Choosing mid-tone grout shades—such as warm gray, greige, or taupe—masks mineral deposits between routine cleanings. In addition, dry Santa Ana wind conditions drive fine outdoor dust through window seals, making darker floor tiles and grout lines require more frequent sweeping.

Step-by-Step Prep and Dry-Fit Checklist Before Layout
Before mixing thin-set mortar, complete this preparation sequence to verify floor alignment:
- Inspect the Framing and Subfloor: On raised wood foundations, verify that the subfloor is at least 5/8-inch exterior plywood secured to joists without squeaks or vertical movement. On concrete slabs, scrape away drywall overspray, sweep out dust, and inspect the slab for hairline settlement cracks. Install an uncoupling membrane to isolate the tile from slab expansion.
- Establish Reference Lines: Measure the opposing walls to find room centerpoints. Snap two perpendicular chalk lines across the room, checking the intersection with a 3-4-5 framing triangle to ensure a 90-degree reference point.
- Perform a Dry Layout: Place a full row of loose tiles along both reference lines, placing plastic spacers between them to simulate the finished grout joints.
- Balance the Perimeter Cuts: Shift your reference lines if the cut pieces touching the baseboards or vanity kick-plate measure less than half a tile wide. Adjusting the layout avoids fragile, 1-inch slivers at the bathroom entry threshold.
- Select the Correct Mortar and Trowel: For large format porcelain, use polymer-modified thin-set mortar matching ANSI A118.4 standards applied with a 1/2x1/2-inch square-notched trowel. Back-butter each tile by spreading a thin, flat coat of mortar directly onto the back of the tile before setting it into the ridges. Check lifted sample tiles to verify that mortar covers at least 80 percent of the tile surface in dry areas and 95 percent in wet areas.
At STATOX, our planning process begins before tools touch the subfloor. Homeowners send a photo for a written quote showing the room outline, plumbing fixtures, and current floor condition. We review the layout requirements and provide one written price covering labor and site prep. Upon arrival, our technicians check joist deflection, verify concrete moisture levels, test tile DCOF compliance, and snap layout lines before mixing any mortar. If your subfloor needs structural reinforcement or waterproofing underlayment, our tile service team manages the framing prep, membrane installation, and final grout application.
When to Call a Pro
A straightforward dry layout using square ceramic tiles in an uncomplicated half-bath can be handled as a standard weekend DIY project. However, certain subfloor and structural conditions warrant hiring an experienced professional:
- Excessive Subfloor Deflection: If you feel the floor bounce or notice loose baseboards in an older home, floor joists may need sistering or center blocking from underneath to prevent porcelain tiles from cracking.
- Settlement Cracks in Concrete Slabs: Tiling directly over cracked concrete causes reflective cracks to transfer straight up through the tile. A professional will mechanically prep the concrete and install a crack-isolation membrane or self-leveling underlayment.
- Curbless and Walk-In Showers: Lowering a subfloor to create a continuous, barrier-free transition between the bathroom floor and shower pan requires sistering joists, recessing the floor plane, and establishing precise drainage pitch.
- Heavy Lippage on Large Tiles: Setting 12x24-inch or larger porcelain tiles on uneven framing requires mechanical leveling spacers, directional troweling, and back-buttering to keep the surface flat underfoot.
FAQ
tips for choosing bathroom floor tiles
Focus on slip resistance, subfloor stiffness, and local water conditions. Select tiles with a wet dynamic coefficient of friction (DCOF) of 0.42 or higher to prevent slip hazards. Ensure wood subfloors meet the L/360 deflection limit for ceramic tile or L/720 for natural stone. In Southern California, choose mid-tone grout shades to disguise calcium scaling caused by hard municipal tap water.
choosing floor tile for small bathroom
Use 12x24-inch tiles set in a 33-percent offset pattern to minimize the density of grout lines and make the floor space appear less cluttered. If the bathroom features an open floor drain or a sloped walk-in shower area, select 2x2-inch mosaic tiles instead, as they conform to sloped surfaces without needing relief cuts.
What tile layout makes a narrow bathroom look wider?
Laying rectangular tiles perpendicular to the room's longest walls makes a narrow floorplan appear wider by running the grout lines side to side. Running a herringbone pattern at a 45-degree angle from the doorway also pushes visual attention outward toward the side walls.
Why do installers avoid a 50-percent offset on 12x24 porcelain?
During the manufacturing process, long porcelain tiles naturally bow slightly upward in the center. A 50-percent offset places the lowest point of one tile (its edge) directly beside the highest point of the neighboring tile (its center crown). This mismatch causes prominent lippage that creates tripping hazards and uneven shadows. A 33-percent maximum offset prevents this issue.
Sources
- Tile Council of North America (TCNA)
- California Contractors State License Board (CSLB)
- Los Angeles Department of Building and Safety (LADBS)
- US EPA: Mold and Moisture Guide
Permit work: Permit jobs get a written project estimate; permits handled as required.
STATOX Handyman Service · Send a photo · +1 (820) 200-4919
Keep reading
 tileCracked or Loose Tile: Causes and Fixes for LA HomesCracked tile repair Los Angeles homeowners can trust starts with finding the cause. Learn what makes tile crack or loosen and what actually fixes it.
 tileDIY or Hire a Pro for Tile Work? How to Decide in LAWeighing DIY tile vs hiring a pro in Los Angeles? Use this plain-language guide to match the job, your tools, and your patience before you start.
 tilePorcelain vs Ceramic Tile: Which Fits a Los Angeles Home?Porcelain vs ceramic tile for Los Angeles homes: how they differ in water, wear, and install, and which suits your floor, shower, or backsplash. Read first.