Bathroom Lighting Upgrade Guide for Better Visibility
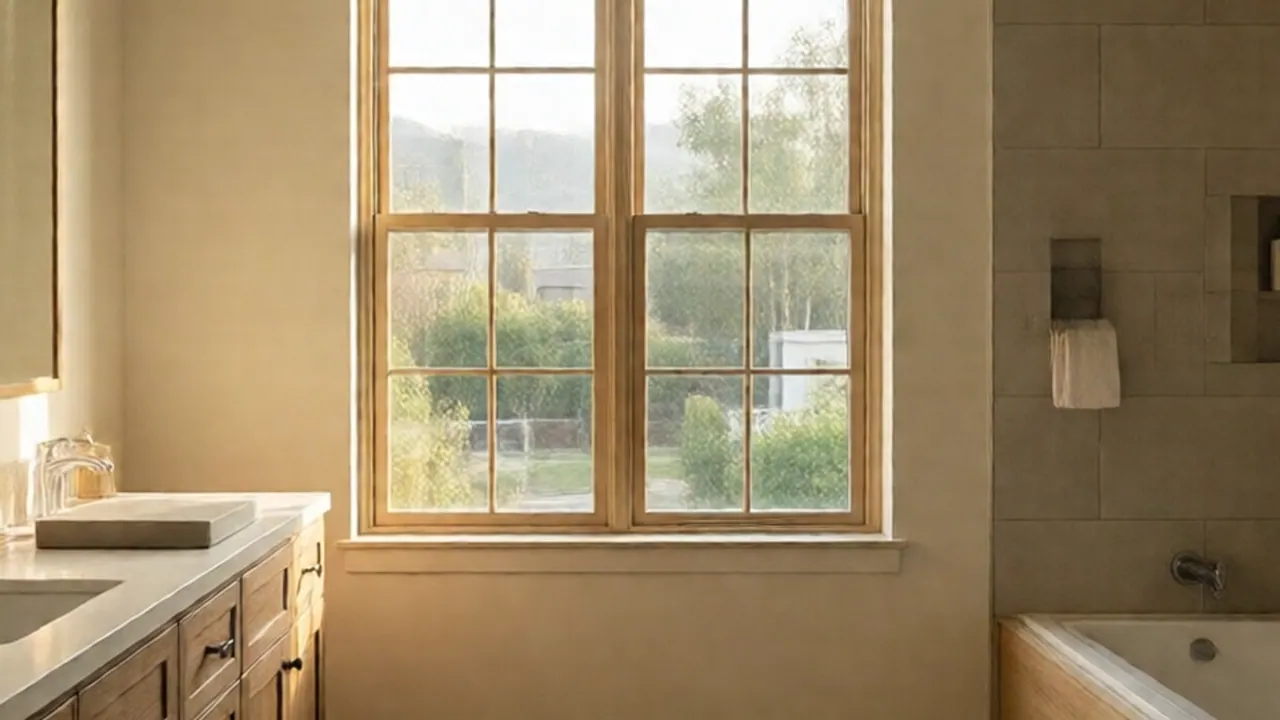
A bathroom lighting upgrade replaces single-fixture overhead glare with targeted, wet-rated layers of light across the vanity, shower, and room space. Upgrading your fixtures fixes cross-shadowing while shaving or applying cosmetics while ensuring moisture resistance.
In older Los Angeles neighborhoods—from 1920s Spanish Colonial plaster homes in Mid-City to 1950s ranch houses in the San Fernando Valley—most bathrooms were built with a single ceiling globe or a raw bulb socket wired directly above a medicine cabinet. These central sources cast heavy shadows beneath the eyes and chin while leaving shower stalls dim. Modern lighting upgrades solve this by separating task lighting from ambient light and installing dedicated damp- or wet-rated fixtures where moisture accumulates.
Why Single-Bulb Bathrooms Fail in Los Angeles Homes
Single ceiling fixtures push light straight down onto the top of your head. This direct vertical angle creates dark shadows under your brow, nose, and chin, making detailed grooming difficult. In addition, older Los Angeles housing stock presents specific structural challenges that affect how light travels and how fixtures mount:
- Plaster and Lath Walls: Pre-1950 homes use 3/8-inch wood lath covered by heavy gypsum or lime plaster. Traditional shallow junction boxes in these walls are often nailed directly into irregular wood framing, causing modern flush-mount fixtures to sit crooked.
- Deep Cavities and Wall Thickness: Plaster construction can add 1 to 1.5 inches of wall depth before reaching a stud, making standard 1-inch electrical box screws too short to secure heavy wall sconces.
- Santa Ana Dust Accumulation: Airborne dust blown in during dry Santa Ana wind events settles inside open-topped glass vanity shades, reducing light output over several months if fixtures are difficult to access and clean.
- Enclosed Dark Showers: Mid-century slab-foundation homes frequently feature tiled shower alcoves built without overhead wiring, relying entirely on weak light bouncing over a glass enclosure or shower curtain.
Upgrading your fixtures requires balancing physical mounting requirements with proper fixture positioning to ensure crisp, even illumination across the room.
Designing Three Layers: Task, Ambient, and Wet Zones
To achieve balanced illumination without glare, divide your bathroom into three functional zones: task, ambient, and wet-rated shower lighting.
``` +-------------------------------------------------------------------+ | CEILING ZONE | | [Ambient Light: Flush Mount or Recessed Cans (2700K - 3000K)] | +-------------------------------------------------------------------+ | v +-------------------------------------------------------------------+ | VANITY TASK ZONE | | [Sconce] (36"-40" apart) ---> [MIRROR] <--- [Sconce] (Eye-level)| | Target: 3000K, 90+ CRI, 800+ Lumens | +-------------------------------------------------------------------+ | v +-------------------------------------------------------------------+ | SHOWER / WET ZONE | | [Wet-Rated IP65/UL Wet Listed Recessed Light over Drain] | +-------------------------------------------------------------------+ ```
1. Task Lighting at the Mirror
Mounting vertical sconces on both sides of the mirror provides accurate facial illumination. Position the center of each fixture roughly 60 to 65 inches off the finished floor (or at eye level) and space them 36 to 40 inches apart. If your vanity setup leaves no room for side sconces, install a multi-bulb vanity bar centered directly above the mirror, placing the light source 75 to 80 inches off the floor.
For accurate color representation when applying cosmetics or checking skin tones, select LED bulbs or fixtures with a Color Rendering Index (CRI) of 90 or higher and a color temperature of 3000K (neutral white). Lower ratings (under 80 CRI) cast a greenish or yellow hue over skin tones.
2. Ambient Lighting for the Room
Ambient light fills the overall space and softens stark contrast between task zones. A centered flush-mount ceiling fixture or two to four shallow-ceiling recessed cans provide general room illumination. Keep ambient color temperatures aligned with your task lighting (between 2700K and 3000K) so the room does not feel split between harsh blue and dull yellow tones.
3. Wet-Rated Lighting for Showers and Tubs
Fixtures installed directly inside shower stalls or above bathtub footprints must be UL Wet Listed (or rated IP65). Standard damp-rated vanity lights will corrode, short-circuit, or accumulate internal condensation when subjected to direct steam and splashing water from high-pressure showerheads. Use enclosed, gasketed recessed trim kits designed specifically for wet environments.

Mounting Sconces on Plaster, Lath, and Tile Walls
Installing new lighting fixtures in older Los Angeles homes often requires working with plaster, lath, or wall tile rather than simple drywall.
Step-by-Step Fixture Replacement and Mounting:
1. Disconnect Power and Verify: Shut off the dedicated circuit breaker at the main service panel. Test the existing fixture wires with a non-contact voltage tester to confirm zero current. 2. Inspect the Existing Junction Box: Remove the old fixture. Check if the box is a 4-inch octagonal box, a round 3.5-inch box, or an ungrounded shallow pancake box. Ensure the box is securely fastened to a stud or blocking; fixtures weighing over 6 pounds cannot rely on hollow-wall anchors. 3. Prepare the Wall Opening: - If cutting into plaster: Score the cut perimeter with a utility knife to prevent plaster keys from breaking loose inside the wall. Cut the opening using an oscillating multi-tool fitted with a diamond or carbide blade. - If mounting on tile: Use a diamond-tipped core drill bit cooled with water to drill mounting holes through ceramic or porcelain tile, taking care not to strike structural studs behind the backer board with standard masonry bits. 4. Anchor for Heavy Fixtures: Where stud access is missing, use 1/4-inch steel snap-toggle anchors rated for hollow walls instead of plastic conical anchors. Plastic wall plugs slip out of thick plaster or tile over time under the weight of glass-shaded fixtures. 5. Wire Connection and Grounding: Connect supply wires (black to black hot, white to white neutral) using appropriately sized wire nuts filled with anti-corrosion silicone gel if high humidity is present. Secure the fixture ground wire to the box grounding screw or copper circuit ground wire. 6. Seal Wall Penetrations: Apply a thin bead of 100% silicone sealant around the perimeter of the fixture canopy where it meets tile or plaster to keep moisture out of the junction box cavity.
Vanity Lighting Configuration Comparison
Choosing the right layout depends on your vanity width, mirror size, and wall construction.
| Lighting Configuration | Ideal Application | Light Distribution | Installation Complexity | Primary Advantage |
|---|---|---|---|---|
| Dual Side Sconces | Single vanities (24" to 48" wide) | Even horizontal cross-illumination | Moderate (Requires two junction boxes) | Completely eliminates face shadows |
| Overhead Vanity Bar | Wide vanities or tight side-clearance walls | Downward and outward task light | Low (Uses single central junction box) | Retrofits easily into existing single-wire outlets |
| Recessed Cans + Side Sconces | Medium to large master bathrooms | Separates overall room fill from task detail | High (Requires ceiling and wall wiring) | Offers complete control over brightness levels |
| Integrated LED Mirror | Compact bathrooms with limited wall space | Direct forward light from glass perimeter | Moderate (Requires flush recessed outlet behind mirror) | Clean look with built-in defoggers |

How STATOX Handles Bathroom Lighting Upgrades
At STATOX, we eliminate guesswork by standardizing how we evaluate and complete lighting upgrades in your home.
When you reach out, you simply send a photo for a written quote. We review your current layout, wall material, and fixture type to provide one clear, written price upfront—no surprise charges midway through the job.
On arrival, our technician performs a standard safety check before opening any walls: - Circuit Load & GFCI Protection: We test if your bathroom circuit is protected by a functional Ground Fault Circuit Interrupter (GFCI) outlet or breaker as required near water sources. - Wire Gauge and Insulation: We inspect existing branch wiring (checking for older cloth-covered wire common in pre-1950 LA homes or knob-and-tube remnants) to ensure it can safely handle modern fixture ratings. - Junction Box Attachment: We verify that existing boxes are properly rated and securely fastened to wall framing before hanging heavy glass fixtures.
Whether you need a simple fixture swap or a complete vanity light reconfiguration, our team completes your bathroom service efficiently and cleanly.
When to Call a Pro
While replacing a like-for-like fixture on modern drywall can be a straightforward project, certain conditions require experienced help:
- Cutting into Lath and Plaster: Opening plaster walls without the right tools can crack large sections of the wall finish, requiring extensive plaster repair.
- Running New Wiring Across Walls: Adding side sconces where only a single overhead fixture existed requires fishing electrical wire behind solid fire-blocks inside older wall cavities.
- Upgrading Legacy Electrical Boxes: Older 2-inch shallow boxes or ungrounded metal boxes must be retrofitted to meet modern installation standards.
- Adding New Dedicated Circuits: If your bathroom lights dim whenever a hair dryer or curling iron is plugged in, the circuit may need to be split at the main breaker panel.
Frequently Asked Questions
What color temperature is recommended for bathroom vanity lighting?
A color temperature of 3000K (neutral white) with a 90+ CRI rating provides accurate light for grooming and makeup application. It avoids the harsh yellow cast of 2700K bulbs and the cold blue light of 4000K or 5000K daylight bulbs.
Do shower lights need special ratings?
Yes. Any light fixture installed directly inside a shower enclosure or above a bathtub footprint must be UL Wet Listed or IP65 rated. Damp-rated fixtures are only designed for humid room air, not direct contact with water spray or steam condensation.
Can I install wall sconces if there is no stud behind the mirror?
Yes, but you must use heavy-duty hollow-wall anchors such as 1/4-inch steel snap-toggles rated for the weight of your specific fixture. If the sconce is particularly heavy, wood blocking should be installed behind the plaster or drywall.
How high above the mirror should an overhead vanity light be placed?
An overhead vanity fixture should be mounted so the bulbs sit roughly 75 to 80 inches above the finished floor, centered directly over the mirror. This height keeps the bulbs above eye level while directing light down across your face.
Why do my new LED bathroom lights flicker when turned on?
Flickering usually occurs when LED fixtures or bulbs are paired with an older wall dimmer switch designed for incandescent bulbs. Replacing the switch with an LED-compatible dimmer (ELV or CL rated) resolves the issue.
Sources
- California Contractors State License Board (CSLB) - Consumer Information
- Los Angeles Department of Building and Safety - Permits & Inspections
- U.S. Environmental Protection Agency - Mold and Moisture Control
- California Department of Housing and Community Development
Permit work: Permit jobs get a written project estimate; permits handled as required.
STATOX Handyman Service · Send a photo · +1 (820) 200-4919
Keep reading
 bathroomBathroom Repair Prep Checklist Before the Handyman VisitUse this bathroom repair prep checklist to clear the space, gather photos, and find your shutoffs so your handyman visit goes smoothly. Read before you book.
 bathroomBathroom Tile vs Vinyl vs Acrylic Surrounds: ComparedBathroom tile vs vinyl vs acrylic: how each surround handles water, cleaning, and repairs in Los Angeles homes. Read before you choose your material.
 bathroomBel Air Bathroom Repairs in Hillside and Older HomesPlanning bathroom repair Bel Air homes need? Learn what hillside and older houses hide behind tile and drywall, and what to check first before it gets costly.