Painting Older Plaster Walls in Cheviot Hills Homes
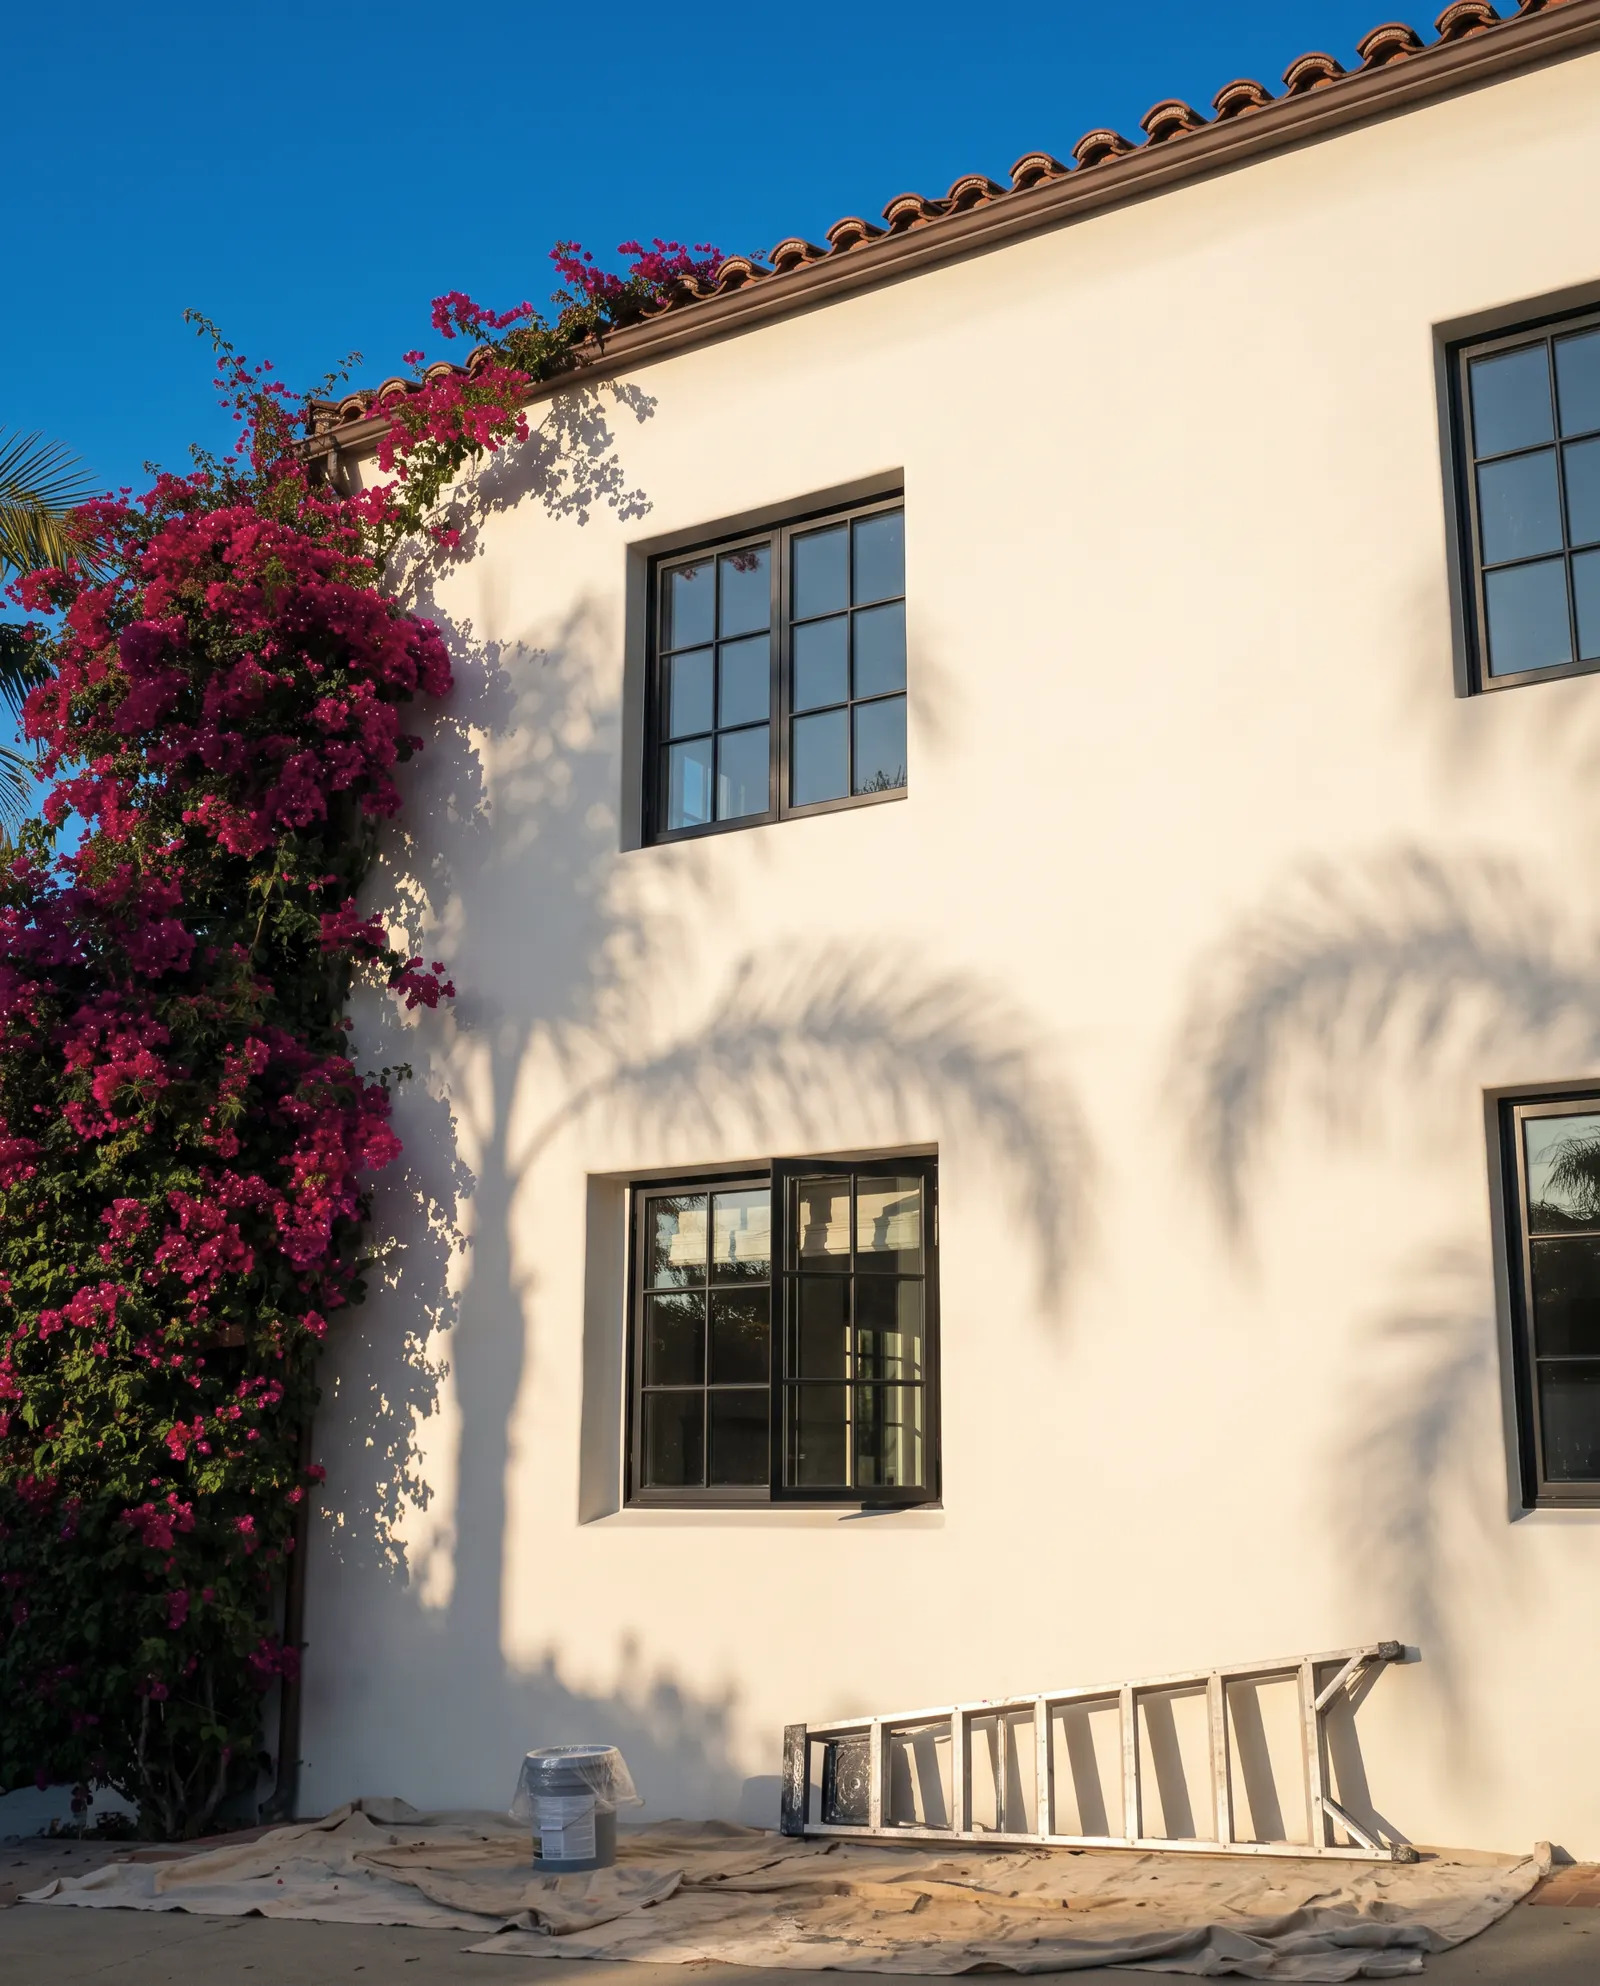
Painting plaster walls in Cheviot Hills comes down to preparation: test the surface, repair cracks properly, prime with the right product, and only then apply finish coats. Older plaster is harder, denser, and less forgiving than modern drywall, so skipping steps shows up fast as peeling, flashing, or cracks returning. Done in order, the result can look smooth and rich for years.
Why Older Plaster Behaves Differently
Many homes in Cheviot Hills were built in the early and mid-20th century, when plaster over wood lath or metal lath was standard. Plaster is applied wet in layers, then cured into a hard shell. That is very different from paper-faced gypsum board.
A few things follow from that:
- It's hard and brittle. Plaster resists dents but cracks as the house shifts, which in Southern California is a fact of life.
- It can be porous or chalky. Old surfaces may soak up paint unevenly or have a powdery layer that stops new paint from bonding.
- It has layers of history. Decades of paint, wallpaper, and patching can sit on one wall, and each layer can fail on its own.
- It may be uneven by design. Hand-troweled walls have gentle waves. The goal is clean and consistent, not perfectly flat.
Understanding this helps you decide what to fix and what to leave as part of the home's character.
Check the Walls Before You Buy Paint
Spend an afternoon inspecting. It tells you whether this is a simple repaint or a repair project.
- Tap test. Knock lightly across the wall with your knuckles. A solid sound is good. A hollow or drummy sound can mean plaster has separated from the lath.
- Press test. Push gently near cracks and ceiling corners. Movement means loose plaster.
- Scratch and wipe test. Rub a dry hand across the surface. If chalky residue comes off, it needs cleaning and a bonding primer.
- Moisture check. Look for stains, bubbling, or white crusty deposits (efflorescence), especially near bathrooms, kitchens, and exterior walls. Fix the water source before painting.
- Crack check. Hairline cracks are usually cosmetic. Wide, stepped, or recurring cracks deserve a closer look at the cause.
- Paint history. Peeling in sheets suggests poor adhesion from a previous coat. Also note whether a glossy oil-based paint is underneath.
A note on lead
Homes built before 1978 may contain lead-based paint in the older layers. Don't dry sand or scrape until you know what you're dealing with. The EPA's information on lead exposure and its Renovation, Repair and Painting program explains the rules and precautions, and they matter most if you rent, have young children at home, or hire help. See the Sources section below.
Checking a hairline crack is the first step before any patch compound goes on.
Repairing Cracks, Holes, and Loose Areas
Paint alone will not hold a crack closed. Repair first, and match the repair to the damage.
Hairline cracks: Widen them slightly with a utility knife, remove loose bits, and fill with a flexible patching compound or a paintable elastic filler. Rigid filler alone often cracks again.
Wider cracks: Fill in thin layers, and embed fiberglass mesh tape or paper tape where the crack tends to reopen. Feather each coat wider than the last.
Small holes and dings: Clean out debris, fill with patching plaster or setting-type compound, and sand lightly once cured.
Loose or hollow sections: These may need to be re-secured with plaster washers and screws or patched out. This is where many homeowners reach the limit of DIY, because an oversized repair can telegraph through paint.
Textured or uneven patches: Match the surrounding finish. A perfectly smooth patch on a hand-troweled wall will show after painting.
Sand with a fine grit, wipe down dust, and keep dust under control. Use a mask, eye protection, and a damp cloth or HEPA-style vacuum rather than sweeping.
Priming and Paint Choices for Plaster
Primer does most of the heavy lifting on older plaster. Here is how common choices compare.
| Situation | Typical approach | Why |
|---|---|---|
| Bare or new patches | Plaster-friendly or masonry-type primer | Seals porous spots so the finish doesn't flash |
| Chalky old paint | Cleaning, then a bonding primer | Gives new paint something solid to grip |
| Glossy old paint | Light scuff and bonding primer | Improves adhesion on slick surfaces |
| Stained areas | Stain-blocking primer after fixing the cause | Stops stains from bleeding through |
| Previously wallpapered | Remove adhesive residue, then prime | Leftover paste can lift new paint |
For finish coats, a quality acrylic latex interior paint is a common choice for plaster. Flat or matte hides waves and patches most effectively. Eggshell or satin is easier to wipe in busy rooms but shows imperfections more. Use semi-gloss on trim.
Low-VOC products and good ventilation are sensible for indoor work. The EPA's guidance on volatile organic compounds and indoor air quality is a helpful reference.
For color, try large sample swatches on the wall and look at them morning and evening. Plaster's slight texture can shift how color reads. The Benjamin Moore color library is one place to browse ideas.
Step-by-Step Painting Process
Here is a sensible order of work for a typical room.
- Move furniture to the center and cover floors and remaining items.
- Test for lead if the home predates 1978 and surfaces are deteriorated.
- Wash walls with a mild cleaner and let them dry fully.
- Repair cracks and holes, then let compounds cure.
- Sand lightly and remove all dust.
- Spot-prime repairs, or prime the whole wall if the surface is uneven in porosity.
- Caulk joints at trim and corners with a paintable flexible caulk.
- Cut in edges, then roll, working wall by wall and keeping a wet edge.
- Apply a second coat after the recommended dry time on the can.
- Remove tape while the final coat is slightly tacky, then inspect in raking light.
A medium-nap roller usually suits plaster with slight texture. Ladder use around high ceilings is a real risk, so read OSHA's ladder safety guidance before climbing.

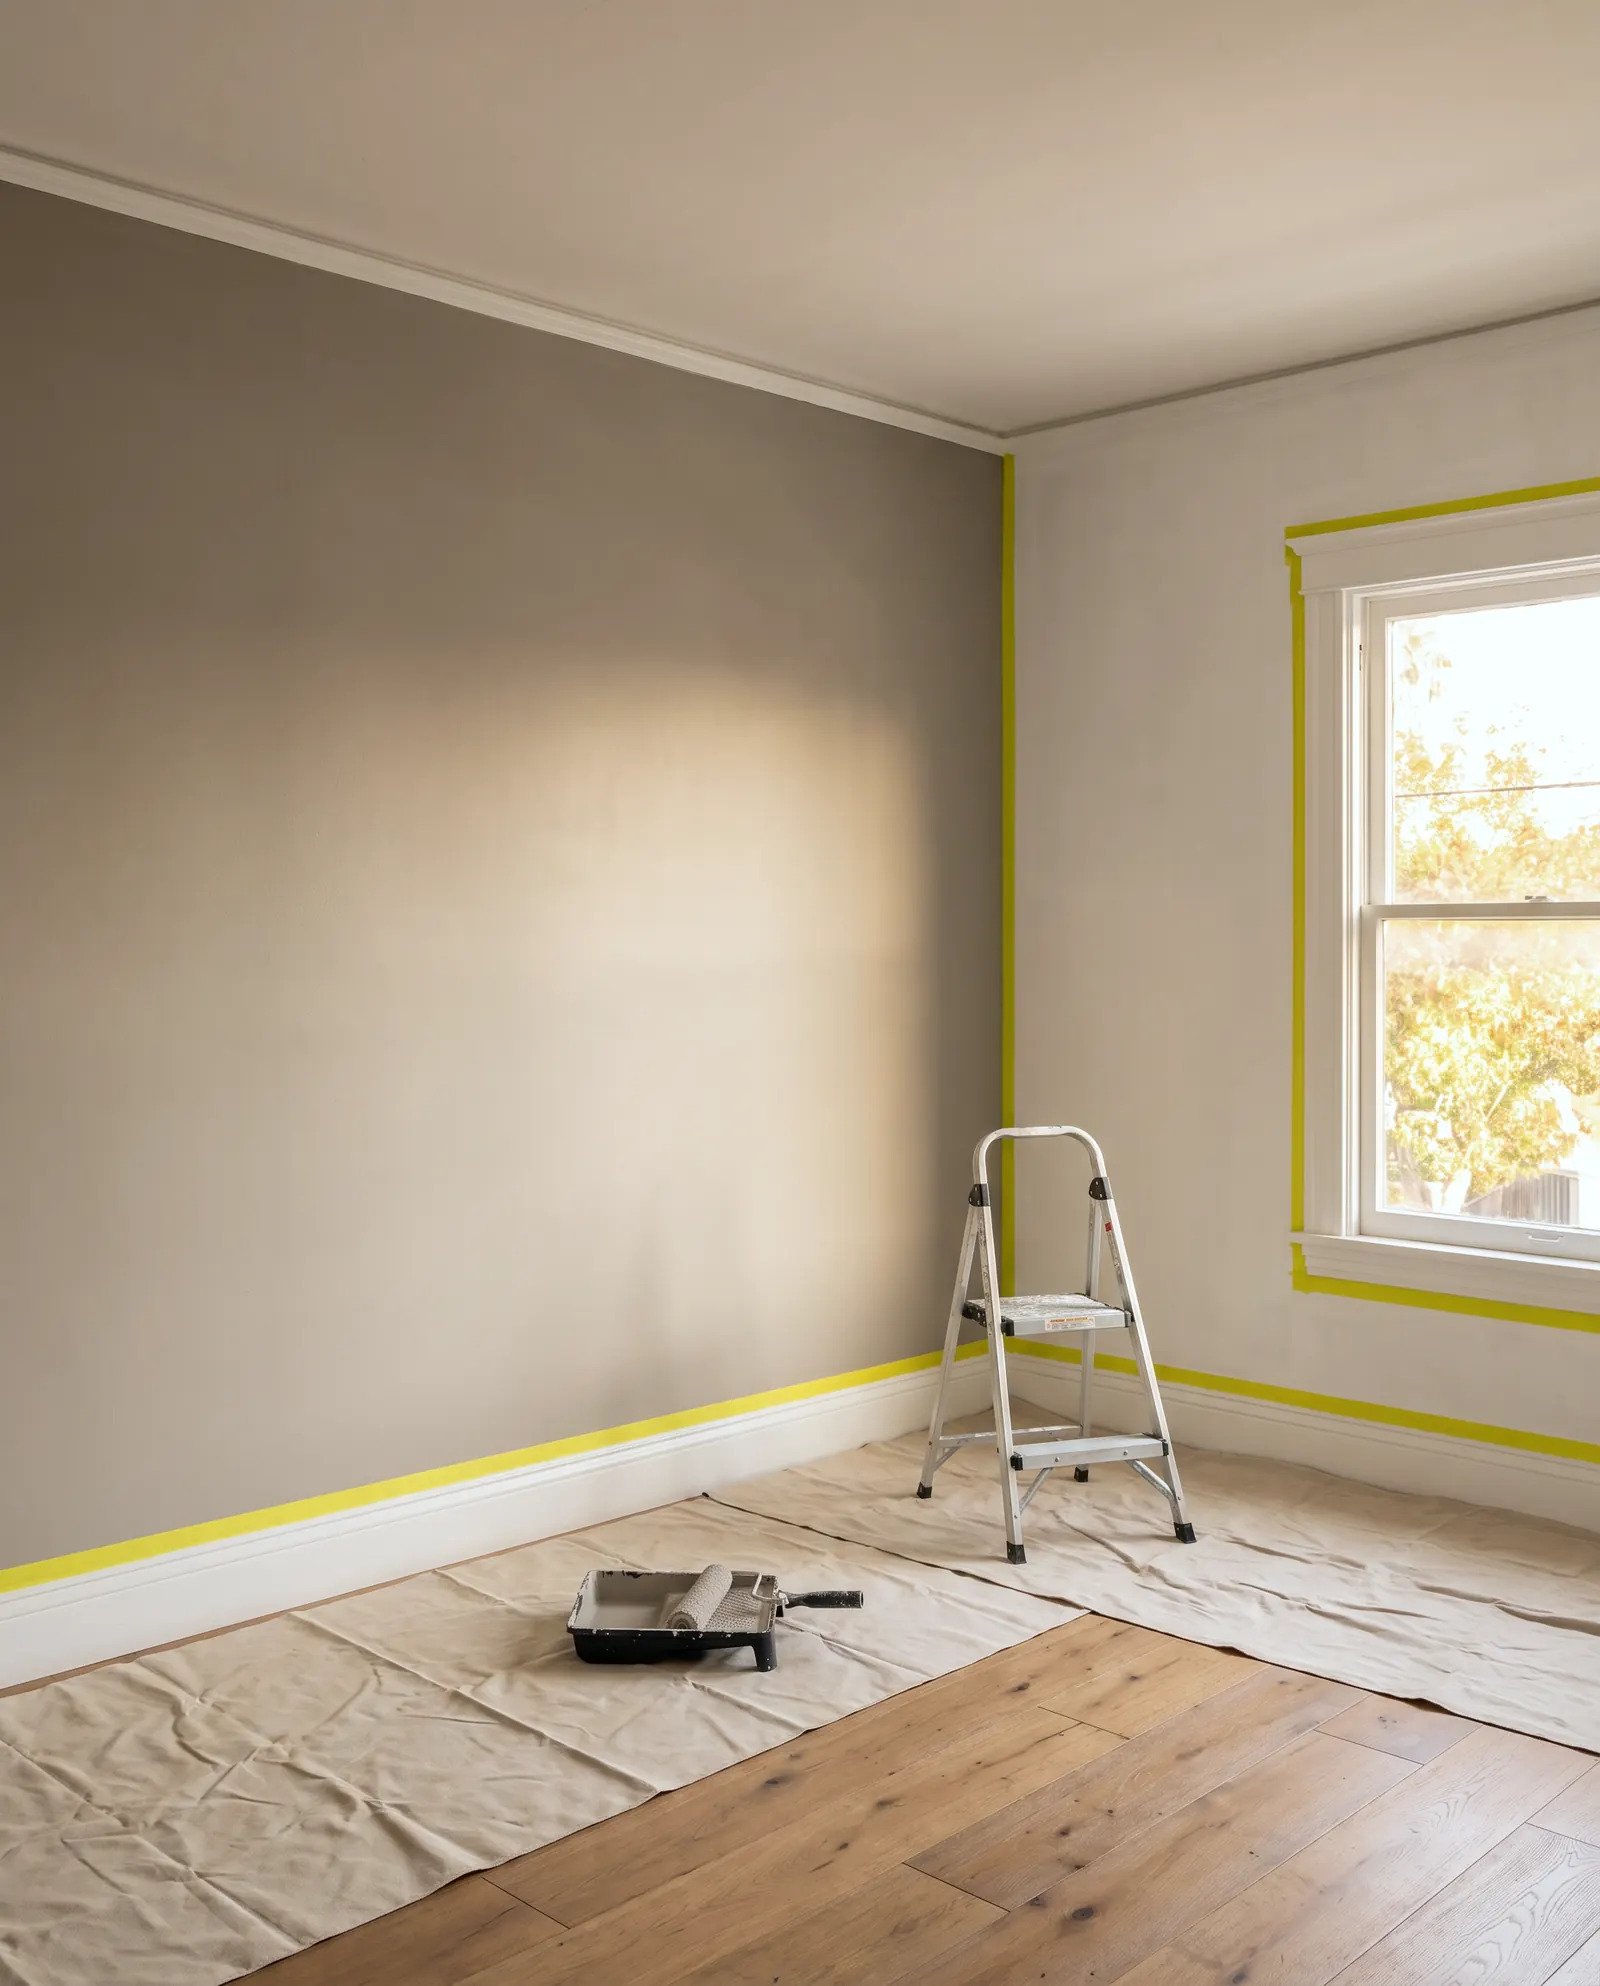
A second coat goes on over properly primed plaster, with cut-in lines kept tidy at the molding.
When to Call a Pro
Plenty of plaster painting is a fair weekend project: a clean wall, a few hairline cracks, and a patient homeowner. Consider hiring help when:
- Plaster sounds hollow or moves under pressure.
- Cracks are wide, recurring, or run diagonally from window and door corners.
- You see water staining or suspect an active leak.
- The home predates 1978 and paint is flaking.
- Ceilings are high or stairwells make ladder work awkward.
- You want a seamless, spray-smooth look on uneven walls.
A good painter will explain the repair plan before opening a can. When hiring anyone, read the California Contractors State License Board's consumer guidance on hiring a contractor. Larger structural or permit-related work may involve the city; the LADBS permits page is the place to check.
Our painting service covers interior plaster prep and repainting across Cheviot Hills. If you'd like a second set of eyes first, you can send a photo for a written quote.
FAQ
Can I paint directly over old plaster without primer?
It's risky. Bare or patched plaster absorbs paint unevenly, and chalky surfaces won't bond well. Primer helps seal and grip, so finish coats look even and last longer.
Why do cracks come back after I paint?
Plaster moves with the house, and rigid filler can't flex. Use flexible compounds, add tape on recurring cracks, and consider whether an underlying cause like settling or moisture needs attention.
Should I remove wallpaper before painting plaster?
Usually yes. Paint can bubble over wallpaper, and leftover adhesive prevents good bonding. Remove the paper, clean off paste residue, and prime before painting.
What sheen works well on older plaster walls?
Flat or matte hides waves and repairs most effectively. Eggshell offers a bit more washability, but it shows surface flaws more. Test a patch under your room's actual lighting.
Is it safe to sand old paint on my plaster?
Not until you've considered lead. In homes built before 1978, avoid dry sanding or scraping deteriorated paint, and read the EPA's lead guidance first.
Sources
- EPA: Protect Your Family from Exposures to Lead
- EPA: Renovation, Repair and Painting Program
- EPA: Volatile Organic Compounds' Impact on Indoor Air Quality
- CSLB: Hire a Contractor
Safety note: work on electrical panels, gas, structure or anything that needs a permit should be done by a licensed contractor with the required permits.
STATOX Handyman Service · Send a photo · +1 (820) 200-4919
Keep reading
 paintingAcrylic vs Oil-Based Paint: Which Fits Your ProjectAcrylic vs oil based paint explained for Los Angeles homes: where each works, how they differ in cleanup, smell, and finish, and how to choose with confidence.
 paintingInterior Painting Prep Checklist for Your LA HomeUse this interior painting prep checklist for your Los Angeles home to protect floors, fix walls, and get a smooth finish. Read before you open a can.
 cleaningCleaning Older Cheviot Hills Homes: Plaster and HardwoodHouse cleaning Cheviot Hills homeowners can trust for plaster walls and old hardwood floors: what to use, what to skip, and why it matters. Read before you scrub.