Interior Painting Prep Checklist for Your LA Home
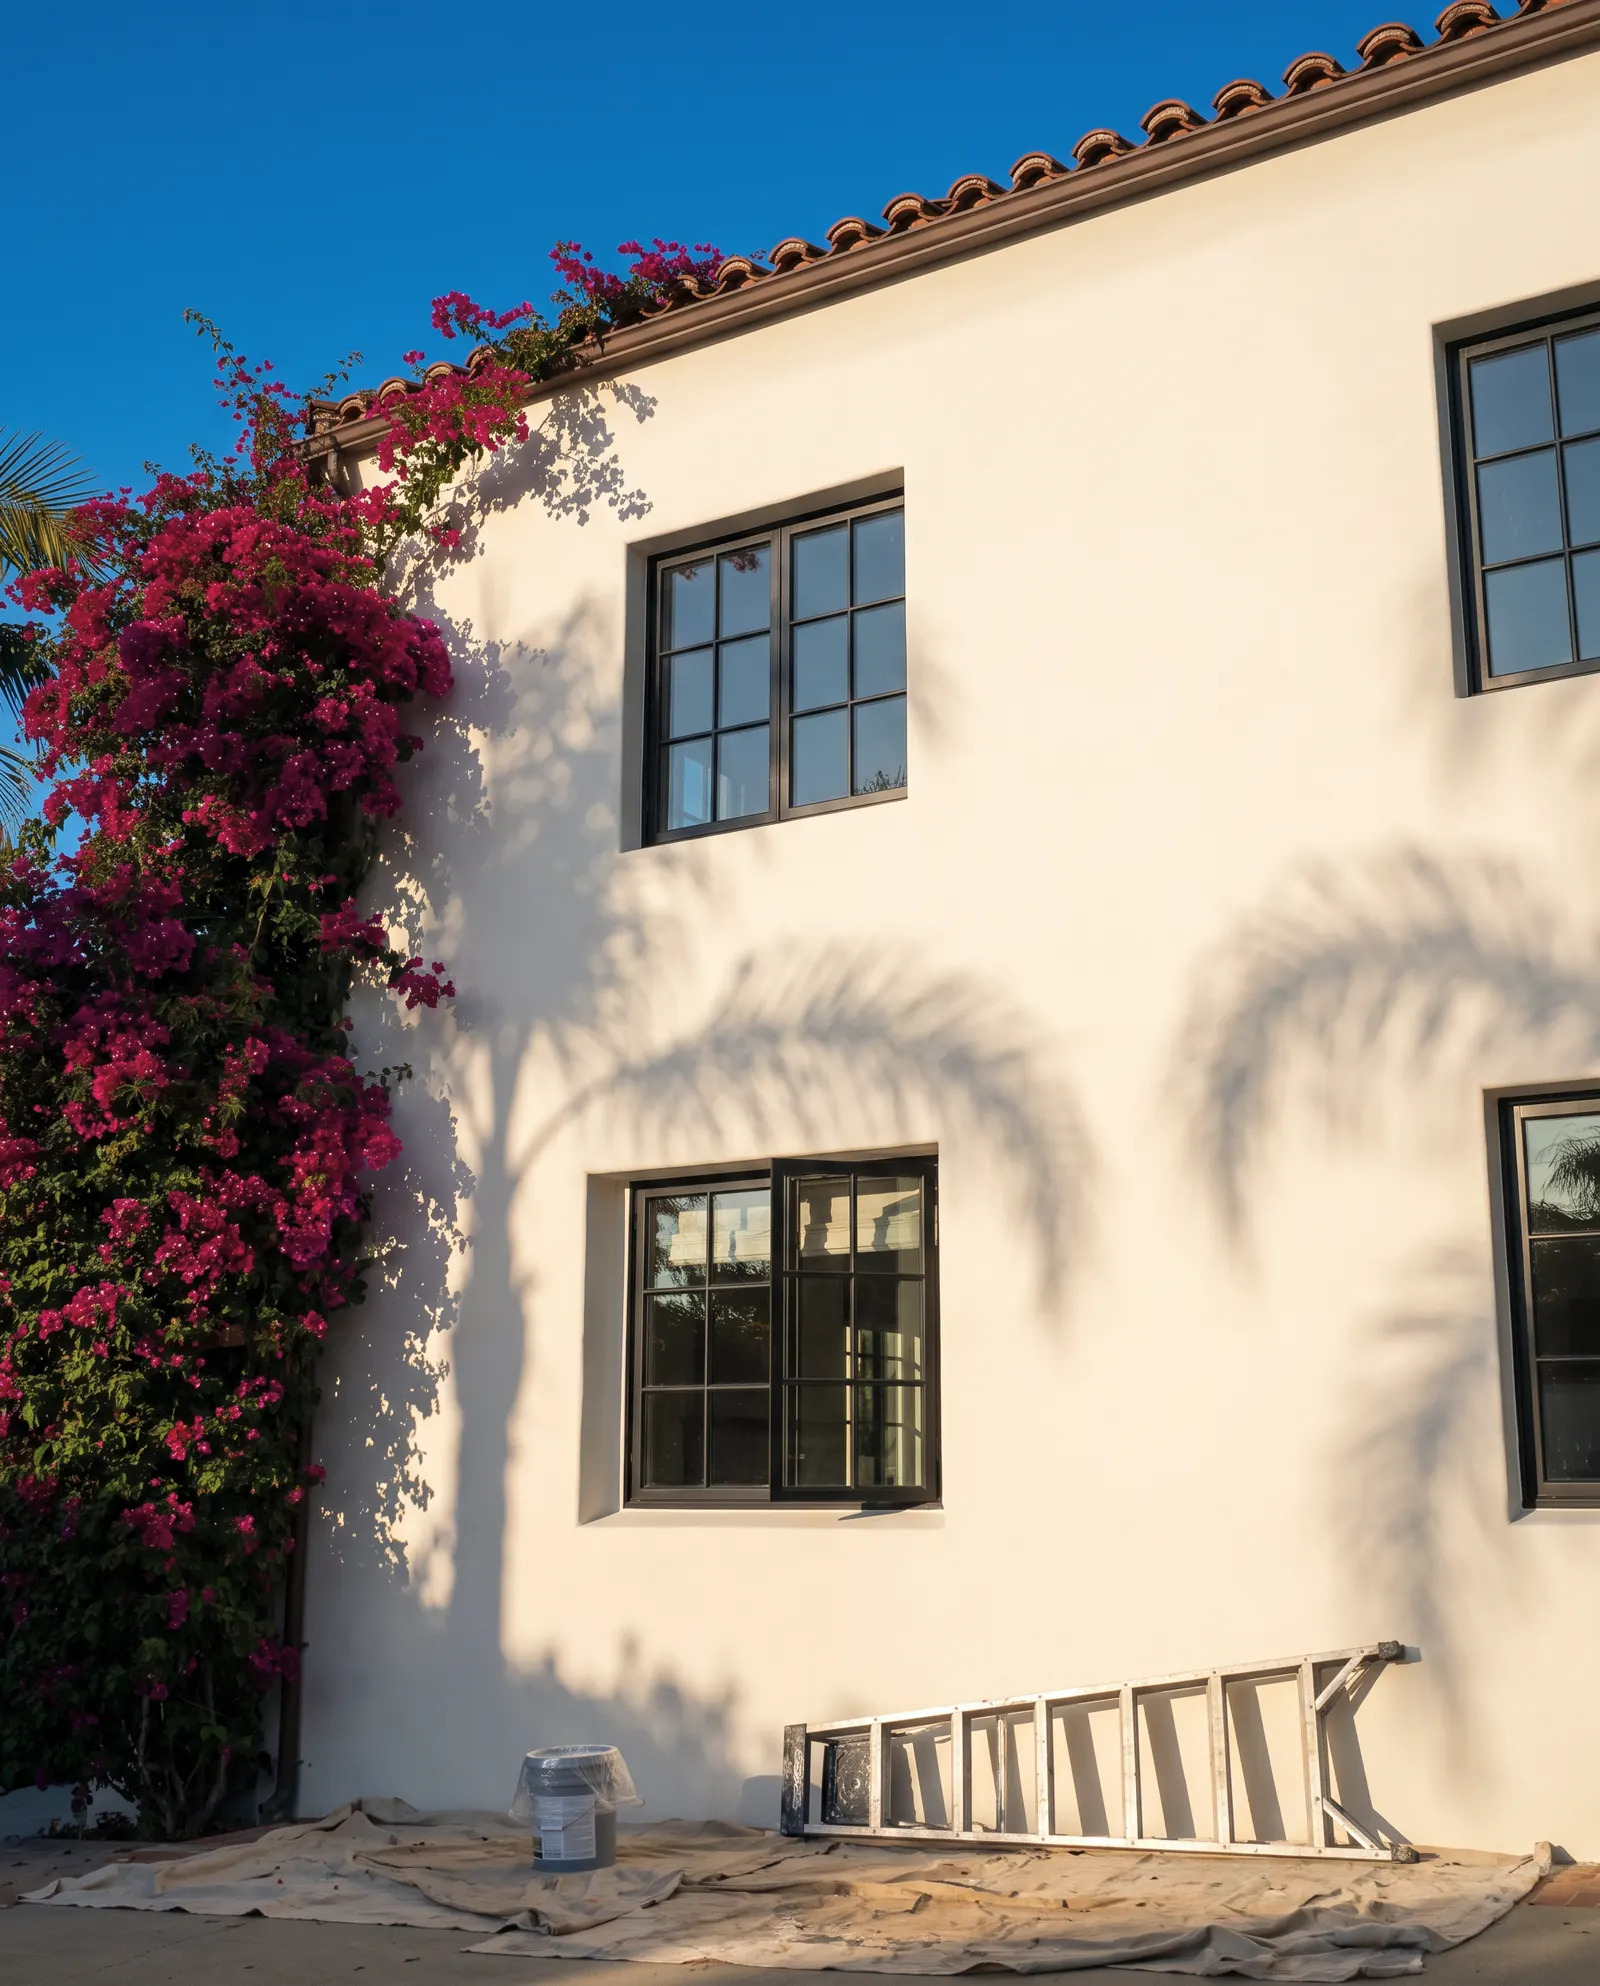
A good interior painting prep checklist is simple: clear the room, check for old-paint hazards, repair and clean the walls, mask everything you don't want painted, prime where needed, and only then open the paint. Most of what people call a "bad paint job" is really a prep problem, so the work you do before the first stroke decides how the finish looks and lasts.
This guide walks through that order for a typical Los Angeles home, from 1920s bungalows to mid-century ranch houses to newer condos.
Start with a walkthrough of every wall
Before you buy anything, walk the room in daylight with a flashlight held at a low angle against the wall. The raking light shows dents, bumps, hairline cracks, and rough patches that disappear under overhead lighting.
Take notes or photos as you go. Look for:
- Nail pops and screw heads that have backed out
- Hairline cracks at door and window corners (common as houses settle)
- Peeling, bubbling, or flaking paint
- Water stains on ceilings or near windows, bathrooms, and kitchens
- Mildew or dark spots in corners and closets
- Gaps between trim and wall
- Old glossy finishes that need dulling before new paint
This list becomes your repair plan. It also helps you decide whether the job is a weekend project or something to hand off.
Check for lead and other older-home concerns
If your home was built before 1978, older layers of paint may contain lead. Sanding, scraping, or demolition can create dust that is harmful, especially to children and pregnant women. The EPA explains the exposure risks and runs a Renovation, Repair and Painting program with rules for contractors working in older homes (see Sources).
Practical steps for an older LA home:
- Don't dry-sand or scrape paint you suspect is old until you know what it is.
- Consider a test kit or lab test before disturbing chipped or peeling areas.
- Keep kids, pets, and anyone pregnant out of the work area.
- Wet-wipe and use a HEPA vacuum for cleanup rather than sweeping.
If testing shows lead, or you aren't sure, this is a good moment to bring in a pro who works with these situations regularly.
Clear, cover, and protect the room
Empty the room as much as you can. Anything that stays should go to the center and be wrapped in plastic or a drop cloth.
Here is the order that saves the most frustration:
- Remove wall items: pictures, mirrors, curtain rods, shelves, and nails you won't reuse.
- Take off hardware: switch plates, outlet covers, vent covers, and door hardware where practical. Keep screws in labeled bags.
- Move furniture to the center or another room.
- Cover floors with canvas drop cloths or rosin paper. Plastic sheeting can be slippery and doesn't absorb drips.
- Protect hardwood and tile with painter's tape and paper along edges.
- Turn off power to a fixture before removing it, and cover light fixtures you can't remove.
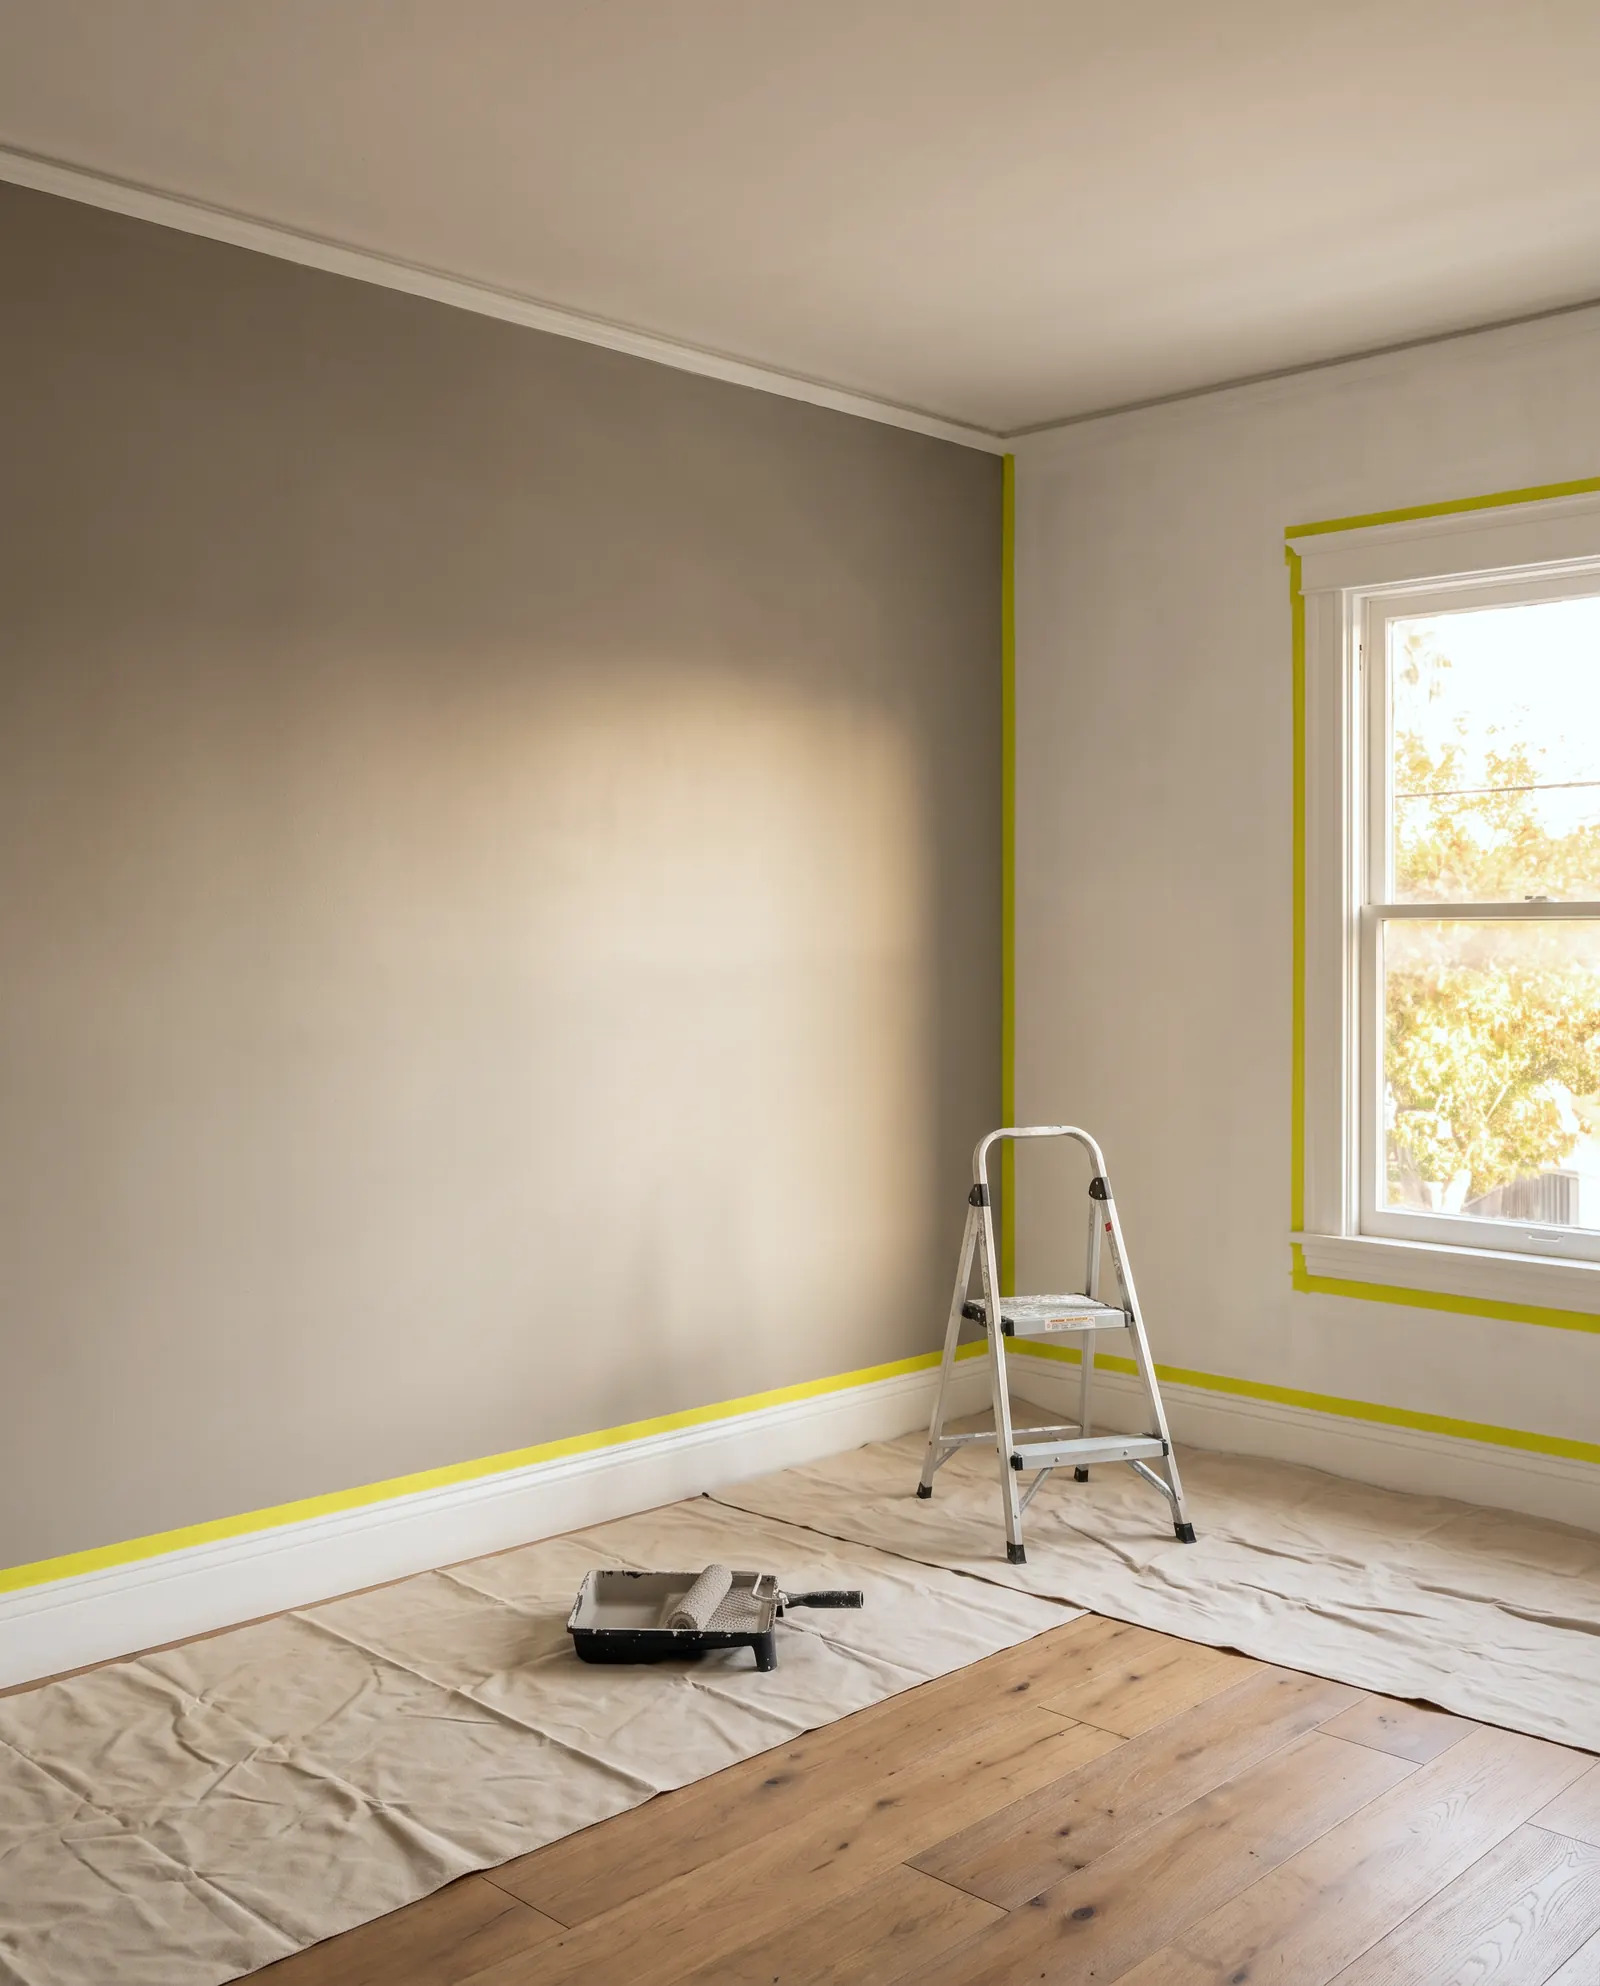
Furniture grouped in the center and floors covered: the room is ready for repairs.
Repair, clean, and sand the surfaces
Paint doesn't hide flaws; it often highlights them. Fix first, then clean, then sand.
Common repairs and what to use
| Problem | Typical fix | Notes |
|---|---|---|
| Nail pops and small holes | Lightweight spackle, sand flush | Reset the nail or screw first |
| Hairline cracks | Flexible caulk or setting-type compound | Mesh tape if cracks are wider |
| Gaps at trim | Paintable acrylic caulk | Smooth with a damp finger or tool |
| Peeling paint | Scrape loose areas, feather edges, prime | Test older homes for lead first |
| Water stains | Fix the leak, then use a stain-blocking primer | Paint alone won't stop bleed-through |
| Mildew | Clean with a mildew-appropriate cleaner, let dry | Find the moisture source |
| Glossy surfaces | Scuff-sand or use a deglosser | Helps new paint grip |
After patching, sand the repairs smooth and wipe the dust off with a damp cloth or tack cloth. Then wash the walls. Kitchens collect cooking grease, bathrooms collect soap film, and hallways collect hand marks. Use a mild degreasing cleaner, rinse with clean water, and let everything dry fully.
Dust is the enemy of a smooth finish. Vacuum baseboards, window sills, and the tops of door casings before you tape.
Tape, prime, and pick the right paint
Painter's tape works well on clean, dry surfaces. Press the edge down firmly with a putty knife. For crisp lines on a freshly caulked edge, wait until the caulk has dried.
Prime when you are:
- Painting over patches, which absorb paint differently than the wall
- Covering stains, smoke, or strong colors
- Going from a dark color to a light one
- Painting new drywall or bare wood
Test your color before committing. Brush color samples on two walls and look at them in morning, midday, and evening light. LA's bright sun and shaded rooms can make the same color look very different. Browsing a manufacturer's color library, such as Benjamin Moore's, can help you narrow down choices before you buy samples.
For finish, flatter sheens hide wall flaws more easily, while satin and semi-gloss hold up better to scrubbing in kitchens, baths, and trim. Look for low-VOC options if indoor air matters to you; the EPA has background on VOCs and indoor air quality.

Clean tape lines and sanded patches are what make the final coat look sharp.
Plan ventilation, ladders, and the work order
LA homes often have mild weather that makes open windows easy, but pay attention to dust, wind, and Santa Ana conditions that can blow debris into wet paint. Cross-ventilate when you can, and keep fans from blowing directly on wet walls.
Work from top to bottom:
- Ceilings first
- Walls next, cutting in edges before rolling
- Trim and doors last
- Remove tape while the final coat is slightly tacky, pulling at a low angle
Use a ladder that's the right height so you don't have to overreach. OSHA's ladder guidance covers setup basics like stable footing and keeping three points of contact. Never stand on the top step or paint can shelf.
Store leftover paint with the lid sealed, and write the color name, sheen, and room on the can.
When to call a pro
Plenty of interior painting is a reasonable DIY project: a bedroom with sound walls, a few small patches, and a free weekend. It's mostly patience and prep.
Consider hiring help when:
- The home was built before 1978 and paint is peeling or needs heavy sanding
- You see widespread cracking, water damage, or recurring mildew
- Ceilings are high, stairwells are involved, or you'd be working from tall ladders
- You need a lot of drywall repair or texture matching
- You're painting the whole house and want consistent results
- Your schedule makes a multi-day project hard
If you hire anyone for work, check the contractor's status with the California Contractors State License Board, which has a guide for hiring. For larger remodels that go beyond painting, the LADBS site explains when permits are involved.
Our painting service team handles prep, repairs, and finish work. If you want to know what your project would involve, you can send a photo for a written quote.
FAQ
How long should I wait between patching and painting?
Follow the product label. Thin spackle dries faster than deep fills or setting compounds. Make sure the patch is fully dry, sanded, and primed before paint goes on.
Do I really need to wash walls before painting?
In most cases, yes. Grease, dust, and soap film can keep paint from sticking. A quick wash and rinse is cheap insurance for an even finish.
Should I prime every wall?
Not always. Primer helps on patches, stains, bare surfaces, and big color changes. Walls in good shape with a similar color may only need spot priming, depending on the paint you choose.
Can I paint over old glossy paint?
Yes, but dull the surface first by scuff-sanding or using a deglosser, then clean off the dust. Otherwise new paint may peel.
What's the biggest prep mistake?
Rushing the repairs and taping. Skipping cleaning and sanding leads to visible patches, rough texture, and paint lines that bleed.
Sources
- EPA: Renovation, Repair and Painting Program
- EPA: Volatile Organic Compounds' Impact on Indoor Air Quality
- OSHA: Ladders
- CSLB: Hire a Contractor
Safety note: work on electrical panels, gas, structure or anything that needs a permit should be done by a licensed contractor with the required permits.
STATOX Handyman Service · Send a photo · +1 (820) 200-4919
Keep reading
 bathroomBathroom Repair Prep Checklist Before the Handyman VisitUse this bathroom repair prep checklist to clear the space, gather photos, and find your shutoffs so your handyman visit goes smoothly. Read before you book.
 bathroomBathroom Tile vs Vinyl vs Acrylic Surrounds: ComparedBathroom tile vs vinyl vs acrylic: how each surround handles water, cleaning, and repairs in Los Angeles homes. Read before you choose your material.
 bathroomBel Air Bathroom Repairs in Hillside and Older HomesPlanning bathroom repair Bel Air homes need? Learn what hillside and older houses hide behind tile and drywall, and what to check first before it gets costly.