Rancho Palos Verdes Garage Lighting Improvement Tips
If you are hosting a rancho palos verdes garage sale, clear overhead lighting keeps buyers engaged even when marine layer fog rolls over the Peninsula on weekend mornings. Proper garage illumination turns a dark storage bay into a bright, easy-to-browse space while preventing visitors from tripping over uneven concrete slab joints or step-downs into the home.
Beyond sale days, updating your garage lighting makes vehicle maintenance, home repairs, and holiday storage retrieval safer. Many homes built across Rancho Palos Verdes during the 1960s and 1970s feature a single bare bulb mounted over the central rafter. Replacing that single light bulb with modern, high-output fixtures requires an understanding of coastal atmospheric moisture, ceiling structural framing, and California residential energy codes.
Coastal Moisture and Mid-Century Garage Framing
Homes in coastal neighborhoods like Silver Spur, Crest, and Country Club Estates experience daily cycles of high humidity. Pacific ocean mist creeps into unheated garage bays through perimeter door seals and open eaves. Over time, raw metal fixtures rust, and standard copper electrical connections without sealed wire nuts develop surface oxidation, causing light flickering.
``` +-----------------------------------------------------------------+ | TYPICAL RPV GARAGE CEILING STRUCTURE | | | | [2x4 or 2x6 Rafters / Trusses Spaced 24 Inches On-Center] | | ------------------------------------------------------------- | | | | | | | 1/2" Drywall 1/2" Drywall 1/2" Drywall | | | | | | | [Junction Box] [Fixture Mount] [Junction Box] | +-----------------------------------------------------------------+ ```
Garage framing on the Peninsula generally falls into two categories: Open Rafter Ceilings: Common in original 1950s and 1960s split-level and single-story ranch homes. Exposed 2x4 or 2x6 Douglas fir rafters sit on 24-inch centers, allowing direct surface-mounting of fixtures without cutting into drywall. Finished Drywall Ceilings: Common in renovated properties and homes with living space overhead. These typically use 1/2-inch or 5/8-inch Type X fire-rated drywall attached to roof trusses or floor joists. Mounting heavy light fixtures here requires finding solid framing or using structural hollow-wall anchors rated for overhead tension loads.
When ocean air mixes with fine Santa Ana dust blown over the hill, dirt clings to exposed bulb glass and open reflector trays. Upgrading to enclosed LED housings protects electrical contacts and maintains maximum light output year-round.
Fixture Selection: Lumens, Color Spectrum, and Enclosures
Calculating light needs for a standard two-car garage (typically 400 square feet, or 20 feet by 20 feet) starts with target foot-candles or lumens. General parking and storage require 30 to 40 lumens per square foot. Task areas—such as workbench surfaces or table setups for a garage sale—require 50 to 80 lumens per square foot.
``` Total Lumens = Garage Area (sq ft) x Desired Lumens per sq ft
For a 400 sq ft two-car garage: - General Storage: 400 sq ft x 40 lumens = 16,000 total lumens - Detailed Task Work: 400 sq ft x 75 lumens = 30,000 total lumens ```
For color spectrum, choose 4000K (cool white) to 5000K (daylight). The 5000K daylight spectrum cuts through early morning coastal gloom, allowing you to see natural colors when sorting tools, painting, or inspecting sale items.
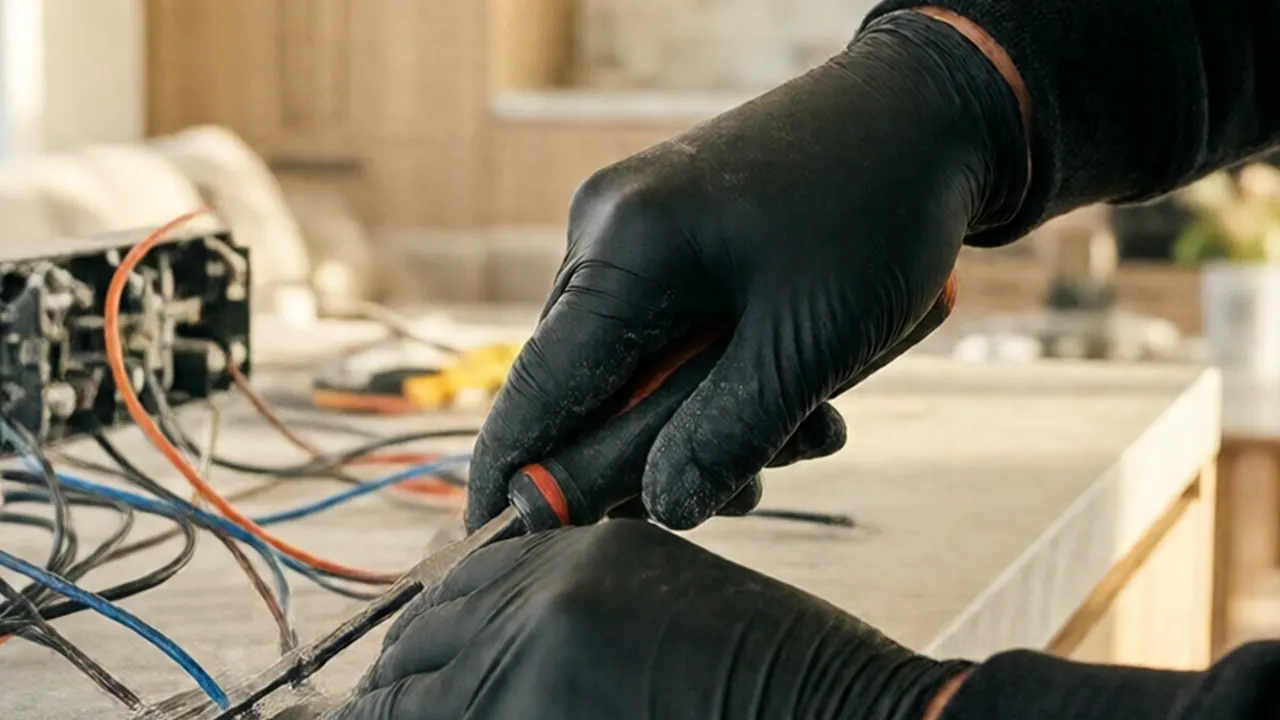
Choose IP65-rated vapor-tight fixtures for properties within a mile of the ocean bluffs. These units feature continuous silicone gaskets that seal out salt air, humidity, and insects.
Garage Door Obstructions and Strategic Layout
A common mistake in garage lighting layout is placing fixtures in the exact center of the ceiling. When the sectional garage door rolls up, its solid panels slide along horizontal steel tracks mounted 7 to 8 feet above the floor, completely blocking central light fixtures.
``` +------------------------------------------------------------------+ | GARAGE CEILING LAYOUT PLAN (TOP-DOWN VIEW) | | | | [ Side Wall ] [ Side Wall ] | | | +-------------------+ +-------------------+ | | | | | LED Strip Light 1 | | LED Strip Light 2 | | | | | +-------------------+ +-------------------+ | | | | | | | | ====== Garage Door Track 1 ====== | | | | | | | | ====== Garage Door Track 2 ====== | | | | | | | | +-------------------+ +-------------------+ | | | | | LED Strip Light 3 | | LED Strip Light 4 | | | | | +-------------------+ +-------------------+ | | | [ Back Wall / Workbench ] | | +------------------------------------------------------------------+ ```
To avoid casting massive shadows across your vehicle bay or sale tables: 1. Position Lights Parallel to Tracks: Install two 4-foot LED strip lights on either side of the horizontal garage door tracks, roughly 36 inches in from the side walls. 2. Clear the Travel Arc: Measure the highest point of the garage door during its opening curve (the vertical clearance margin). Keep all surface-mounted light fixtures at least 2 inches above this maximum door height line. 3. Illuminate the Workbench Zone: Place a dedicated 4-foot fixture directly over the front of your workbench, positioned slightly forward of your standing position to eliminate shadows cast by your body.
| Fixture Type | Ideal Mounting Location | Moisture Resistance | Installation Difficulty |
|---|---|---|---|
| Vapor-Tight LED Wraps (IP65) | Perimeter bays & near open eaves | High (Sealed gasket) | Moderate (Requires junction box wiring) |
| Linkable 4-Foot LED Shop Lights | Open rafters & temporary work zones | Low to Moderate | Easy (Plugs into existing receptacle) |
| Flush Mount LED Flat Panels | Finished drywall ceilings | Low | Moderate (Requires ceiling bracket) |
If you notice your garage door shuttering, binding, or making heavy noise during operation, resolve mechanical tracking issues before positioning your fixtures. Homeowners scheduling garage door repair rancho palos verdes services should complete track alignment first so lighting lines can be set accurately around the final track height.
California Energy Code and Wiring Standards
California Building Standards Code (Title 24) sets strict efficiency guidelines for residential additions and electrical upgrades. Under current standards established by the California Energy Commission, high-efficacy lighting fixtures are required in utility spaces.
When hardwiring new ceiling fixtures into an existing circuit: Junction Boxes: Connections must be made inside an approved metal or plastic junction box secured directly to framing timber. Never leave open wire nut connections floating inside open rafter spaces. Grounding Continuity: Peninsula homes constructed prior to 1975 often utilize metal conduit or armored cable. Verify that the ceiling junction box connects back to the panel ground wire or grounding bus. * PIR Vacancy Sensors: Replacing standard wall toggle switches with Passive Infrared (PIR) vacancy sensors prevents lights from running continuously when the garage is empty, meeting Title 24 compliance and lowering monthly energy bills.

Step-by-Step Ceiling Fixture Installation
Mounting surface-mount LED light strips to a finished or open-rafter garage ceiling requires systematic layout and safe ladder operation. Always confirm the electrical circuit is turned off at the main breaker panel before removing existing fixtures.
Tools and Fasteners Required
Non-contact voltage tester Stud finder (for finished drywall ceilings) 3/16-inch drill bit and power driver 1-1/2 inch #8 wood screws (for rafter attachment) 3/16-inch spring-wing toggle bolts (for hollow drywall ceiling sections) Wire strippers and twisting wire connectors * OSHA-compliant stepladder
Installation Steps
- Isolate Electrical Power: Switch off the breaker supplying the garage light circuit. Test the wires at the existing ceiling fixture using a non-contact voltage tester to confirm zero current flow.
- Locate Support Framing: On finished drywall ceilings, run a stud finder perpendicular to the ceiling direction to locate wood joists on 16-inch or 24-inch centers. Mark centerlines with a pencil.
- Mount the Base Channel: Align the light fixture's keyhole slots with your marked framing lines. If mounting directly to wood joists, drive 1-1/2 inch #8 wood screws into the center of the framing. If mounting between joists on drywall, drill 1/2-inch holes and insert 3/16-inch toggle bolts.
- Make Wire Connections: Strip 1/2 inch of insulation from circuit conductors. Connect black (hot) to black fixture lead, white (neutral) to white fixture lead, and bare copper (ground) to the green grounding screw or lead inside the enclosure. Secure all connections with wire nuts rated for the wire gauge.
- Attach Housing Cover and Diffuser: Snap the reflector tray into the base housing, securing any retaining clips. Install the frosted polycarbonate lens to diffuse light and keep out dust and insects.
- Test System Operation: Restore main breaker power and switch the circuit on to verify even light dispersion across the garage floor.
When using elevated platforms, adhere to OSHA ladder guidelines: set stepladders on solid, level concrete, ensure spreaders are fully locked open, and never stand on the top step or bucket shelf.
When to Call a Pro
While swapping a simple plug-in shop light is a straightforward DIY project, complex electrical updates require professional service. You should hire a qualified technician if:
- Your garage service panel relies on older push-matic or fuse-style breakers with no available open slots.
- You need to install new wall switches, pass non-metallic sheath cable through finished drywall walls, or run exposed conduit.
- The existing wiring exhibits signs of heat damage, brittle rubber insulation, or ungrounded two-wire circuits.
- You want to optimize garage door layout and overhead storage racks while updating ceiling fixture placement simultaneously.
At STATOX Handyman Service, we handle overhead lighting updates across the Palos Verdes Peninsula with a straightforward, transparent approach. You send a photo for a written quote, and we provide a single written price covering labor and installation details. On arrival, our technicians check junction box grounding, measure garage door track clearances, and verify framing centers to ensure your lights are securely mounted. For custom layout work or fixture replacements, view our lights electrical service page.
FAQ
Why does my garage light flicker during damp Rancho Palos Verdes mornings?
Flickering in coastal garages usually stems from oxidized electrical contact points inside older switches or fixture sockets. High humidity speeds up surface corrosion on raw metal terminals, interrupting low-voltage signals or drawing unstable current on cold morning startups.
Should I fix garage lighting before completing garage door repair tasks?
Yes. Adjusting your ceiling fixtures after your garage door height and horizontal tracks are fully calibrated prevents structural interference. If your door requires spring adjustments, track realignment, or roller replacement, finalize those repairs first so fixture placement leaves adequate overhead clearance.
How do I optimize garage door layouts so open panels don't block ceiling lights?
Position light fixtures parallel to the garage door tracks rather than directly overhead in the center of the bay. Mount strip lights 24 to 36 inches outward from the outer edge of the steel tracks to throw light downward and around open door panels.
Do California regulations require motion sensors on residential garage light fixtures?
Under California Title 24 standards, high-efficacy lighting fixtures installed in utility spaces must be controlled by manual switches or vacancy sensors (PIR sensors) that automatically turn off lights when no motion is detected for 20 minutes.
Sources
- California Energy Commission - Building Energy Efficiency Standards (Title 24)
- Contractors State License Board - Consumer Guides
- OSHA Portable Ladder Safety Guidelines
- Los Angeles Department of Building and Safety - Permits & Inspections
Permit work: Permit jobs get a written project estimate; permits handled as required.
STATOX Handyman Service · Send a photo · +1 (820) 200-4919
Keep reading
 lights electricalDimmer Switch Not Working With LED Bulbs? Compatibility GuideUnderstand why your dimmer switch LED bulbs buzzing flickering occurs and learn how to choose compatible dimmers for smooth lighting control.
 lights electricalDIY or Pro: Replacing Light Fixtures, Switches and OutletsDIY vs hire pro replace light fixture: learn which swaps are fair game for a careful homeowner and which need a pro. Read before you shut off the breaker.
 lights electricalEnergy-Efficient Lighting Upgrade Guide for HomeownersLearn how energy efficient lighting upgrades lower power consumption in Los Angeles homes, handle plaster ceilings, and comply with state Title 24 rules.