Why Drywall Repairs Show Through Paint (and How to Avoid It)
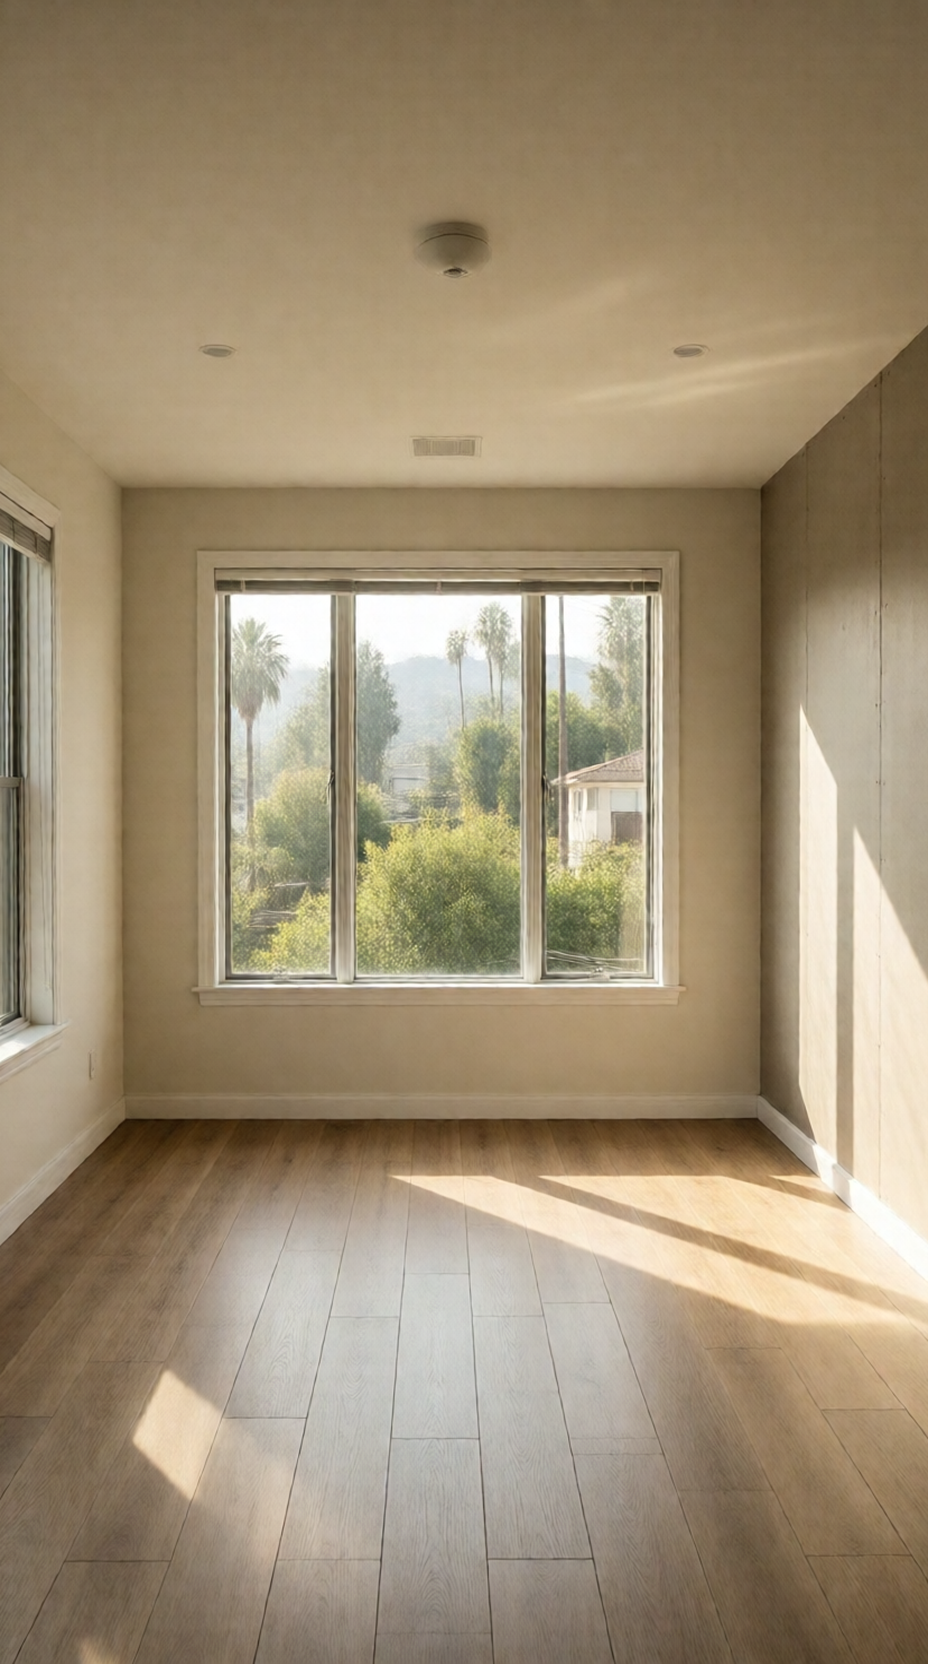
If a drywall repair shows up after paint, the cause is almost always one of three things: the texture does not match the surrounding wall, the patch was not primed or sealed properly before paint went on, or the joint compound was not feathered thin enough at the edges. Each problem leaves a different signature, from a glossy "flash" spot to a ridge you can feel with your hand. The good news is that all three are preventable with a few disciplined steps.
This guide explains what causes visible patch outlines, how to diagnose which problem you have, and how to plan a repair that stays invisible once the room is painted.
Why Repairs Flash, Ridge, and Outline Under Paint
Paint does not hide a repair on its own. It reflects light the same way across the wall, so any difference in the surface underneath shows up as a difference in color, sheen, or shadow.
Most visible repairs come down to one of these surface differences:
- Flashing: The patched area looks dull or shiny compared with the rest of the wall. This happens because joint compound and drywall paper absorb paint at different rates than the original finish.
- Ridges and edges: A raised line appears around the patch. This is usually compound built up at the perimeter instead of feathered out.
- Outlines: You can see the shape of the patch even when it is flat. This often comes from a texture mismatch, where the new area is smoother or rougher than the wall around it.
Lighting makes all of this worse. Raking light from a window or a recessed fixture at a low angle exaggerates every bump and every change in sheen. A patch that looks fine in the middle of the afternoon can jump out at night.
The Three Main Causes
Texture Mismatch
Many Los Angeles homes have orange peel, knockdown, or smooth wall finishes, and these textures are hard to copy by hand. If the repaired area is smoother or coarser than the wall around it, the patch will show no matter how carefully you paint it.
Before you start, look at the wall at a low angle with a flashlight. Note whether the texture is fine, medium, or heavy, and whether it has a pattern. Matching that texture is part of the repair, not an optional extra.
Primer and Sealing
Bare joint compound is more porous than painted drywall. When paint goes directly over it, the compound drinks up more of the paint, and the spot dries with less sheen. This is the classic "flash."
A coat of appropriate primer or sealer evens out how much the surface absorbs. Skipping this step is one of the most common reasons a repair looks fine when wet and wrong when dry.
Feathering and Compound Build-Up
Feathering means thinning the edges of each layer of compound so it blends into the wall with no step. If the edges are thick, the paint sits on a visible lip. Each coat should be wider than the last, and the final coat should reach well past the damaged area.
Comparison: Common Repair Approaches
| Approach | Good for | Main risk |
|---|---|---|
| Spot patch, then paint the patch only | Very small dents | Flashing and sheen mismatch are likely |
| Patch, prime, then paint the full wall | Small to medium repairs in a room | Texture still needs to match |
| Patch, texture the area, prime, then paint the full wall | Repairs in textured walls | Takes more steps and careful timing |
| Paint to a natural break, such as a corner | Larger repairs where full-wall painting is practical | Needs clean stopping points |
A Step-by-Step Plan for an Invisible Repair
The steps below apply to most interior drywall repairs. Follow them in order, and let each layer dry fully before the next.
- Assess the damage. Note the size, depth, and whether the paper is torn. Check for signs of moisture around the area.
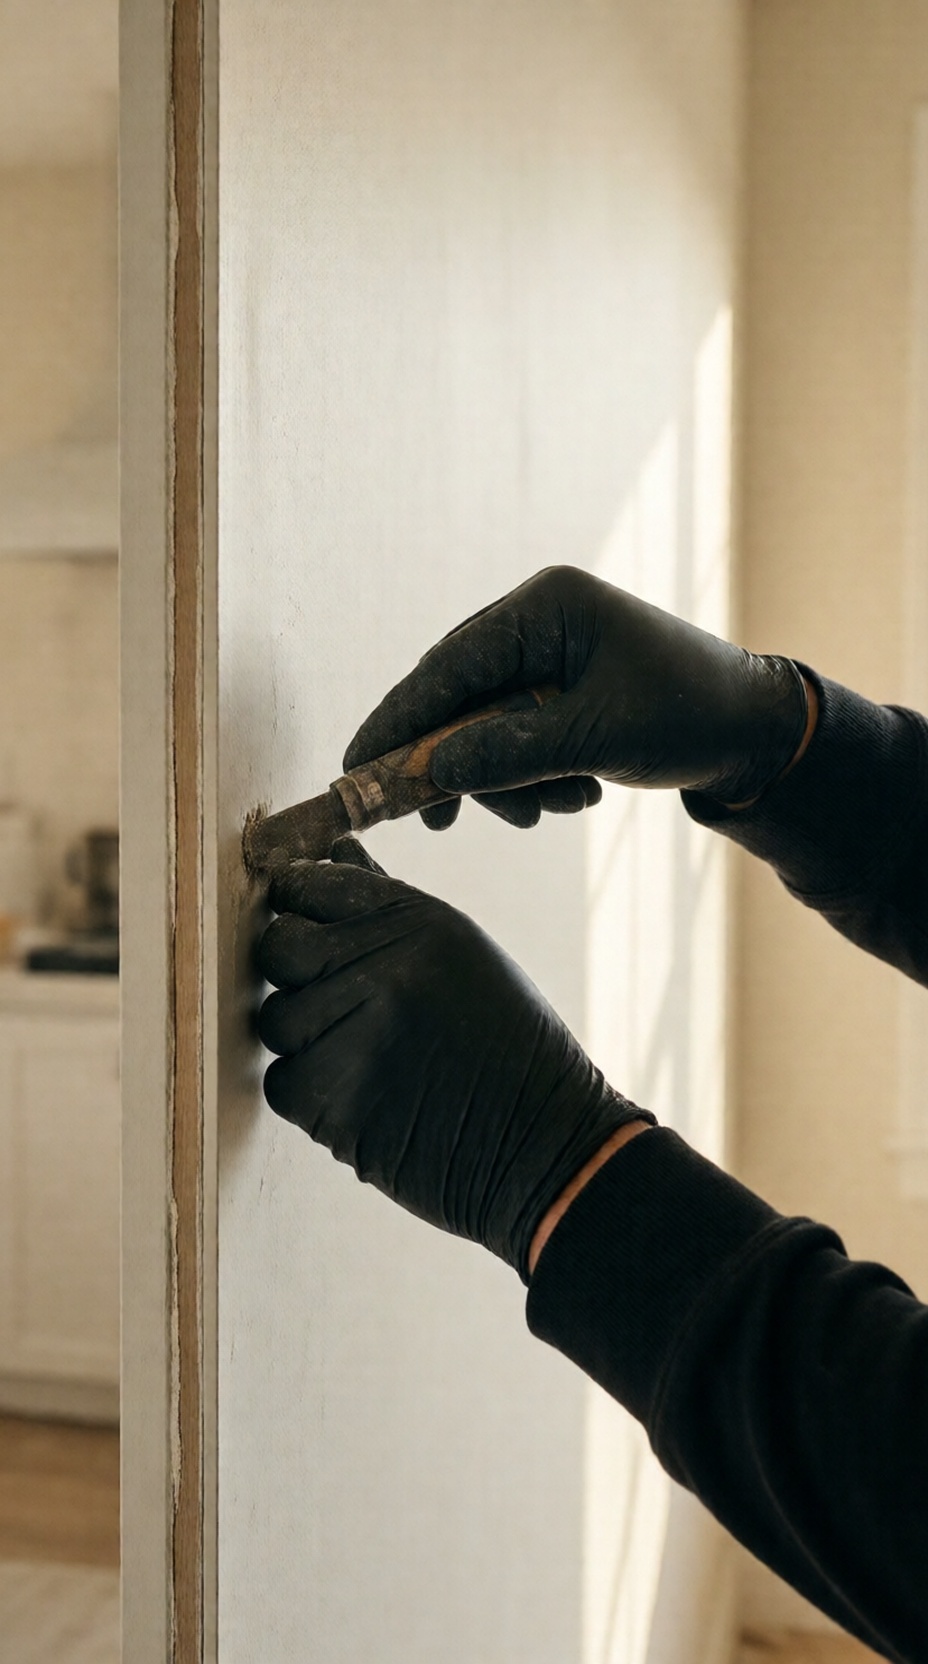
- Cut back loose material. Remove crumbling compound and loose paper so the patch bonds to solid material.
- Set the patch. Use mesh or paper tape on joints or larger holes, and a setting compound for deeper areas.
- Apply the first coat of compound. Keep it slightly wider than the hole and let it dry completely.
- Feather the second coat. Extend it several inches beyond the first, and smooth the edges with a wide knife.
- Apply a final thin coat. Feather it out as far as you can. Sand lightly once it is dry, using a fine grit.
- Match the texture. Apply texture to the repaired area to match the wall, then let it cure.
- Prime. Use a primer or sealer suited to bare compound and the textured surface.
- Paint the full wall or a clean break. Use the same sheen as the existing paint and roll or brush in consistent, overlapping strokes.
- Check under raking light. Look at the wall with a flashlight held low before you call the job finished.
Good ventilation and dust control matter throughout. Sanding compound creates fine dust, so close doors, protect floors, and use a respirator rated for particulates when sanding.
Matching Sheen and Color
Even with a well-prepared surface, paint can betray a repair. Sheen is the most common culprit. A flat wall repainted in eggshell can look different in the patched zone, and a wall that has faded over time may no longer match a fresh can of the same color.
Keep these points in mind:
- Use the same paint brand, base, and sheen as the existing wall when you can find the original.
- Test a sample on a hidden area, such as inside a closet, and let it dry before judging.
- Paint to a natural break, like a corner or the edge of a wall plane, when the full wall is not practical.
- Use a consistent roller and technique so the sheen stays even.
If the wall is older, the existing paint may have yellowed or dulled. In that case, repainting the full wall usually produces a better result than a small touch-up.
When to Call a Pro
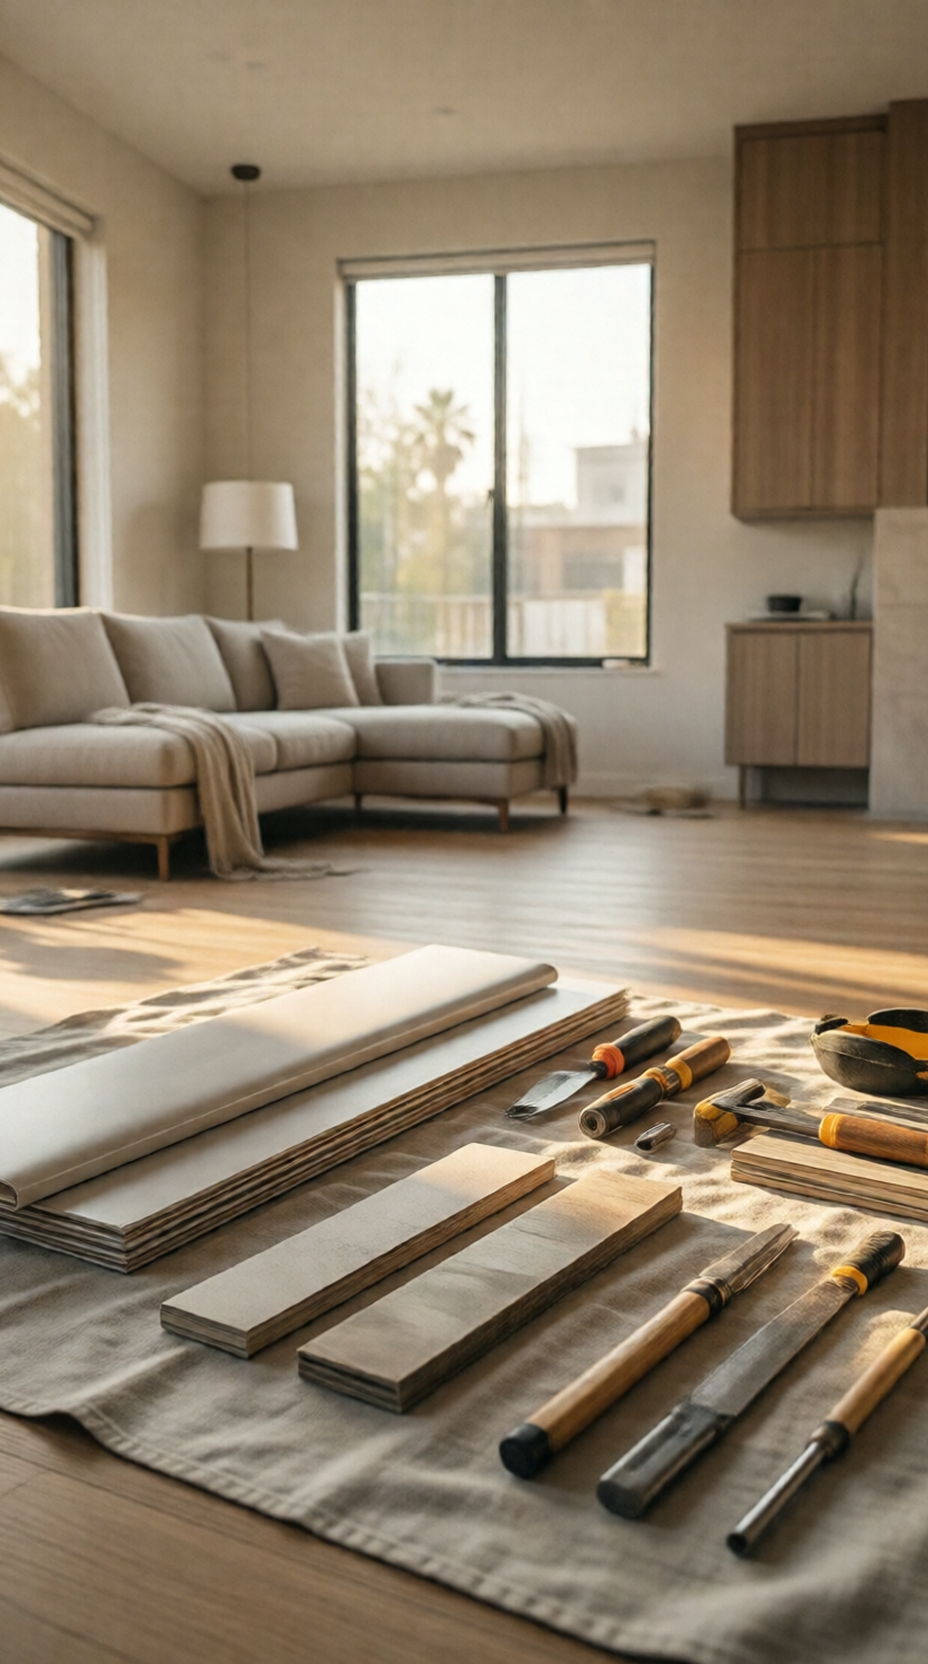
Some repairs are well within reach for a careful homeowner. A small nail hole or a few inches of surface damage on a smooth wall can often be handled with patience and the right materials.
Other situations call for a professional:
- Large holes, water-stained drywall, or damage near plumbing or wiring
- Textures that are difficult to match, such as heavy knockdown or hand-applied finishes
- Walls where previous repairs have already shown through
- Ceilings, which are harder to finish cleanly
- Any job where you suspect moisture or mold, in which case the EPA's guidance on mold and moisture is a useful starting point
If you are not sure which group your repair falls into, a drywall repair service can assess the wall and explain the options. You can also send a photo for a written quote so the scope is clear before work starts.
For any work that involves structural changes, permits, or electrical and plumbing, check requirements with the City of Los Angeles through the Department of Building and Safety at the link in the sources below.
FAQ
Why does my drywall repair look fine until I paint it?
Wet compound often looks uniform, but once it dries and paint goes on, differences in porosity and sheen become visible. Priming before the final paint and checking the surface under raking light helps catch these problems early.
Do I have to prime a drywall patch before painting?
In most cases, yes. Bare joint compound absorbs paint unevenly, which is the usual cause of flashing. A primer or sealer evens out the surface so the finish looks consistent.
Can I just paint over a small patch?
You can, but a small spot painted alone often shows a sheen difference. Painting to a natural break or the full wall gives a more even result, especially on flat or matte finishes.
How do I match a textured wall?
Look at the texture at a low angle and identify its type and scale. Practice on scrap board or a hidden area before working on the visible patch, and let the texture cure before priming.
What if the wall still shows the patch after painting?
Wait until the paint is fully cured, then check under raking light. If the problem is a ridge, a light sanding and a second coat of paint sometimes helps. If the problem is texture or sheen, the area usually needs to be retextured or repainted more broadly.
Sources
- Cal. State Contractors License Board: Hire a Contractor
- City of Los Angeles: Permits and Inspections (LADBS)
- EPA: A Brief Guide to Mold, Moisture, and Your Home
- EPA: Renovation, Repair and Painting Program
Safety note: work on electrical panels, gas, structure or anything that needs a permit should be done by a licensed contractor with the required permits.
STATOX Handyman Service · Send a photo · +1 (820) 200-4919
Keep reading
 drywall repairCommon Drywall Problems: Cracks, Holes, Dents and FixesLearn how to fix drywall cracks and holes, from nail pops to doorknob dents, and when a repair needs more than patch and paint. Read before you patch.
 drywall repairDIY vs. Pro Drywall Repair: When to Call a HandymanWeighing diy vs professional drywall repair? Learn which wall damage you can fix yourself and which to hand off, so you avoid redoing the job.
 drywall repairDrywall Cracks in Hollywood Hills Hillside HomesLearn what causes drywall cracks in hillside homes and how drywall repair Hollywood Hills owners can tell cosmetic from serious. Read before you patch.