Drywall and Plaster Repair in Hancock Park Older Homes

If you need drywall repair in Hancock Park, the first step is to find out what your wall is actually made of. Many homes here were built in the 1920s through the 1940s, so walls are often plaster over wood lath, sometimes with drywall patches or additions layered on top. The right fix depends on that mix, and a patch that suits modern drywall can fail quickly on old plaster.
Why Hancock Park Walls Are Different
Hancock Park is known for its Spanish Revival, Tudor, Colonial Revival, and Mediterranean homes. Many were finished with traditional plaster: coats of material troweled over thin wood strips (lath) nailed to the studs. That system makes a hard, smooth wall with a lot of character.
It also behaves differently from drywall. Plaster is heavier and more brittle. Its bond to the lath comes from "keys," blobs of plaster that pushed between the strips and hardened behind them. When keys break, the wall can sag or bulge even if the surface looks fine.
Over the decades, most older homes have also seen remodels. It is common to find a bedroom that is original plaster, a kitchen wall that was replaced with drywall, and a hallway with a mix of both. Treat each wall as its own project.
If you want a broader look at how we approach this kind of work, see our drywall repair service page and our notes on the Hancock Park area.
How to Tell Plaster From Drywall
You do not need special tools for a first read. Try these checks:
- Knock on the wall. Plaster sounds dense and solid. Drywall sounds a little hollow and lighter.
- Look at an outlet or switch plate edge. With the cover off (power off at the breaker), plaster is usually thicker, often around three-quarters of an inch or more. Drywall is typically thinner.
- Check inside a closet or attic edge. Exposed wood lath is a clear sign of plaster.
- Try a push pin. It goes into drywall paper easily but rarely into hard plaster.
- Look at the seams. Drywall often shows straight tape lines at joints. Plaster is usually continuous.
If you are unsure, assume plaster until proven otherwise. It is the safer assumption for how you handle the wall.
Cracks that start at window and door corners are common in older plaster and are worth inspecting before patching.
Common Problems in Older Plaster Homes
Here is what we see most often in homes of this age:
- Hairline cracks from seasonal movement, door slams, and the normal settling of an old structure. Los Angeles is also earthquake country, so small cracks are common.
- Bulging or loose plaster where the keys have let go of the lath.
- Water stains and soft spots from old roof, plumbing, or window leaks.
- Failed patches where an earlier repair used the wrong material and has cracked or shown through the paint.
- Holes from removed fixtures, old wiring updates, or recessed lights.
- Textured or uneven surfaces after several rounds of repainting.
Water damage deserves extra attention. Before any cosmetic repair, the source must be fixed and the area dry. The EPA's brief guide to mold and moisture explains why controlling moisture is the key step.
Repair Options Compared
Not every problem needs the same approach. This table shows how the common options differ.
| Repair method | Suited to | Things to know |
|---|---|---|
| Fill and tape hairline cracks | Small, stable cracks | Flexible compounds and fiberglass mesh tape hold better than plain filler on moving cracks |
| Plaster washers or screws to re-secure | Loose or bulging areas with intact plaster | Pulls plaster back to the lath without full removal |
| Patch with plaster or setting compound | Medium holes in plaster walls | Matches the original hardness and surface better |
| Drywall patch cut into plaster | Larger holes or damaged sections | Needs careful depth matching so the patch sits flush |
| Full section replacement | Water-damaged or crumbling areas | Most work, but sometimes the only lasting answer |
A thin drywall patch set into a thick plaster wall often leaves a visible edge. Shimming or building up layers helps the surface come out flush.
A Careful Step-by-Step Approach
For a small repair, this is the general order a careful handyman follows:
- Identify the cause. Look for moisture, movement, or impact damage before touching the surface.
- Protect the room. Cover floors and furniture. Sanding old walls makes fine dust.
- Remove loose material. Tap around the damage and remove anything that crumbles or sounds hollow.
- Stabilize the base. Secure loose plaster or lath, and prime exposed edges so new compound bonds well.
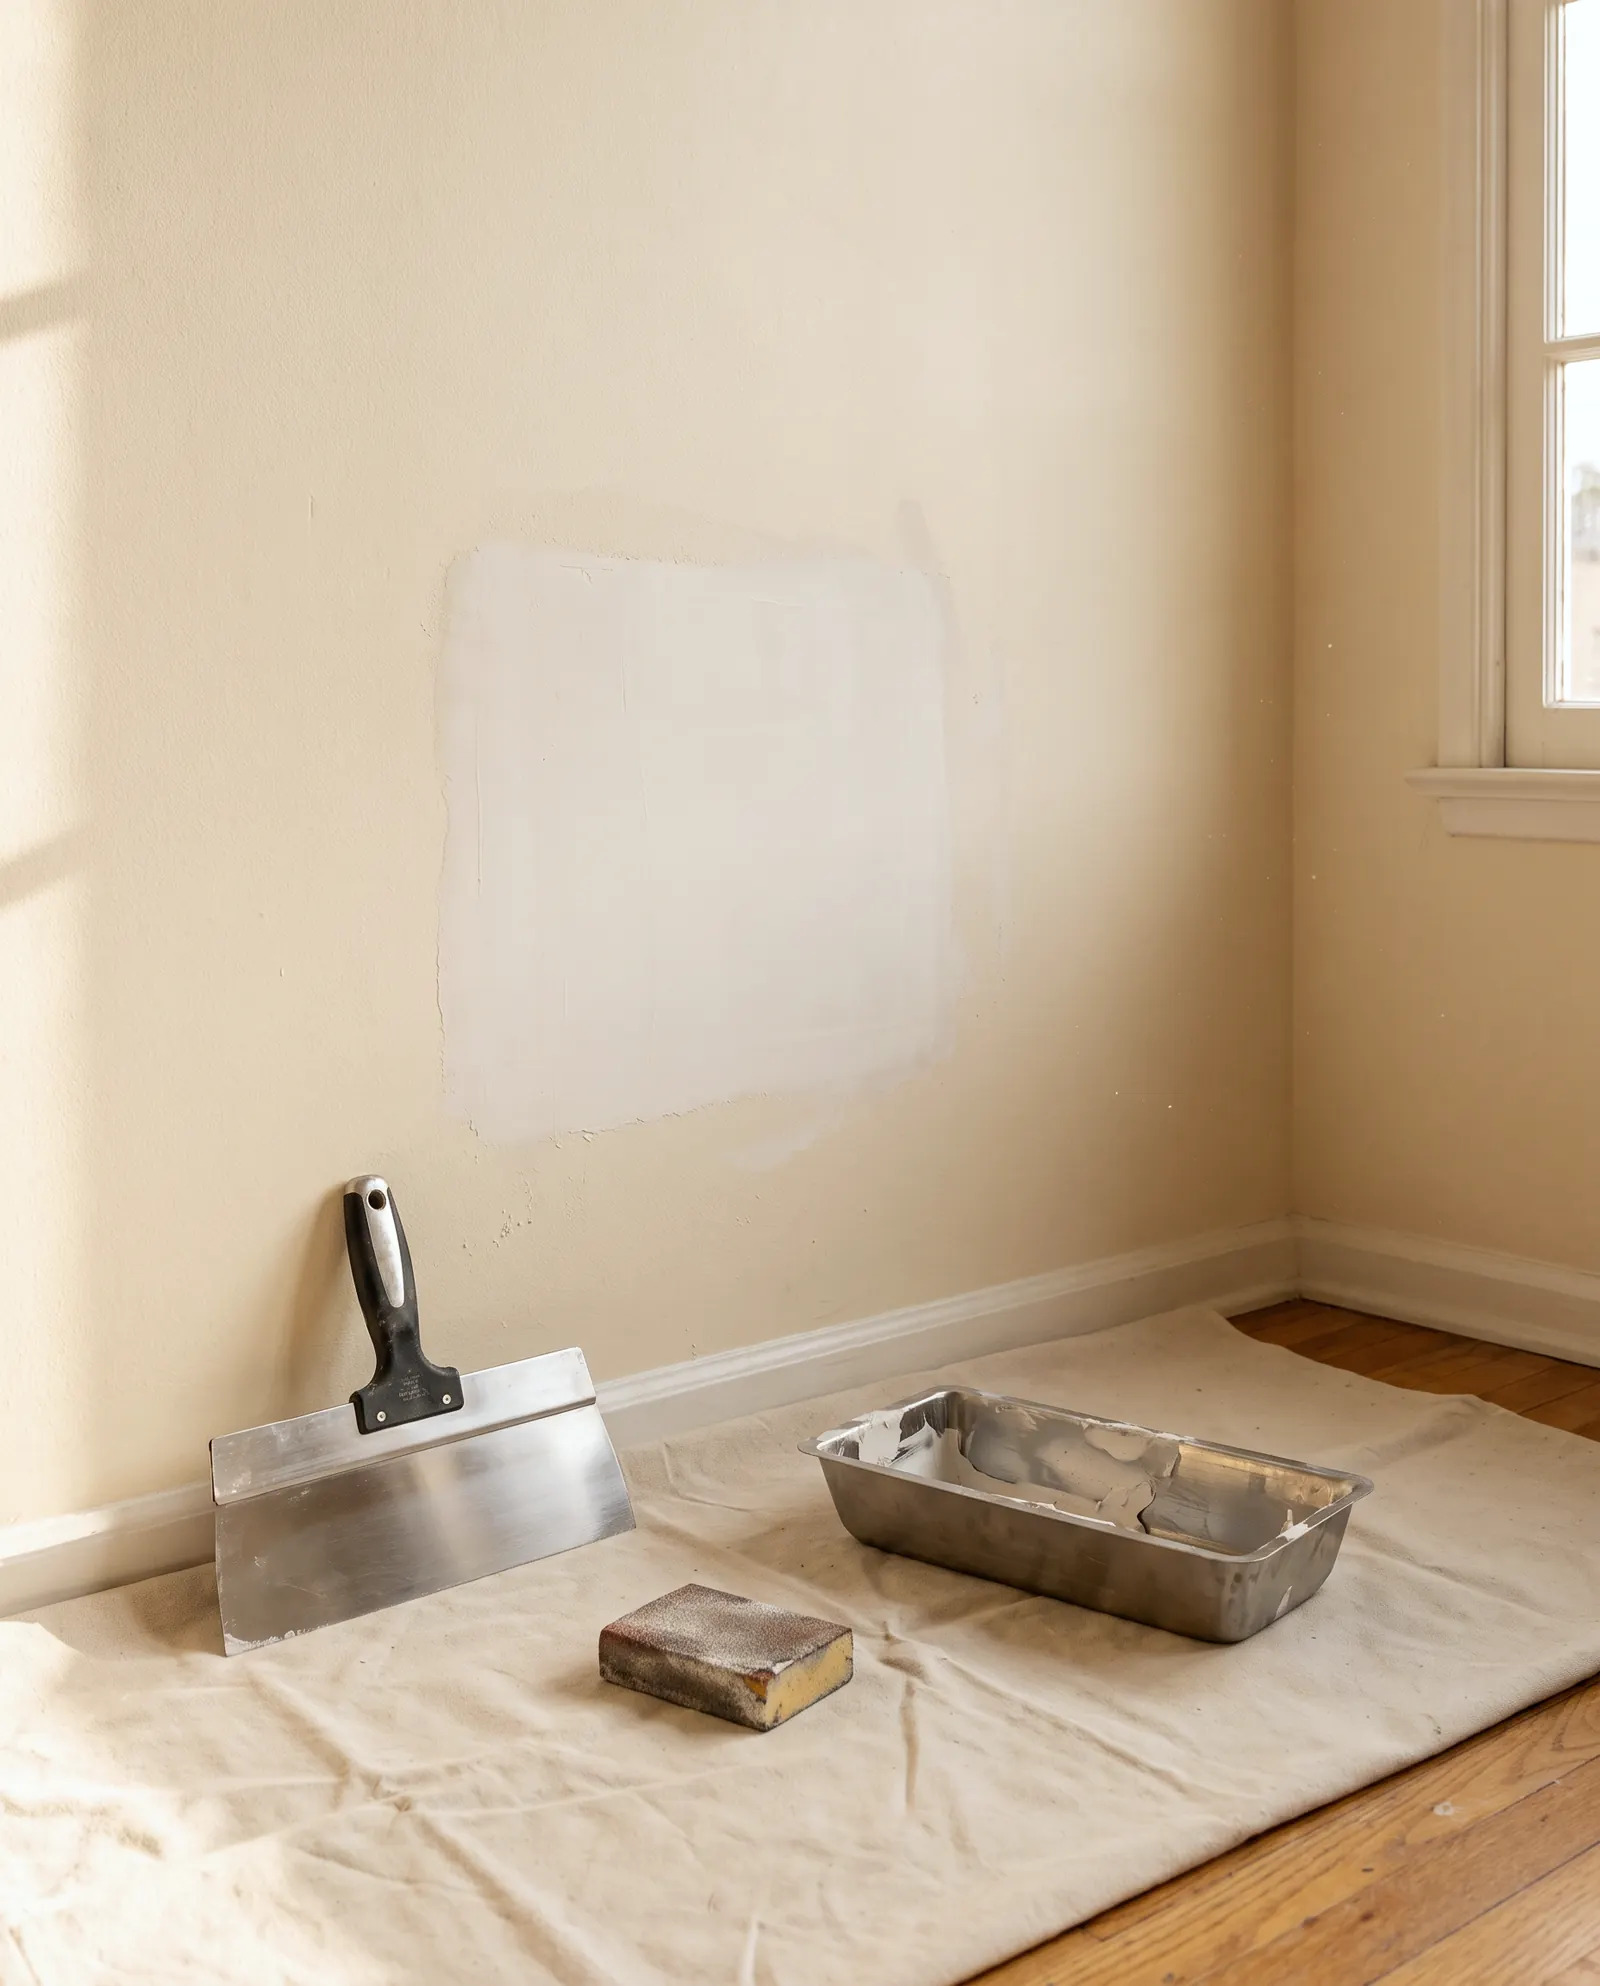
- Fill in thin layers. Several thin coats shrink and crack less than one thick one.
- Feather the edges. Blend the repair wide beyond the damage so it disappears under paint.
- Prime, then paint. Skipping primer is the most common reason a patch shows through.
A Note on Paint Age and Lead
Homes built before 1978 may have lead-based paint in older layers. Sanding, scraping, and demolition can create dust that is hazardous, especially for children and pregnant women. The EPA runs a Renovation, Repair and Painting Program with rules for work in older homes, and it offers guidance on protecting your family.
Until you know what is on your walls, avoid dry sanding or scraping old paint yourself. Keep kids and pets out of the area, and ask a qualified professional about testing and safe work practices.

Thin, feathered coats are the secret to a patch that blends into an older wall.
When to Call a Pro
Plenty of small jobs are reasonable DIY projects: a nail hole, a small dent, or a single hairline crack on a stable wall. If you are patient and the wall is in good shape, you can get a clean result.
Consider calling a pro when:
- The plaster bulges, sags, or feels loose.
- There are stains, soft spots, or any sign of ongoing moisture.
- Cracks keep returning or are wider than a hairline.
- The repair is large, spans a ceiling, or crosses several rooms.
- You need the finish to match textured or decorative plaster.
- The home predates 1978 and you plan to sand or open walls.
- Work might involve structural or electrical changes. Check with the City of Los Angeles Department of Building and Safety about whether permits are required.
When hiring anyone for home work, the California Contractors State License Board offers consumer guidance on how to hire a contractor. Read it before you sign anything.
Ready to talk it through? You can send a photo for a written quote and describe the wall, its age, and what you have noticed.
FAQ
Can I just put drywall over old plaster?
Sometimes, but it is not always wise. Covering damaged plaster hides problems and can change door and trim depth. Loose or wet plaster should be addressed first.
Why does my patch keep cracking?
Usually the underlying movement or moisture was not dealt with, or the compound was applied too thick. Mesh tape, thin coats, and the right material for the wall type help.
Is it normal for old plaster to have cracks?
Yes. Hairline cracks are common in older homes. Wider, growing, or stair-step cracks deserve a closer look.
Do I need a permit for plaster or drywall repair?
Small cosmetic repairs generally do not. Larger projects or any structural, electrical, or plumbing changes may. Check with LADBS to confirm for your situation.
How do I match the texture of an old wall?
Study the existing finish in raking light, test on a scrap or hidden spot, and build the texture in layers. Decorative or hand-troweled finishes are often easier to match with an experienced hand.
Sources
- California Contractors State License Board: Hire a Contractor
- Los Angeles Department of Building and Safety: Permits and Inspections
- EPA: Renovation, Repair and Painting Program
- EPA: A Brief Guide to Mold, Moisture and Your Home
Safety note: work on electrical panels, gas, structure or anything that needs a permit should be done by a licensed contractor with the required permits.
STATOX Handyman Service · Send a photo · +1 (820) 200-4919
Keep reading
 drywall repairCommon Drywall Problems: Cracks, Holes, Dents and FixesLearn how to fix drywall cracks and holes, from nail pops to doorknob dents, and when a repair needs more than patch and paint. Read before you patch.
 drywall repairDrywall Cracks in Hollywood Hills Hillside HomesLearn what causes drywall cracks in hillside homes and how drywall repair Hollywood Hills owners can tell cosmetic from serious. Read before you patch.
 drywall repairDrywall Repair in Hidden Hills: Large Homes and HOA RulesPlanning drywall repair in Hidden Hills? Learn how large homes, tall ceilings, and HOA expectations shape the job, so your patch disappears for good.