Drywall Repair Prep Checklist Before the Handyman Arrives
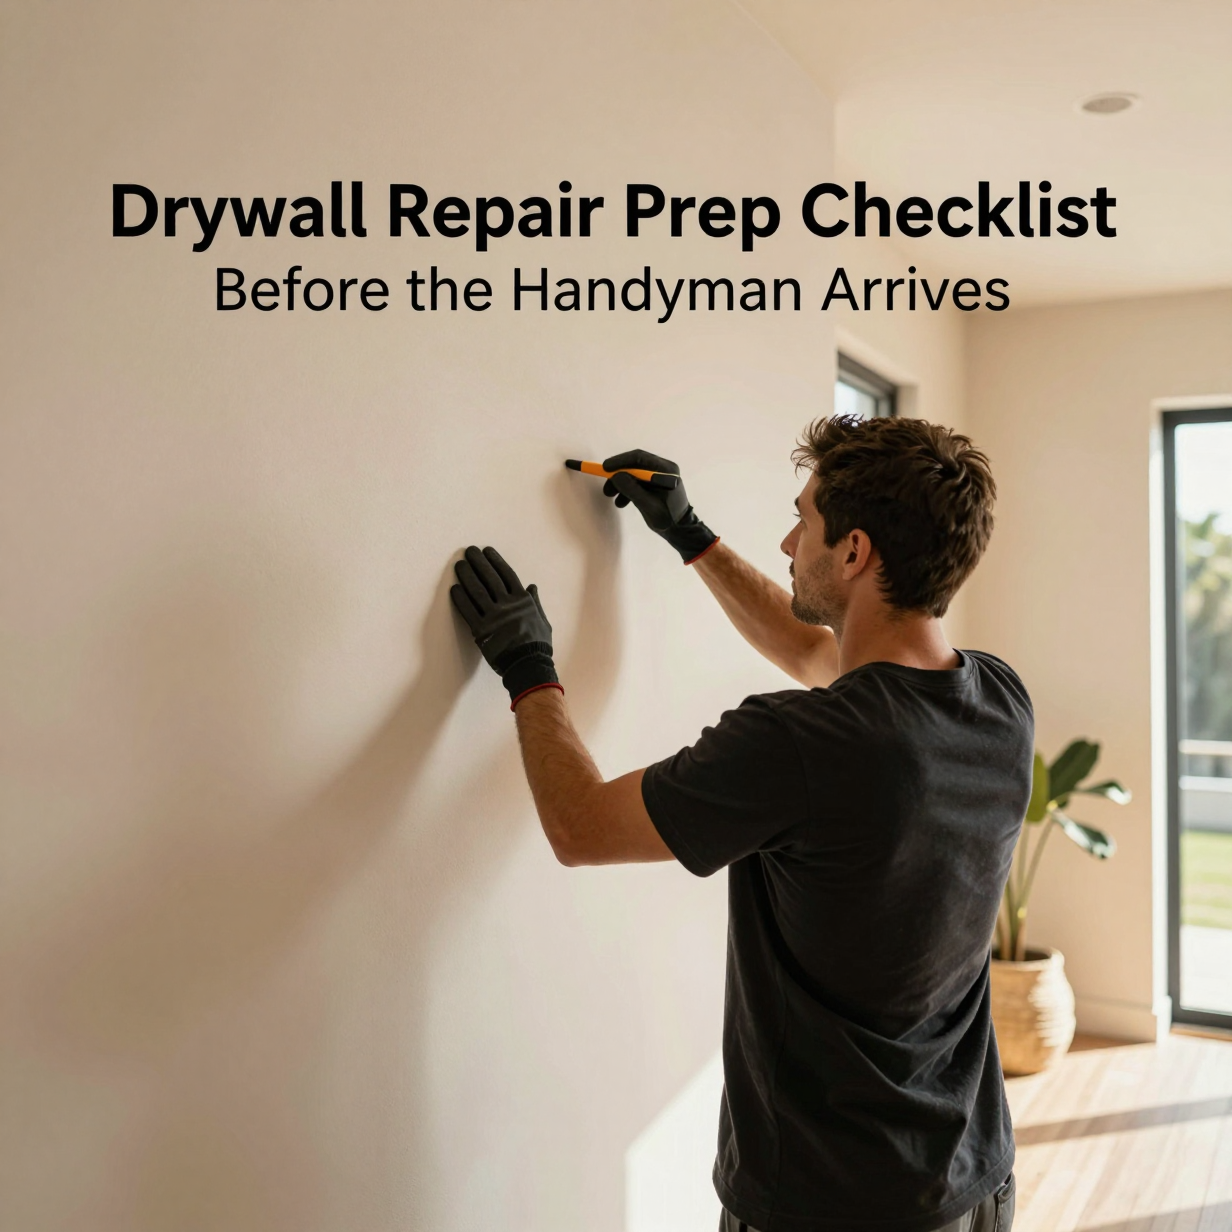
Here is a simple drywall repair checklist: clear a three-foot work zone around the damage, cover floors and furniture, take photos, note what caused the damage, and make sure the area is dry. Then decide on paint, and plan where tools and dust can go. A few minutes of prep helps the repair go faster, cleaner, and with fewer surprises.
Why Prep Matters for Drywall Repair
Drywall repair is a multi-step job. Patching, taping, applying joint compound, sanding, priming, and painting all happen in layers, and each layer needs room to work and time to dry. When the space is cluttered or the cause of the damage is unknown, the work slows down.
Sanding is the dusty part. Fine gypsum dust travels through open rooms and settles on shelves, electronics, and vents. Good prep keeps most of it contained.
Prep also helps the handyman see the real problem. A clear wall, a few photos, and a short history of the damage tell us whether we are looking at a simple patch or something hiding behind the surface.
The Drywall Repair Checklist: Before the Visit
Work through this list the day before, or the morning of the visit.
- Clear a work zone. Move furniture, rugs, and décor at least three feet from the damaged wall. For ceilings, clear the whole area below.
- Take down wall items. Remove pictures, shelves, mirrors, curtains, and rods near the repair. Keep screws and hardware in a labeled bag.
- Photograph the damage. Take one wide shot and one close-up, with and without a flashlight held sideways. Raking light shows dents, cracks, and uneven seams.
- Protect floors. Lay down a drop cloth or old sheets from the room entry to the work area. Hardwood and tile especially benefit from cover.
- Cover what you cannot move. Drape sofas, beds, and electronics with sheets or plastic.
- Check for moisture. Touch the area. If it feels damp, soft, or cool compared with nearby wall, tell us before we start.
- Note the cause. Was it a doorknob, a moved appliance, a removed wall anchor, a leak, or settling? Cause affects the fix.
- Locate the paint. If you have leftover paint, find the can. Look for the sheen and color name on the lid.
- Secure pets and kids. Dust and tools are not a good mix with curious paws or hands.
- Clear access. Make sure the path from the entry to the room is open, and note parking or building entry details.
What to Tell Your Handyman About the Damage
Different damage calls for different repairs. The more you share, the better we can bring the right materials.
- Size: Is it a nail hole, a dent the size of a fist, or a section missing entirely?
- Location: Wall, ceiling, corner, or around a door or window frame?
- Age: Did it just happen, or has it been growing?
- Texture: Is the wall smooth, orange peel, knockdown, or popcorn on the ceiling? Matching texture is often the trickiest part of a patch.
- Past water: Any leak, spill, or stain history in that spot?
- Age of the home: Older Los Angeles homes may have plaster or layered paint, and that changes the approach.
If you can, send a photo for a written quote before the visit. A clear photo helps us plan materials and the scope of work.
Raking light from the side makes cracks, dents, and seam lines easy to see in photos.
Common Drywall Problems and What They Usually Need
Not every blemish is the same job. This table shows typical damage and what the repair generally involves.
| Damage type | Typical fix | Prep tip |
|---|---|---|
| Nail or screw holes | Fill with compound, sand, spot prime | Remove the hanger and hardware |
| Small dents or dings | Skim coat of compound, sand, prime | Clear a small work zone |
| Doorknob-sized hole | Patch or backing, tape, compound coats | Move the door stop or furniture |
| Large hole | Cut out and replace a drywall section, tape, finish | Clear the full wall |
| Cracks at corners or seams | Re-tape and finish | Note if the crack keeps returning |
| Water-stained area | Find and fix the source, then replace damaged board | Tell us about the leak history |
| Popped tape or nail pops | Re-secure, re-tape, finish | Photograph in side light |
Patches that look small on the surface sometimes need more work than expected. A stain may mean the board behind it is soft, and a crack that keeps returning may point to movement or a fastening problem.
Dust, Paint, and Finishing: Setting Expectations
Drywall repair is not a one-pass fix. Compound shrinks as it dries, so most patches need more than one coat. Each coat must dry before sanding and the next layer. That is why a repair can take more than one visit, depending on the size and the product used.
Expect the following:
- Dust: Sanding produces fine powder. We contain it, but it helps to close doors, cover vents, and turn off the HVAC fan in the work area.
- Texture matching: Smooth walls are easier to blend. Textured walls and ceilings need spray or hand-applied texture to match.
- Paint matching: Older paint fades. A new patch painted with the original color can look different. Painting the whole wall, corner to corner, usually gives the most even look.
- Primer: Fresh compound absorbs paint differently from the old wall, so primer is a standard step.
If your home was built before 1978, ask about lead paint before any sanding. The EPA's renovation, repair, and painting program explains the rules and precautions that apply to older homes. Do not dry sand or scrape old paint yourself.

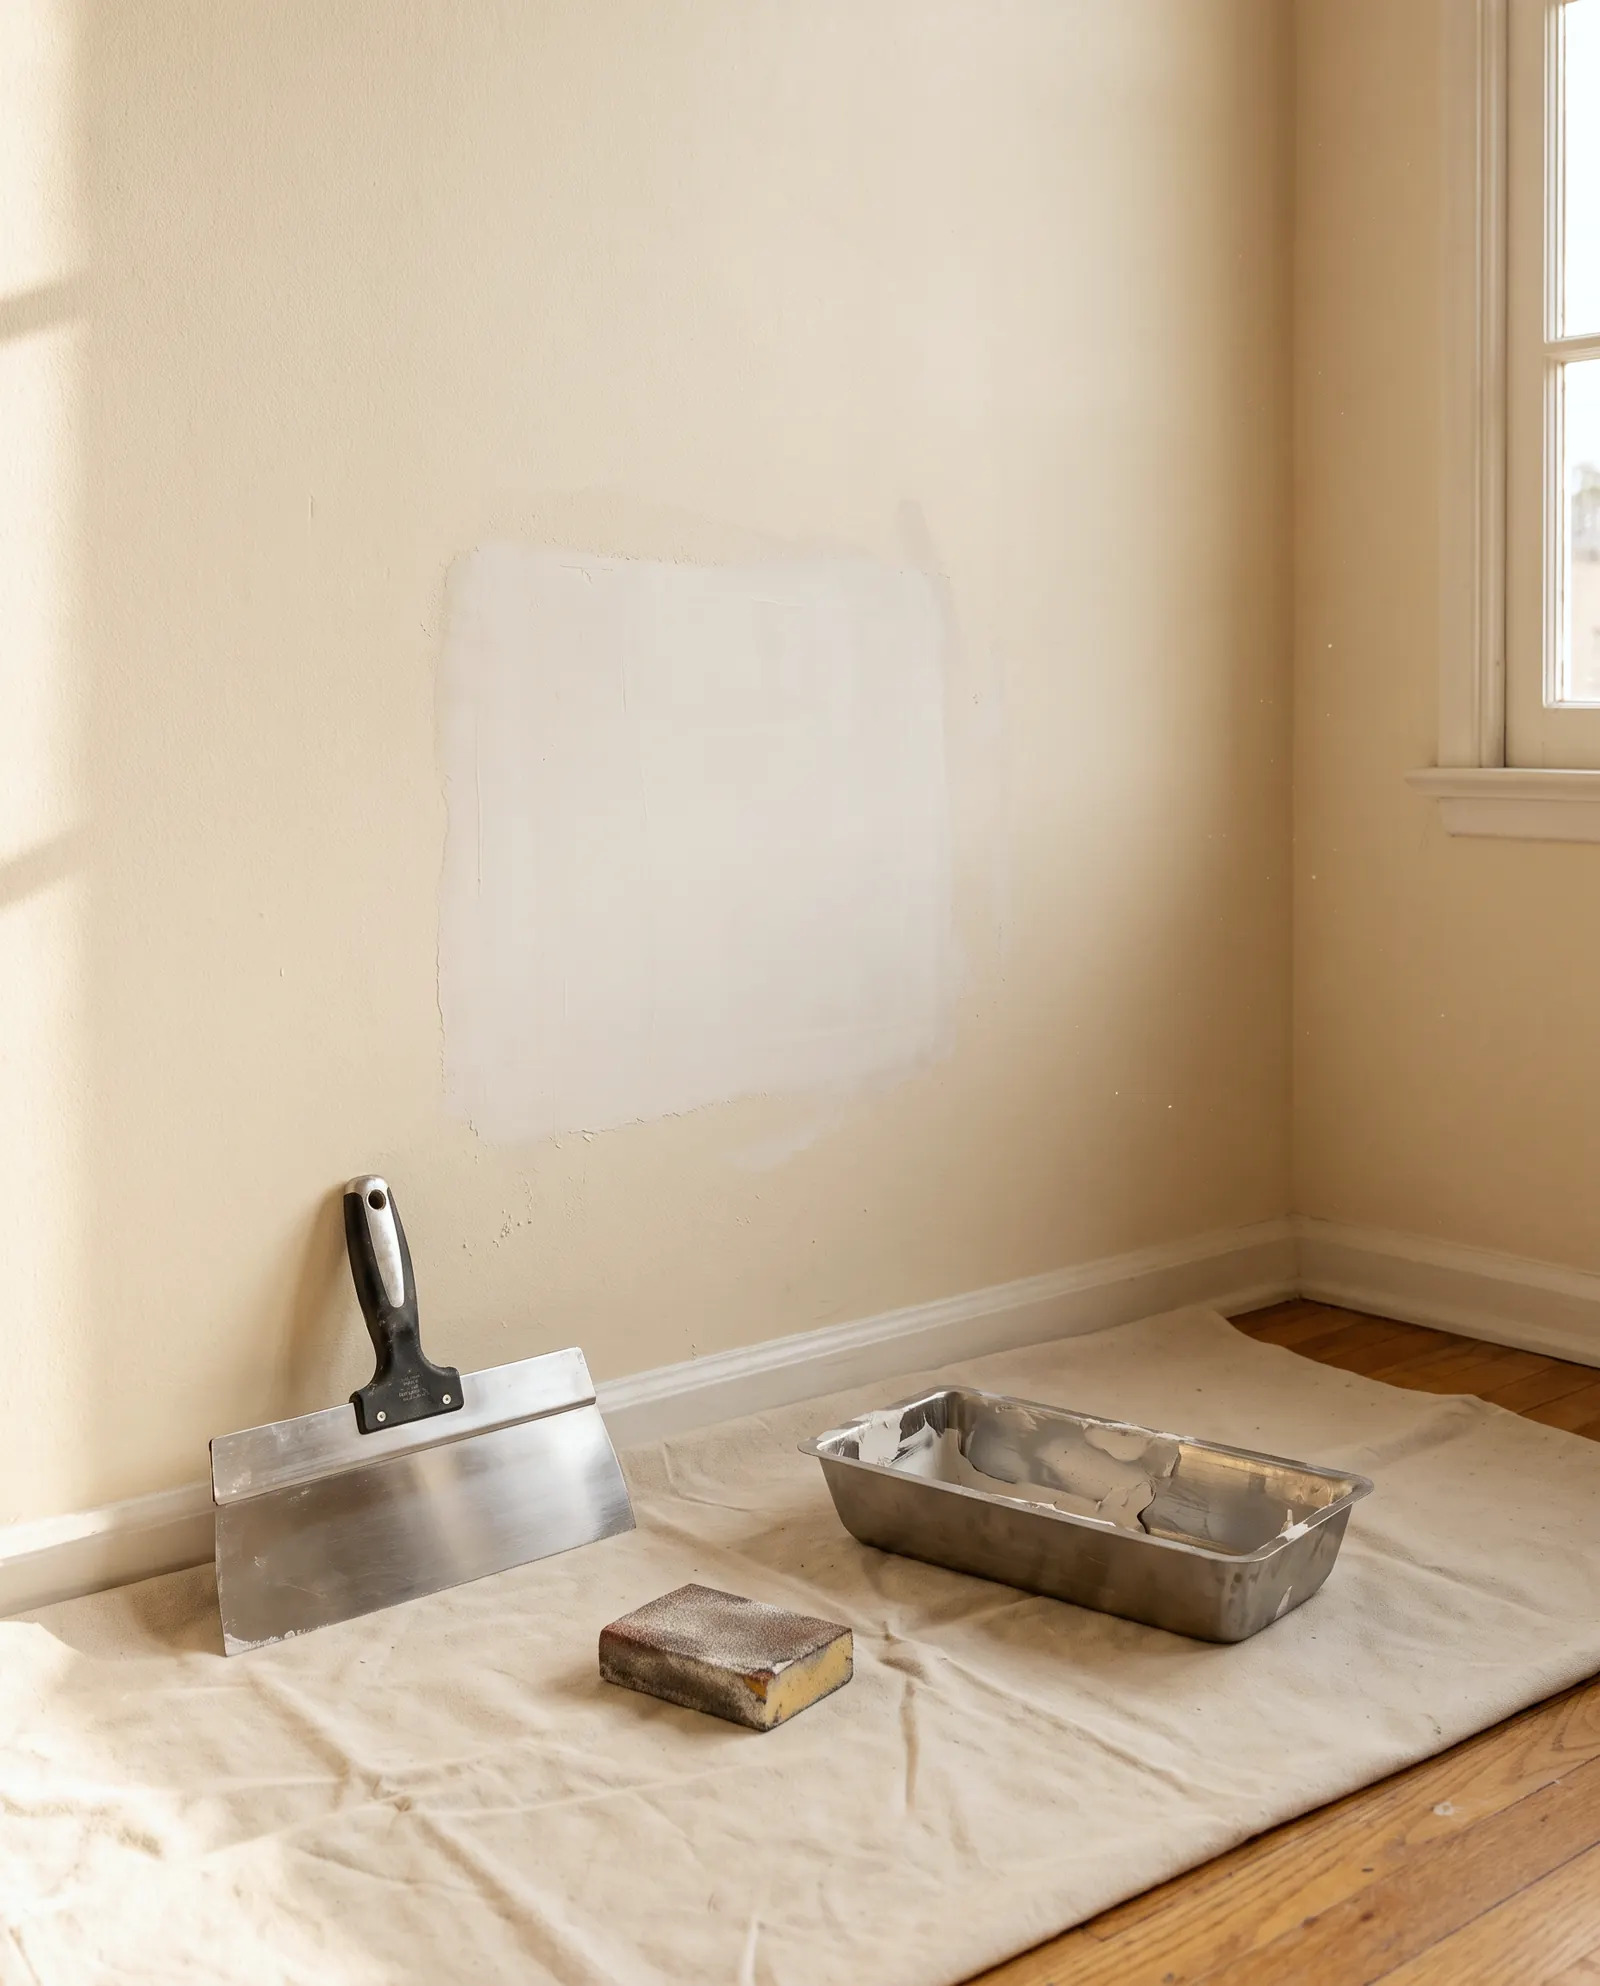
Joint compound goes on in thin, feathered coats so the patch blends into the wall.
When to Call a Pro
Some drywall jobs are reasonable for a careful DIYer. Small nail holes and shallow dents are good examples: a putty knife, spackle, fine sandpaper, and primer are usually enough.
Call a pro when:
- The hole is larger than a fist, or the board is crumbling.
- You see water stains, bubbling paint, or a musty smell. Moisture and mold need attention at the source first. The EPA's guide to mold and moisture explains why drying and fixing the leak come before cosmetic repair.
- The damage is on a ceiling, where overhead work is tiring and messy.
- You have textured walls or ceilings that must match.
- The crack keeps coming back.
- Your home is older and the paint may contain lead.
- You are not sure whether the damage is cosmetic or structural.
Be honest about your time and tools, too. Taping and feathering compound is a skill that improves with practice, and a patch that is visible in daylight can be frustrating. If you want a clean, hard-to-notice result, our drywall repair service covers patching, texture, priming, and paint blending.
If the work involves anything beyond a cosmetic patch, such as moving walls or changing structure, check with the City of Los Angeles about permits through LADBS. For hiring in California, the Contractors State License Board offers consumer guidance on choosing a contractor.
FAQ
Do I need to move all my furniture before a drywall repair?
Not everything. Clear about three feet around the damaged area and cover the rest with sheets or plastic. For ceiling repairs, clear the whole area beneath.
Should I paint over the repair myself afterward?
You can, but color and sheen matching is difficult. If the repair is on a visible wall, painting the full wall from corner to corner gives the most even result. Ask your handyman whether paint is part of the visit.
Why does a patch sometimes need more than one visit?
Joint compound needs time to dry between coats, and primer and paint need to dry too. Larger patches and texture work often take multiple stages.
What if I do not know what caused the damage?
Tell us what you know and send photos. If there is any moisture, staining, or a musty smell, mention it right away so the source is addressed before the wall is closed up.
Can I stay home during drywall repair?
Yes, in most cases. Close doors to the work area, keep pets and children out, and expect some noise and dust during sanding.
Sources
- California Contractors State License Board: Hire a Contractor
- LADBS: Permits and Inspections
- EPA: Renovation, Repair and Painting Program
- EPA: A Brief Guide to Mold, Moisture, and Your Home
Safety note: work on electrical panels, gas, structure or anything that needs a permit should be done by a licensed contractor with the required permits.
STATOX Handyman Service · Send a photo · +1 (820) 200-4919
Keep reading
 drywall repairCommon Drywall Problems: Cracks, Holes, Dents and FixesLearn how to fix drywall cracks and holes, from nail pops to doorknob dents, and when a repair needs more than patch and paint. Read before you patch.
 drywall repairDrywall Cracks in Hollywood Hills Hillside HomesLearn what causes drywall cracks in hillside homes and how drywall repair Hollywood Hills owners can tell cosmetic from serious. Read before you patch.
 drywall repairDrywall and Plaster Repair in Hancock Park Older HomesPlanning drywall repair in Hancock Park? Learn how plaster, lath, and old patches differ, what to check first, and when a pro is worth calling.