Drywall Repair: What to Expect From Start to Finish
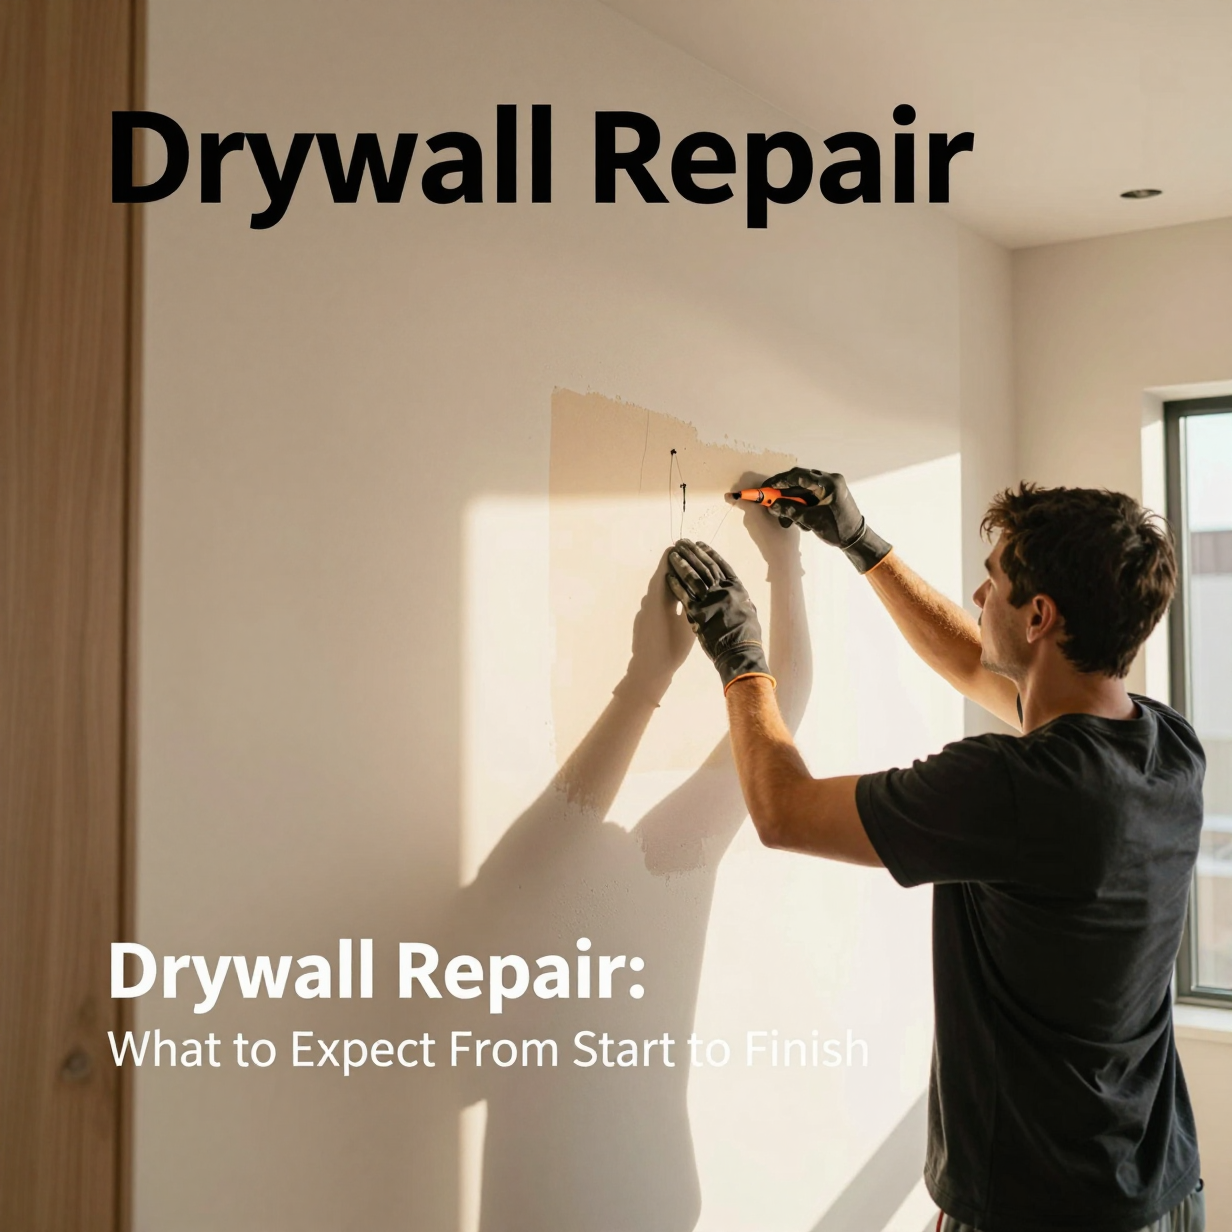
If you're wondering what to expect from drywall repair, here is the short version: the damaged area is assessed, cut out or prepped, patched, taped, covered with several thin coats of joint compound, sanded smooth, primed, and painted to match. The steps are simple, but the drying time between coats is what stretches the job over multiple visits or days. Knowing the sequence helps you plan around it and spot good work when you see it.
Step 1: The Assessment and the Cause
Every good repair starts with a question: why did the wall get damaged? A doorknob dent is a different story from a stain that keeps coming back.
During the first look, a handyman will typically:
- Measure the damaged area and note how many spots there are.
- Check whether the damage is surface-only or goes through the paper and gypsum core.
- Press on the area to feel for softness, which can signal moisture.
- Look for stains, bubbling paint, or cracks that follow a pattern.
- Identify the wall texture (smooth, orange peel, knockdown, or something else).
If moisture is involved, the leak has to be found and fixed first. Patching over a wet wall only hides the problem. The EPA's brief guide to mold, moisture, and your home explains why drying out and fixing the source matters before any cosmetic work.
Step 2: Prep and Protection
Drywall dust is fine and travels. Before any cutting or sanding, expect the work area to be prepared.
Common prep steps include:
- Moving or covering furniture near the wall.
- Laying drop cloths on the floor.
- Taping plastic over doorways or vents to limit dust spread.
- Turning off power to the area if cutting near outlets or switches.
- Marking where studs or wiring may sit behind the surface.
You can help by clearing the area, taking pictures off the wall, and letting the crew know about pets or anyone sensitive to dust.
If your home was built long ago and the wall has older paint, the EPA's renovation, repair and painting program page explains the rules and precautions around disturbing paint in older housing. Mention your home's age when you ask for a quote.
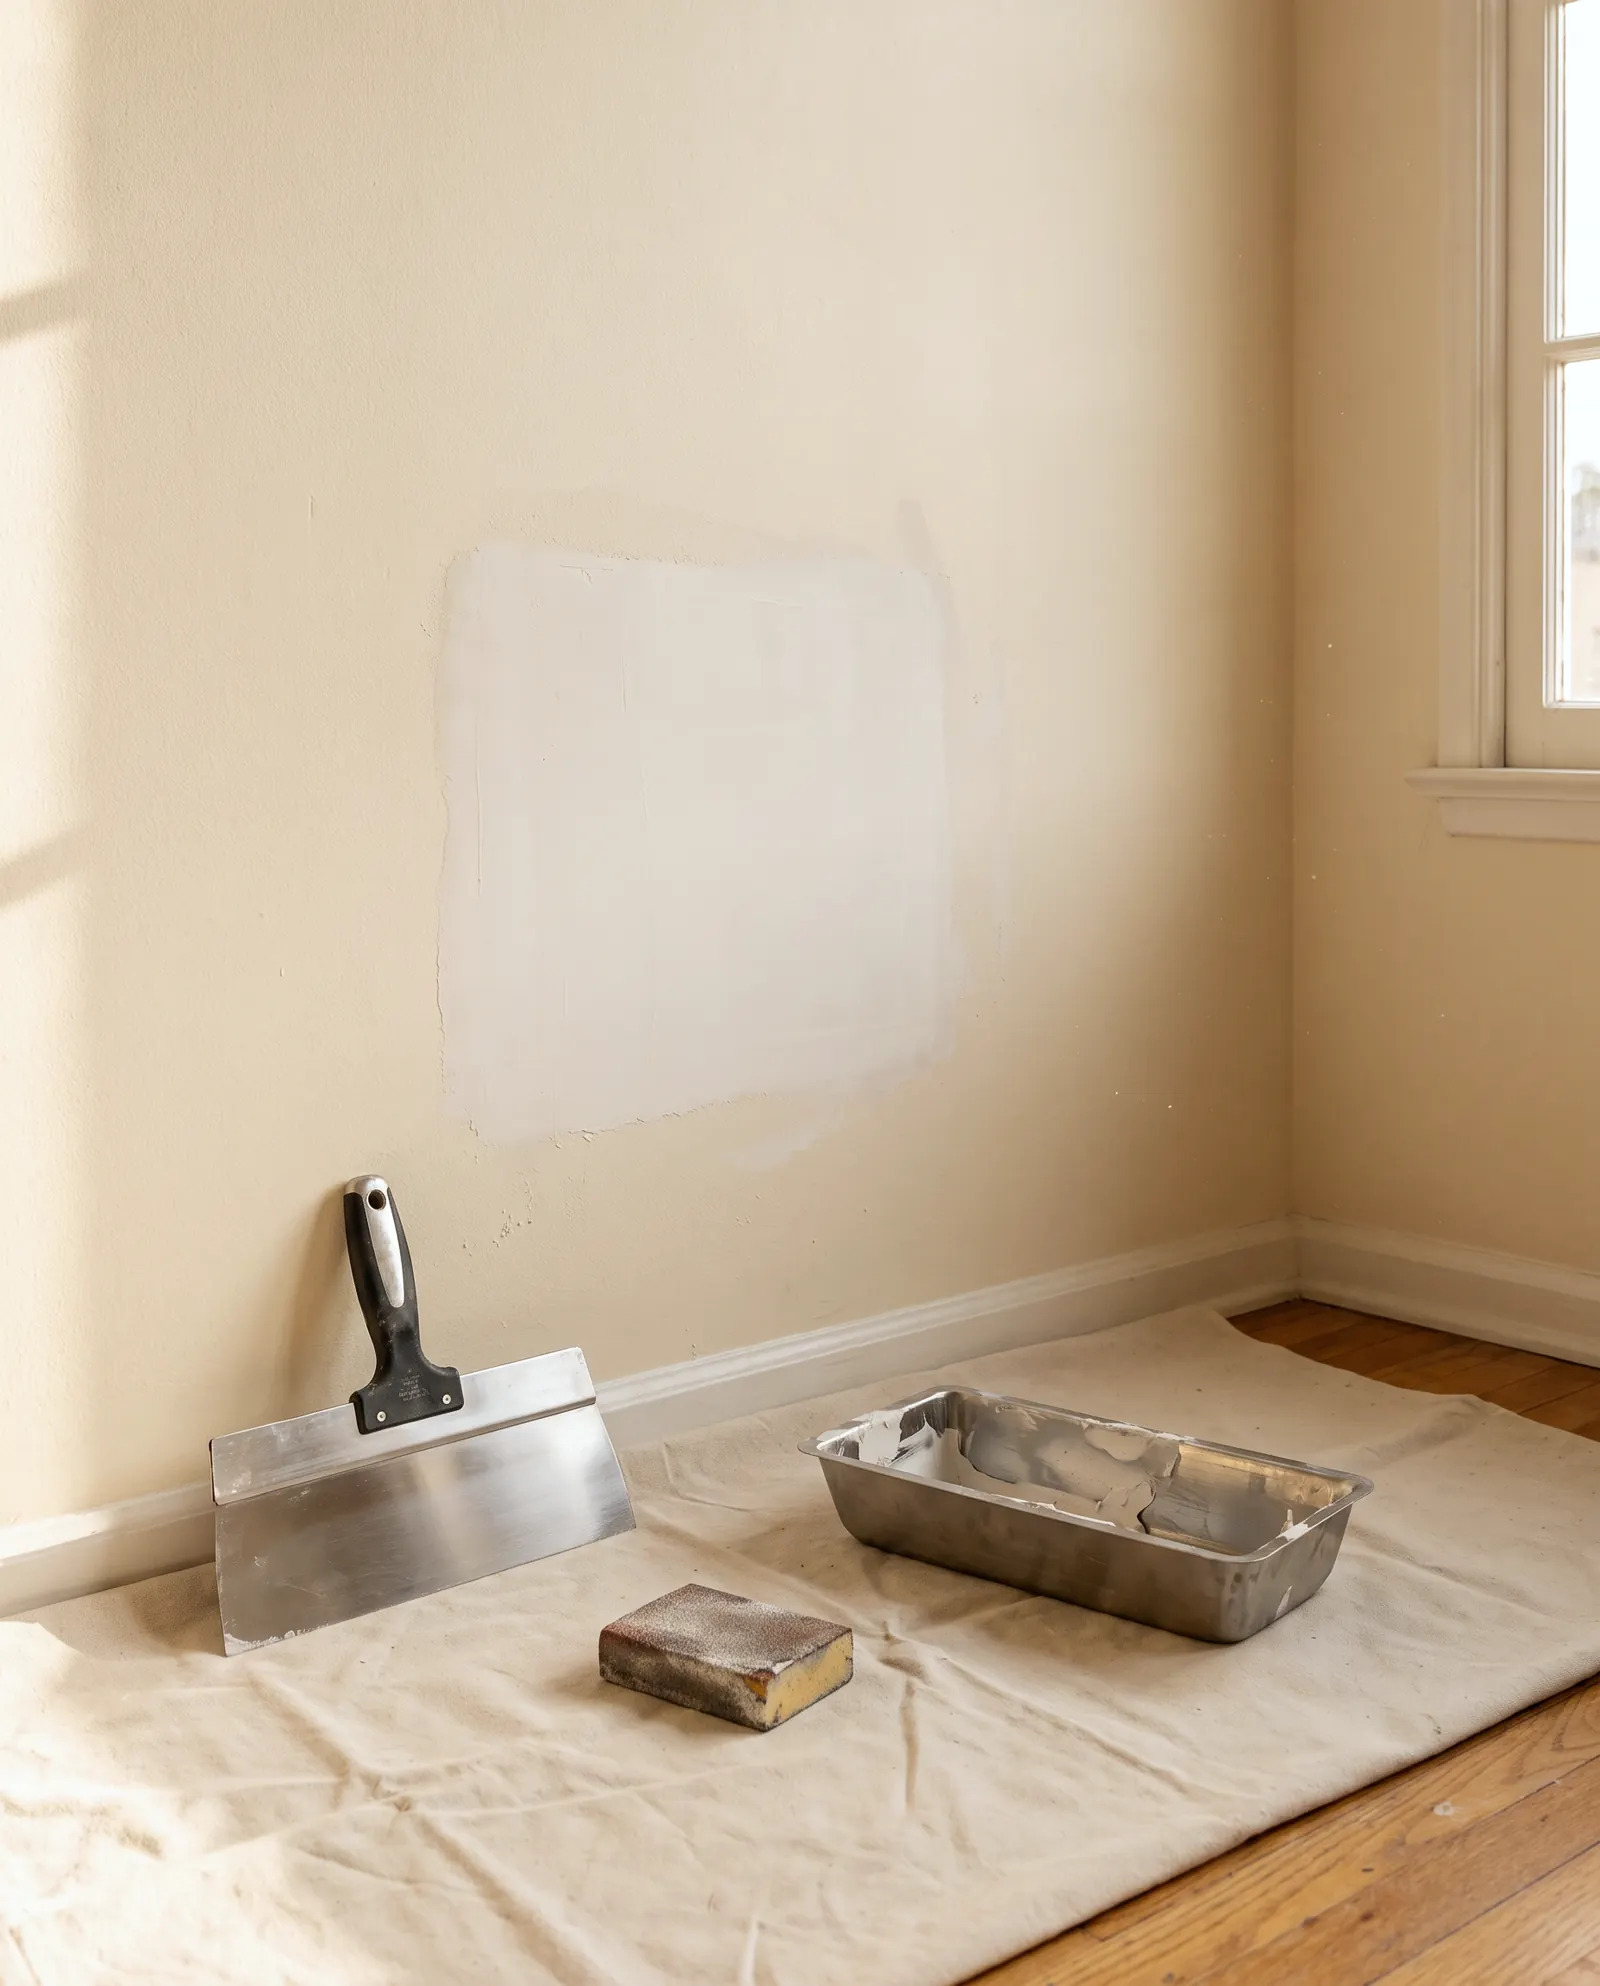
A clean, squared-off opening gives the patch solid edges to bond to.
Step 3: The Repair Method Depends on the Damage
Not all holes are patched the same way. The method is matched to the size and type of damage.
| Damage type | Typical approach | What you'll notice |
|---|---|---|
| Nail holes, small dings | Fill with spackle or compound, sand, spot-prime | Quick, minimal mess |
| Doorknob-size holes | Self-adhesive mesh patch or small backer patch, then compound | A few coats, light sanding |
| Larger holes | Cut a clean opening, add backing, install a new drywall piece, tape seams | More steps, more drying time |
| Cracks at seams or corners | Remove loose material, re-tape, recoat | Cracks may return if movement continues |
| Water-damaged sections | Fix the leak, cut out wet material, replace, dry fully | Takes longer; drying matters |
For larger patches, the new piece is screwed to backing or to studs so it sits flush with the existing wall. Seams are covered with tape, which reinforces the joint and keeps it from cracking later.
Step 4: Mudding, Drying, and Sanding
This is where most of the calendar time goes, and where quality shows.
Joint compound is applied in thin layers, each one feathered wider than the last. Each coat has to dry before the next goes on. Thin coats dry more evenly and sand more easily than one thick coat.
A typical sequence looks like this:
- First coat embeds the tape and fills the gap.
- Second coat widens the repair and hides the tape edges.
- Third coat (if needed) smooths out remaining low spots.
- Sanding blends the repair into the surrounding wall.
Humidity and temperature affect drying. Compound dries slower in damp conditions, so a patient schedule beats a rushed one. Rushing leads to shrinkage, ridges, and visible outlines once paint goes on.
A useful test: after sanding, run your flat hand over the area, then look along the wall with a light held at a low angle. If you can't feel or see the patch, it's ready for primer.

Primer seals the patch so paint sheen looks even across the repair.
Step 5: Texture, Primer, and Paint Matching
A smooth patch on a textured wall still looks like a patch. Matching the texture is often the hardest part of the job.
Texture is usually applied by spray, brush, roller, or knife technique, depending on the existing finish. Los Angeles homes vary widely, from smooth plaster-look walls in older bungalows to knockdown ceilings in newer builds, so it pays to show your installer the wall in daylight.
After texture dries:
- Primer goes over the new compound. Bare compound absorbs paint differently than painted drywall, and skipping primer often leaves dull "flashing" spots.
- Paint is applied in one or two coats. For the most even look, painting the whole wall, corner to corner, hides color differences caused by age and sun fade.
If you have leftover paint, share the brand and color name. If not, a small chip can be color matched, though older paint may have faded slightly.
What a Good Result Looks Like: A Quick Checklist
Before you sign off on the work, walk the wall with these checks:
- The patch is flush with the wall, with no bumps or dips.
- Texture matches the surrounding area.
- No visible tape lines, cracks, or pinholes.
- Paint sheen looks even from different angles.
- Outlets, switch plates, and trim are clean and back in place.
- Dust and debris are cleaned up.
Look at the wall in morning light and again with lamps on. Side lighting reveals flaws that overhead light hides.
When to Call a Pro
Small repairs, like a few nail holes or a shallow dent, are reasonable DIY projects if you're patient. A putty knife, compound, sanding sponge, and primer will do it.
Consider hiring help when:
- The hole is larger than your hand or involves multiple patches.
- The damage came from water, or the wall feels soft or smells musty.
- Cracks keep returning, which can point to movement or a structural cause.
- You need texture matched on a ceiling or a large wall.
- The wall is near wiring, plumbing, or a gas line.
- Your home is older and the paint may need special handling.
Blending a repair so it disappears takes practice. If you want a professional finish, our drywall repair service covers patching, texture matching, and paint-ready finishing. Not sure what you're dealing with? You can send a photo for a written quote and we'll tell you what we see.
If a project grows beyond a simple repair, such as structural changes or major remodeling, check whether permits apply. The LADBS permits and inspections page is a good starting point. And when hiring anyone for home work in California, the Contractors State License Board has guidance on how to hire a contractor.
FAQ
How long does drywall repair take?
It depends on the size of the damage and drying conditions. Small patches still need coats to dry between steps, so even a modest repair usually involves more than one stage. Larger or water-related repairs take longer.
Will the patch be visible after painting?
A well-done repair shouldn't be. The keys are feathered edges, matched texture, primer, and painting the full wall section so color and sheen blend.
Do I need to repaint the whole wall?
Often it's the most reliable way to hide the repair, especially if the existing paint has aged. Spot painting can work on newer paint, but color and sheen differences are common.
Can I stay home during the repair?
Usually yes. Dust is contained as much as possible, but sanding creates fine particles. Keep kids and pets away from the work area, and ask about ventilation if anyone is sensitive to dust.
Why did my crack come back?
Cracks reappear when the cause remains: house settling, seasonal movement, missing tape, or moisture. A proper repair re-tapes the joint, but persistent or widening cracks deserve a closer look.
Sources
- CSLB: Hire a Contractor
- LADBS: Permits and Inspections
- EPA: Renovation, Repair and Painting Program
- EPA: A Brief Guide to Mold, Moisture, and Your Home
Safety note: work on electrical panels, gas, structure or anything that needs a permit should be done by a licensed contractor with the required permits.
STATOX Handyman Service · Send a photo · +1 (820) 200-4919
Keep reading
 drywall repairCommon Drywall Problems: Cracks, Holes, Dents and FixesLearn how to fix drywall cracks and holes, from nail pops to doorknob dents, and when a repair needs more than patch and paint. Read before you patch.
 drywall repairDrywall Cracks in Hollywood Hills Hillside HomesLearn what causes drywall cracks in hillside homes and how drywall repair Hollywood Hills owners can tell cosmetic from serious. Read before you patch.
 drywall repairDrywall and Plaster Repair in Hancock Park Older HomesPlanning drywall repair in Hancock Park? Learn how plaster, lath, and old patches differ, what to check first, and when a pro is worth calling.