Furniture Assembly Prep Checklist Before Your Handyman Visit
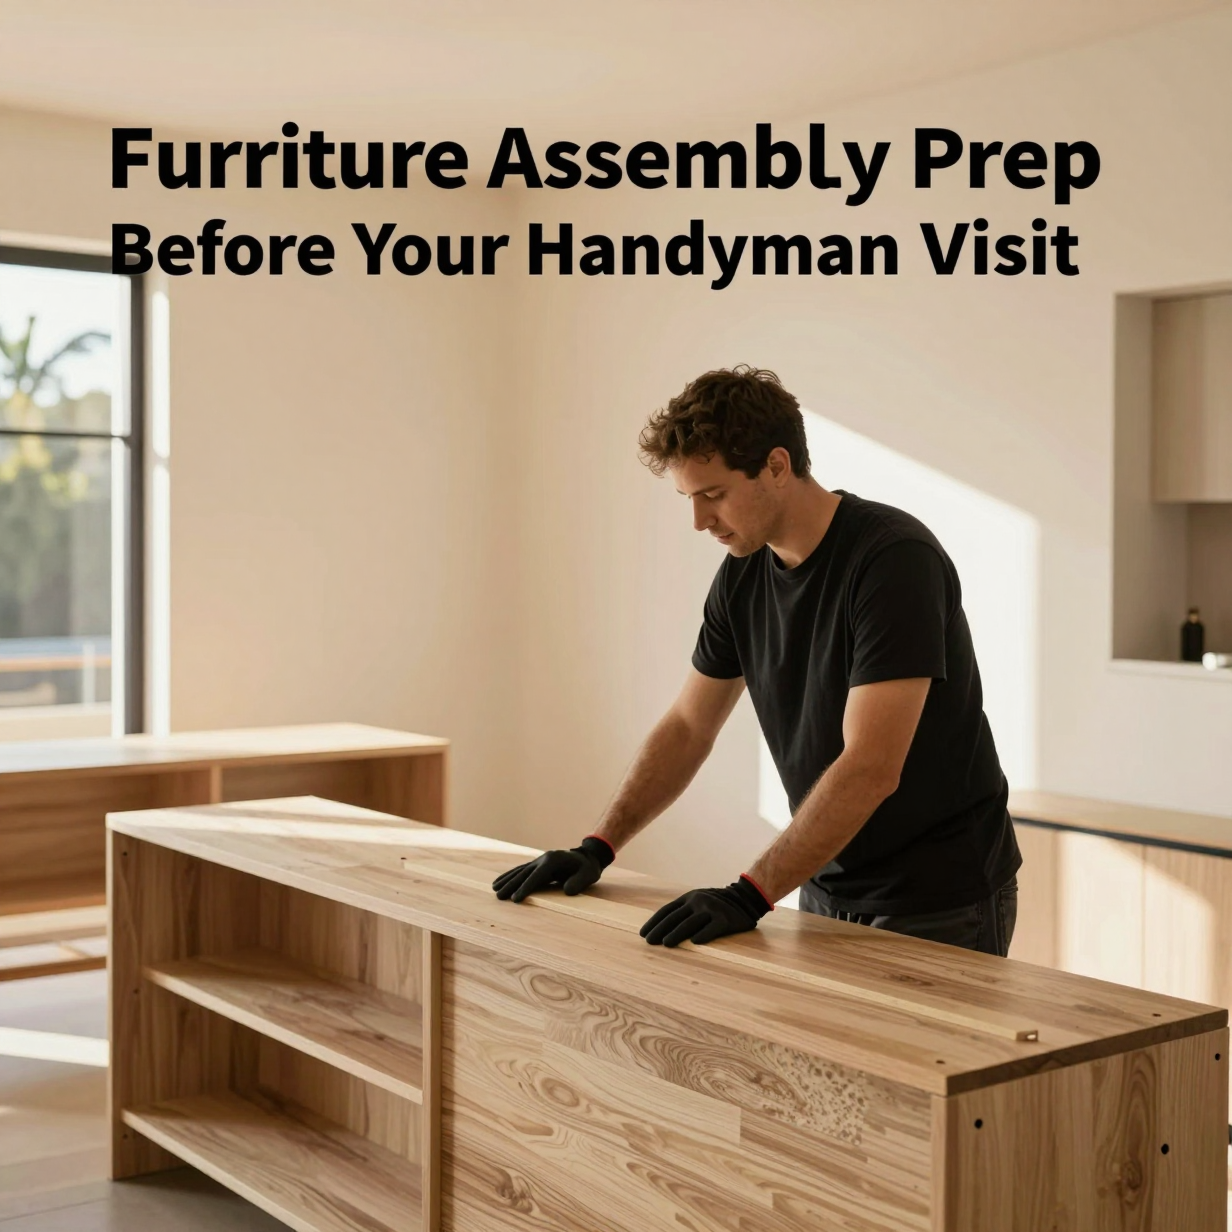
A useful furniture assembly checklist comes down to five things: clear the room, unbox and check the parts, decide exactly where each piece goes, know your wall type if anything mounts or anchors, and write down your questions. Do these before your handyman arrives and the visit goes faster, with fewer surprises and a cleaner result.
Below is the full prep list, with Los Angeles specifics like tight apartment stairs, older plaster walls, and earthquake anchoring.
Clear the Space Where the Furniture Will Be Built
Assembly needs more room than the finished piece. A wardrobe that is 30 inches deep standing up needs far more floor space while it is lying flat and being fastened together.
Before the visit:
- Clear a work area at least a few feet larger than the piece on every side.
- Move small furniture, rugs, and fragile décor out of the way.
- Lift rugs or lay down a blanket if you have hardwood floors that scratch easily.
- Make sure pets are secured in another room. Loose screws and tiny cams are a hazard.
- Keep a clear path from the front door to the room, including stairs and hallways.
If the furniture is going into a bedroom or closet, build it where it will live when possible. Large dressers and bed frames are hard to carry once assembled, and doorways in older LA bungalows and apartments are often narrower than you expect.
Unbox, Inventory, and Check the Parts
Opening boxes early is one of the most useful things you can do. It lets you catch a missing or damaged part before anyone is standing in your living room waiting.
Follow these steps:
- Open each box carefully with a blade set shallow, so you do not score the panels inside.
- Lay out the instruction manual and find the parts list.
- Count panels, dowels, cam locks, screws, and brackets against the list.
- Look for chips, cracks, or crushed corners on panel edges.
- Keep the hardware bag sealed or in a bowl so nothing rolls away.
- Save all packaging until the piece is fully built and approved.
If something is missing, contact the retailer right away. Many manufacturers ship replacement hardware, but it takes time to arrive, so finding the problem early keeps your project from stalling.
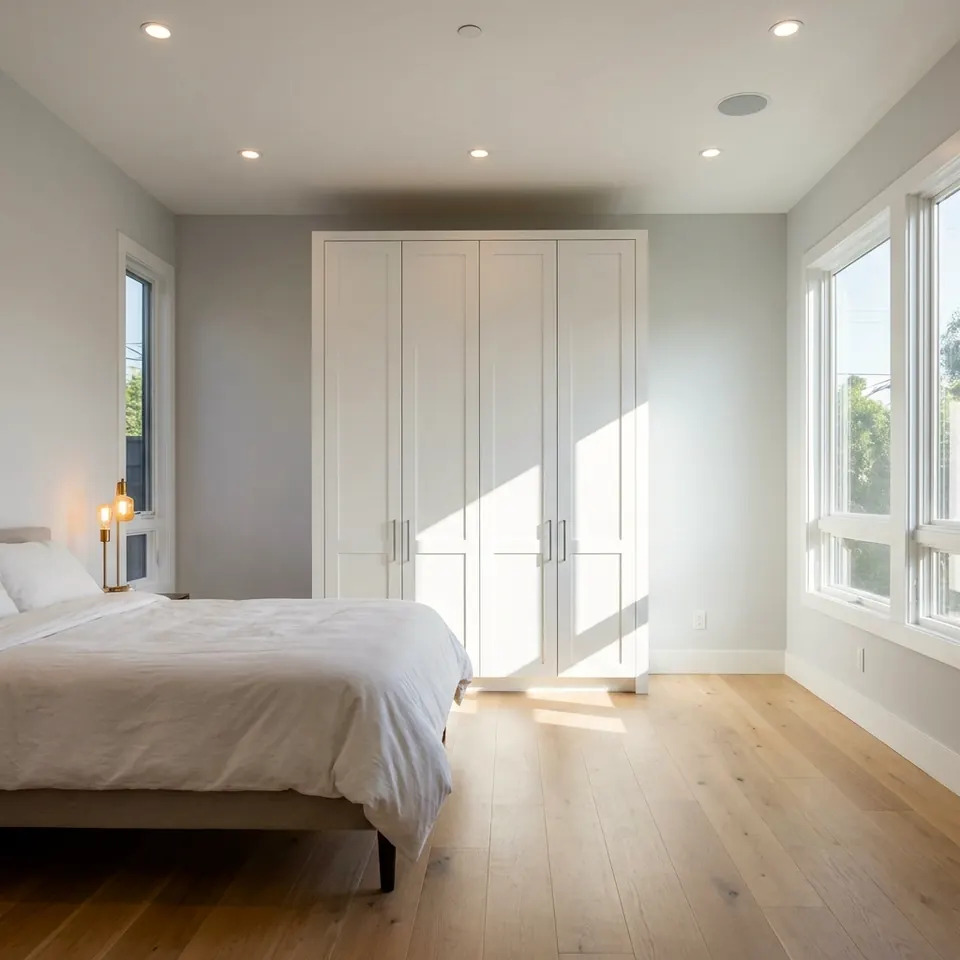
Tape marks on the floor settle placement questions before the first screw goes in.
Decide Placement, Orientation, and Layout
Many "redo" moments happen because a piece was built facing the wrong way or placed before measuring. A few decisions up front prevent that.
Think through:
- Exact location. Mark it with painter's tape on the floor.
- Which way doors swing. Check clearance from beds, walls, and other furniture.
- Outlets and vents. Desks and TV stands should not block them.
- Window and door clearance. Tall pieces can interfere with blinds, sills, or door swings.
- Final height and ceiling. Tall bookcases and wardrobes tip forward as they are raised into position, so check the ceiling height and any light fixtures.
Take a quick photo of the room with the tape marks. It helps your handyman confirm the plan at a glance.
Know Your Walls: Anchoring, Mounting, and Earthquake Safety
Tall furniture in Southern California should be secured to the wall. Earthquake Country Alliance guidance recommends securing tall, top-heavy items like bookcases and cabinets so they do not fall during shaking, and the federal Anchor It! campaign focuses on preventing furniture tip-overs in general (see Sources).
To prepare for anchoring:
- Tell your handyman which pieces are tall or top-heavy.
- Find out your wall type: drywall, plaster and lath (common in older LA homes), brick, or concrete.
- If you rent, check your lease or ask your landlord about wall fastening before the visit.
- Note any areas with wiring or plumbing behind the wall, such as near bathrooms or kitchens.
- Have a stud finder on hand if you own one, though a pro will bring their own.
Different wall types need different fasteners, and plaster can crack if the wrong approach is used. A quick heads-up saves time on site.
Anchoring Approaches by Wall Type
| Wall type | What to know | Prep tip |
|---|---|---|
| Drywall over wood studs | Most common in newer builds; anchoring into studs is preferred | Mark stud locations if you can |
| Plaster and lath | Common in older homes; brittle and can crack | Mention it up front; avoid drilling yourself |
| Brick or concrete | Needs masonry bits and specific anchors | Confirm landlord permission if renting |
| Hollow or thin partition | Weak holding power without the right hardware | Ask for a plan before drilling |
Gather Tools, Hardware, and Information
A pro brings tools, but a few items from you speed things up. Collect these in one spot:
- The instruction manuals and any online assembly videos you found
- Receipts or order numbers, in case a part is missing
- Any extra hardware that came separately, such as wall anchors, drawer pulls, or leg sets
- A flashlight and a trash bag for packaging
- A short list of the pieces to build, in priority order
If you ordered several items from different retailers, group the boxes by room. Label each box with a sticky note listing where it should be built.

Boxes sorted and labeled by room mean less carrying and fewer mix-ups on the day.
Prep for Building Access in Los Angeles
Logistics are a big part of LA furniture projects. Many homes are apartments, condos, or hillside houses with stairs.
Handle these before the visit:
- Parking. Let your handyman know where to park, and whether a permit or guest pass is needed.
- Building rules. Some buildings require elevator reservations or restrict work hours. Check with your property manager.
- Entry. Make sure someone can let your handyman in and confirm which door or gate to use.
- Stairs. Mention long flights or tight turns so large boxes are moved safely.
- Noise. Drilling and hammering may need to fit quiet hours in multi-unit buildings.
Also decide what to do with packaging. Flattened cardboard and foam take up room fast, so know your building's recycling and bulk trash rules.
You can read more about what we handle on our furniture assembly service page.
When to Call a Pro
Plenty of simple pieces, like a small nightstand or a basic shelf, are fine to build yourself with the included tools and a patient afternoon. Hiring help makes more sense when:
- The piece is large, heavy, or needs two people, such as a wardrobe, sectional, or bunk bed.
- It must be anchored to a wall, especially plaster, brick, or concrete.
- You have many pieces to build and limited time.
- The instructions are unclear or the hardware looks mismatched.
- Safety matters, as with cribs, loft beds, or tall units in a home with children.
If you are unsure, you can send a photo for a written quote and describe what you need built. For general guidance on hiring home service help in California, the Contractors State License Board has consumer resources listed below.
FAQ
Should I assemble anything myself before the handyman arrives?
Unboxing and checking parts is helpful. Skip starting the build unless you are confident, since a wrong early step can mean disassembling later.
What if a part is missing or damaged?
Contact the retailer as soon as you find it. Tell your handyman so the visit can focus on other pieces or be rescheduled around the replacement.
Do I need to be home during the visit?
Usually someone should be there to give access, confirm placement, and approve the finished work. Talk through your preferences when you book.
Can you anchor furniture in a rental?
Often yes, but check your lease or ask your landlord first. Some rentals have rules about drilling into walls, and there may be alternatives to discuss.
How do I keep my floors from getting scratched?
Clear the area, lay down a blanket or cardboard from the boxes, and lift furniture instead of dragging it. Mention delicate flooring when you book.
Sources
- California Contractors State License Board: Hire a Contractor
- Earthquake Country Alliance: Step 1, Secure Your Space
- Anchor It! Furniture and TV tip-over prevention
- Ready.gov: Earthquakes
Safety note: work on electrical panels, gas, structure or anything that needs a permit should be done by a licensed contractor with the required permits.
STATOX Handyman Service · Send a photo · +1 (820) 200-4919
Keep reading
 furniture assemblyDIY vs Hiring a Pro for Furniture Assembly: What to WeighWondering whether to hire someone to assemble furniture or do it yourself? Compare time, tools, risk, and safety before you open the box.
 furniture assemblyFlat-Pack Furniture Problems and How to Fix ThemNeed a wobbly flat pack furniture fix? Learn why assembled pieces rock, sag, or gap, and what to check first. Worth a read before you take it apart.
 furniture assemblyFurniture Assembly in Rancho Palos Verdes Coastal HomesPlanning furniture assembly Rancho Palos Verdes style? Learn how coastal air, hillside layouts, and quake safety shape a solid build. Read before you unbox.