Furniture Assembly in Rancho Palos Verdes Coastal Homes
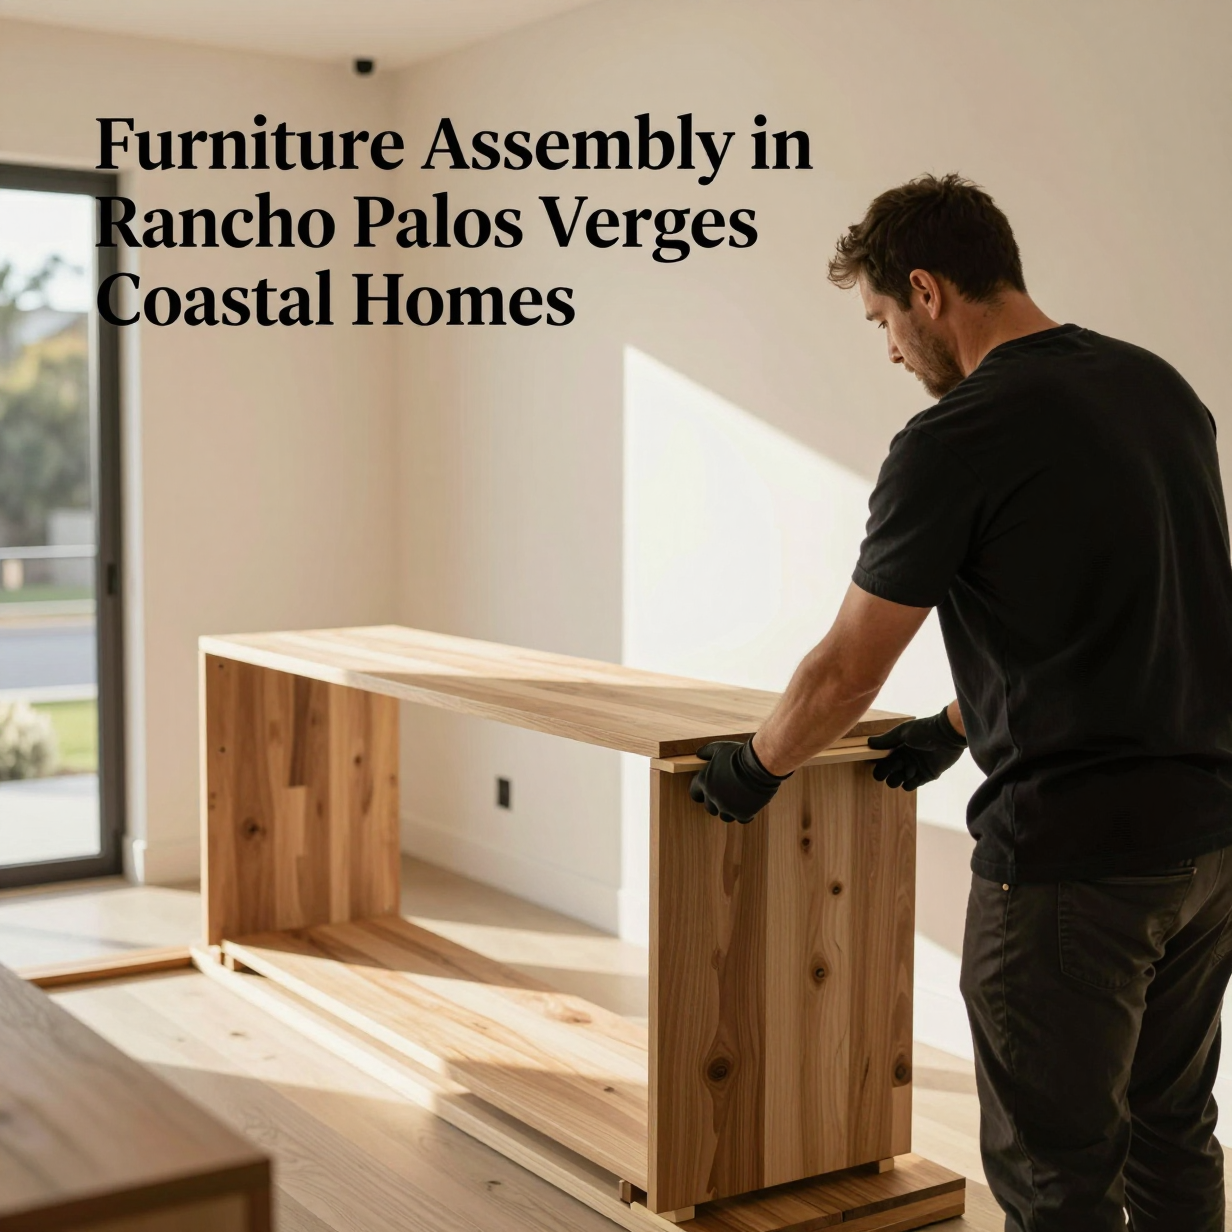
Furniture assembly in Rancho Palos Verdes goes smoothly when you plan for the home, not just the box: stairs and winding driveways affect delivery, marine air affects hardware and finishes, and earthquake country means tall pieces should be anchored. Build in the room where the piece will live, follow the maker's sequence, and secure anything tall to the wall. If the piece is large, heavy, or going on a hillside level with tricky access, a pro can save you a lot of frustration.
Why Rancho Palos Verdes homes need a different assembly plan
Many homes here sit on hillsides, with split levels, long staircases, and entries that are a walk from the street. A flat-pack wardrobe that fits easily into a ground-floor apartment may be a real puzzle to carry down three flights to a lower-level guest suite.
Coastal living adds more variables. Salt-tinged, humid air can be tough on cheap fasteners and unfinished edges. Large windows and ocean views mean furniture often lands near glass doors, where sun and moisture swings are common.
And this is Southern California. Tall, top-heavy furniture should be treated as a safety item, not just décor.
Plan the delivery and the workspace first
Most assembly problems start before the first screw. Think through the path from the front door to the final room.
Quick pre-assembly checklist:
- Measure doorways, stairwells, and tight turns against the boxed dimensions (boxes are often larger than the finished piece's narrowest side).
- Decide the final location and check for outlets, vents, and baseboards that could block the back panel.
- Clear a workspace about twice the size of the largest panel, ideally on a rug or moving blanket to protect floors.
- Unbox in the room where the furniture will live, especially for wardrobes, bed frames, and bookcases.
- Sort hardware into labeled cups or a muffin tin, and count it against the manual.
- Keep a flashlight, a level, a stud finder, and a soft mallet within reach.
Hardwood and engineered floors common in coastal homes scratch easily, so slide nothing. Lift or use furniture sliders and padding.
Step-by-step: a solid build, start to finish
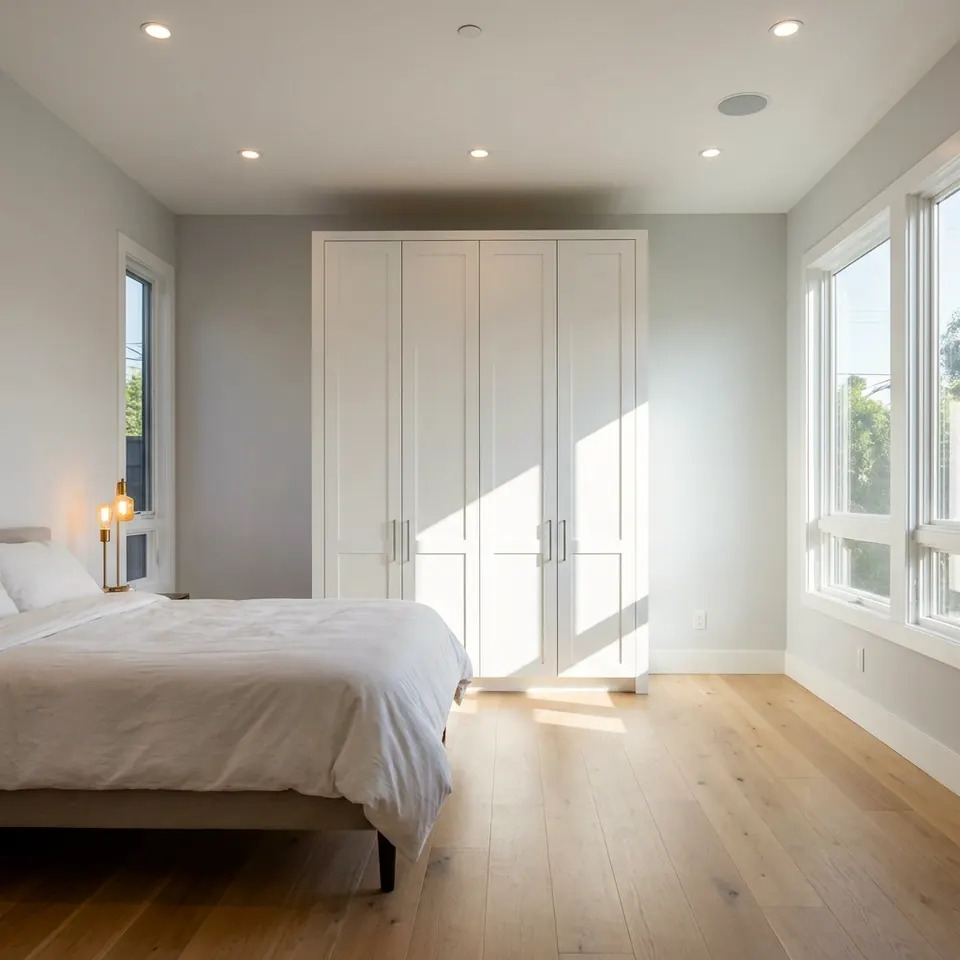
Sorted hardware and clear floor space make flat-pack builds smoother and safer for floors.
- Read the whole manual first. Note which steps need two people.
- Lay out panels and label them with painter's tape if the markings are faint.
- Hand-start every fastener. Drive with a screwdriver or a drill on a low clutch setting to avoid stripping particleboard.
- Keep everything loose until the frame is square. Tighten fully only once the cabinet or frame sits level.
- Check square before the back panel. Measure both diagonals; they should match. The back panel helps hold the shape.
- Level and adjust. Floors in older hillside homes may not be perfectly flat, so use adjustable feet or discreet shims.
- Anchor tall pieces to wall studs before loading them (more on that below).
- Do a final tightening pass after a few days, since wood and fasteners settle.
Coastal air, sunlight, and materials
Marine layer moisture can swell some engineered woods and cause metal hardware to dull or corrode over time. A few habits help:
- Wipe down exposed metal hardware and cam locks during assembly rather than leaving oily fingerprints.
- Seal any raw cut edges or drilled holes the manufacturer leaves exposed, using a product recommended for that material.
- Keep pieces off direct, all-day sun through big windows when you can, or use shades.
- Let new, finish-heavy furniture air out. The U.S. EPA notes that many household products can release volatile organic compounds indoors, so ventilate the room while new pieces off-gas.
Solid wood, powder-coated metal, and outdoor-rated pieces for patios and ocean-view decks generally hold up better near the coast than bare-edged, thin laminate.
Earthquake safety: anchor what could tip

Anti-tip hardware into a wall stud keeps tall furniture steady during shaking.
Earthquake Country Alliance guidance on securing your space recommends fastening tall, heavy furniture such as bookcases and dressers to wall studs, and the federal Ready.gov earthquake resources echo that advice. In a region with active faults, it is one of the simplest upgrades you can make.
Good anchoring habits:
- Find studs with a stud finder rather than relying on drywall anchors alone.
- Use the brackets or straps made for the job, and pick screws sized for the stud depth.
- Place heavier items low and lighter items high.
- Keep beds and seating away from tall, unanchored pieces.
- Re-check straps periodically, especially after you rearrange.
Some hillside homes have plaster, masonry, or unusual wall construction. If you cannot locate a solid anchor point, that is a good moment to ask for help instead of guessing.
Common furniture types and what to expect
| Furniture type | Typical challenge | Helpful tip |
|---|---|---|
| Wardrobes and armoires | Tall, heavy, tip risk | Assemble in place; anchor to studs |
| Bed frames | Many fasteners, squeaks | Tighten after a few days; add felt pads |
| Bookcases | Wobble on uneven floors | Level, then secure the back panel and anchor |
| Dining tables | Heavy tops, alignment | Two people for the top; check leg brackets |
| Outdoor patio sets | Weather exposure | Use rust-resistant hardware; wipe down after assembly |
| Desks and standing desks | Wiring, motor calibration | Follow the sequence; test before loading |
When to call a pro
DIY is a reasonable choice for small pieces: nightstands, shelving units, simple chairs. If you have the time, a basic tool kit, and a helper, you can often do these well.
Consider a pro when:
- The piece is oversized, glass-heavy, or needs two or more people to hold safely.
- You are working on upper floors or lower levels with long, tight stairways.
- You want a tall piece anchored into studs and are unsure where they are.
- The set has dozens of small parts, motorized elements, or complicated hinges.
- You'd rather protect your floors, walls, and weekend.
Our furniture assembly service covers flat-pack and ready-to-assemble pieces across Rancho Palos Verdes, including anchoring. If you are not sure what you need, you can send a photo for a written quote and we will tell you what we see.
For any hire, the California Contractors State License Board offers consumer guidance on hiring home service professionals, which is worth a look before you commit.
FAQ
Can furniture be assembled on an upper or lower level of a hillside home?
Yes. The main concern is moving the boxes. Measure stairwells and turns first, and consider unpacking at the entry so you can carry panels individually rather than a single heavy box.
Do I need to anchor furniture to the wall?
It is strongly recommended for tall or heavy pieces in earthquake country. Earthquake Country Alliance and Ready.gov both encourage securing furniture so it does not tip or fall.
Will coastal air damage my new furniture?
It can affect some materials over time, particularly unsealed edges and low-quality metal hardware. Choosing sturdier materials, wiping hardware, and limiting direct moisture and sun exposure all help.
How should I handle leftover screws and parts?
Do not assume they are spares. Recheck the manual, since a leftover part may mean a missed step. Keep true spares in a labeled bag taped inside the piece or stored with the manual.
What should I have ready before an assembler arrives?
Clear the room and the path to it, keep boxes unopened and together, have the manuals handy, and note where each piece should go and which walls suit anchoring.
Sources
- California Contractors State License Board: Hire a Contractor
- Earthquake Country Alliance: Step 1, Secure Your Space
- Ready.gov: Earthquakes
- U.S. EPA: Volatile Organic Compounds' Impact on Indoor Air Quality
STATOX Handyman Service · Send a photo · +1 (820) 200-4919
Keep reading
 furniture assemblyDIY vs Hiring a Pro for Furniture Assembly: What to WeighWondering whether to hire someone to assemble furniture or do it yourself? Compare time, tools, risk, and safety before you open the box.
 furniture assemblyFlat-Pack Furniture Problems and How to Fix ThemNeed a wobbly flat pack furniture fix? Learn why assembled pieces rock, sag, or gap, and what to check first. Worth a read before you take it apart.
 furniture assemblyFurniture Assembly Prep Checklist Before Your Handyman VisitUse this furniture assembly checklist to get your space, boxes, and walls ready before your handyman arrives. A few minutes of prep makes the visit smoother.