Furniture Assembly in San Marino: Moving Into Established Homes
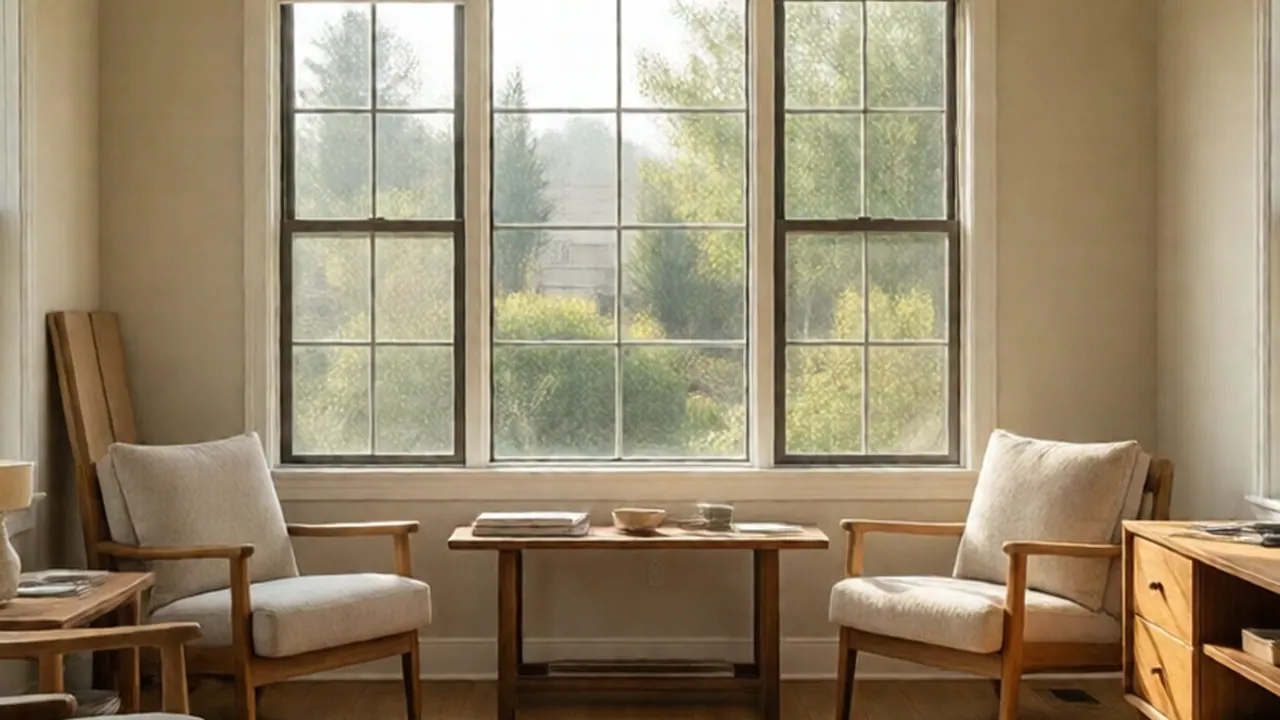
Assembling furniture in an established San Marino home takes more planning than assembling it in a new build. Narrow hallways, steep or turning staircases, plaster walls, and original wood floors all affect how you bring pieces in and where you put them together. The safest approach is to measure every route, decide which pieces arrive in sections, protect finishes before the first box opens, and plan the room layout before you drill a single hole.
This guide walks through those steps. It also explains when a professional furniture assembly service makes more sense than a weekend project.
Plan the Route Before Anything Arrives
Most furniture problems in older homes start at the doorway, not in the room itself. Before delivery, walk the full path from the curb or driveway to the final spot, and write down the narrowest point along the way.
Measure these items:
- Front door width and height, including the opening under any transom
- Hallway width at corners and near radiators or built-ins
- Stair width, tread depth, and the height of the landing
- Ceiling height on stairs and at turns
- Room doorways, including trim that may stick out past the frame
- Window openings, if a piece might go in through one
Compare those numbers to the furniture's flat dimensions, not the assembled size. A bed frame, wardrobe, or desk often moves through a house in its component parts, and that is usually the right choice.
Quick route checklist
- Measure each doorway and the narrowest hallway point.
- Note any tight turns, landings, or low ceilings on the stairs.
- Remove doors from hinges if an opening is just short of what you need. Keep the hardware in a labeled bag.
- Check whether a piece can enter through a window or a side entry.
- Confirm the parts list and hardware count before you start moving boxes.
If a piece simply will not fit, choose a different model or a modular version rather than forcing it through and damaging the trim or wall.
Get Pieces Through Narrow Halls and Staircases
Older homes often have hallways that look wide enough on paper but feel tight once you add a bulky box. Corners are the usual problem. Carry long, flat panels on their edges, and angle them slowly around turns. Two people are safer than one for any panel longer than a few feet.
On stairs, work from the top when possible, keep the heavy end uphill, and move one step at a time. Stop at landings to reset your grip. Do not lean a heavy panel against the stair rail, since older rails may not be built to take that load.
Some practical habits help a great deal:
- Carry flat pieces vertically when a hallway is narrow, and horizontally when there is room to turn.
- Use moving blankets on walls and banisters to prevent scuffs.
- Bring fasteners, cam locks, and dowels up with the piece they belong to, in labeled bags taped to the box.
- Clear the path of rugs and runners that can slide underfoot.
When a stairway is steep or a piece is heavy, a second set of hands is worth it. Plaster and original trim take time and money to repair, and one bumped corner can cause more damage than the delivery itself.
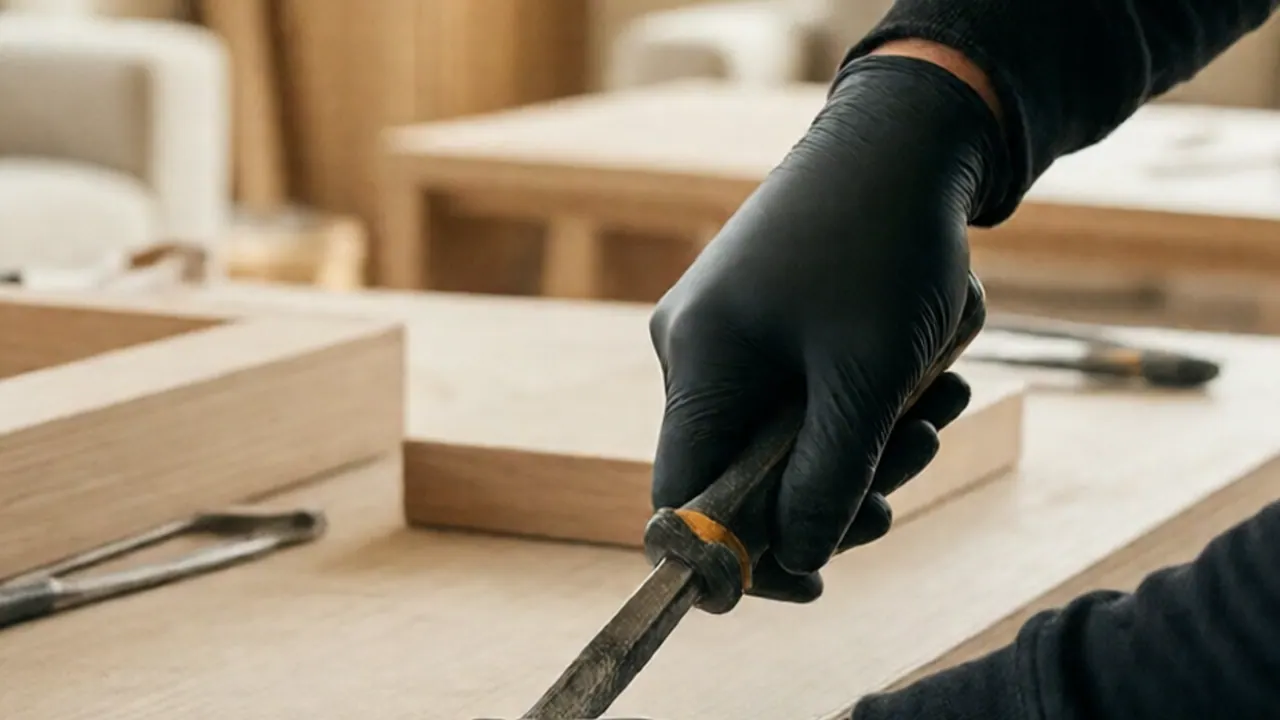
Angling long panels slowly around a corner protects plaster and trim.
Protect Original Floors, Plaster, and Finishes
Established homes often have floors, trim, and walls that are older than any modern finish. The goal is to protect them before the first panel is carried in, not after.
Start with the floors. Lay thick cardboard or a rigid protective board over the route, then add a soft cover on top. Avoid plastic sheeting alone, since it can trap moisture and grit and can slide. Place a protective pad under each leg or base before setting a piece down, and lift rather than drag.
For walls and trim:
- Tape moving blankets over corners, door casings, and banister posts.
- Keep a clean cloth and a small bucket of plain water nearby for quick wipe-ups.
- Avoid harsh cleaners on painted or finished wood until you know what the surface is.
Assembly needs attention too. Use a drill with a depth stop, and set it to a low speed when you are near old plaster or thin wood. Pre-drill where the instructions call for it, especially in older hardwoods that can split. Keep screws and small hardware on a towel or tray so nothing rolls into a floor gap.
Finishes need one more step. Many new pieces arrive with a strong smell from glues, coatings, and finishes. Ventilate the room while you work, and let new items air out before you place them in a closed bedroom. The U.S. Environmental Protection Agency explains how volatile organic compounds from building materials and furnishings can affect indoor air, which is a useful reference when you decide how long to keep windows open.
Assemble Beds, Wardrobes, Desks, and Shelving Carefully
Each type of furniture carries its own assembly risks. Knowing them ahead of time saves frustration.
Beds are the most common source of rattles and sagging. Check that every bolt is snug but not overtightened, since overtightening can strip wood or crack a headboard. Confirm the slats or center support are installed before you place a mattress, and recheck the frame after a week of use.
Wardrobes are tall and can tip. Once assembled, secure them to the wall with the anchor hardware the manufacturer includes. This matters in any home, and more so where a tall piece could fall during an earthquake. The Earthquake Country Alliance's guidance at earthquakecountry.org explains why anchoring tall furniture is one of the most practical steps a household can take.
Desks need level legs. Older floors are rarely perfectly flat, so use adjustable feet or thin shims to stop wobbling. Check that the surface is square before tightening the final connections.
Shelving on plaster walls needs the right anchor. Plaster is different from drywall. Use anchors rated for plaster, or fasten into studs. If you are unsure what is behind the wall, a stud finder and a small test hole in an inconspicuous spot can help. Stop if you hit wiring or plumbing.
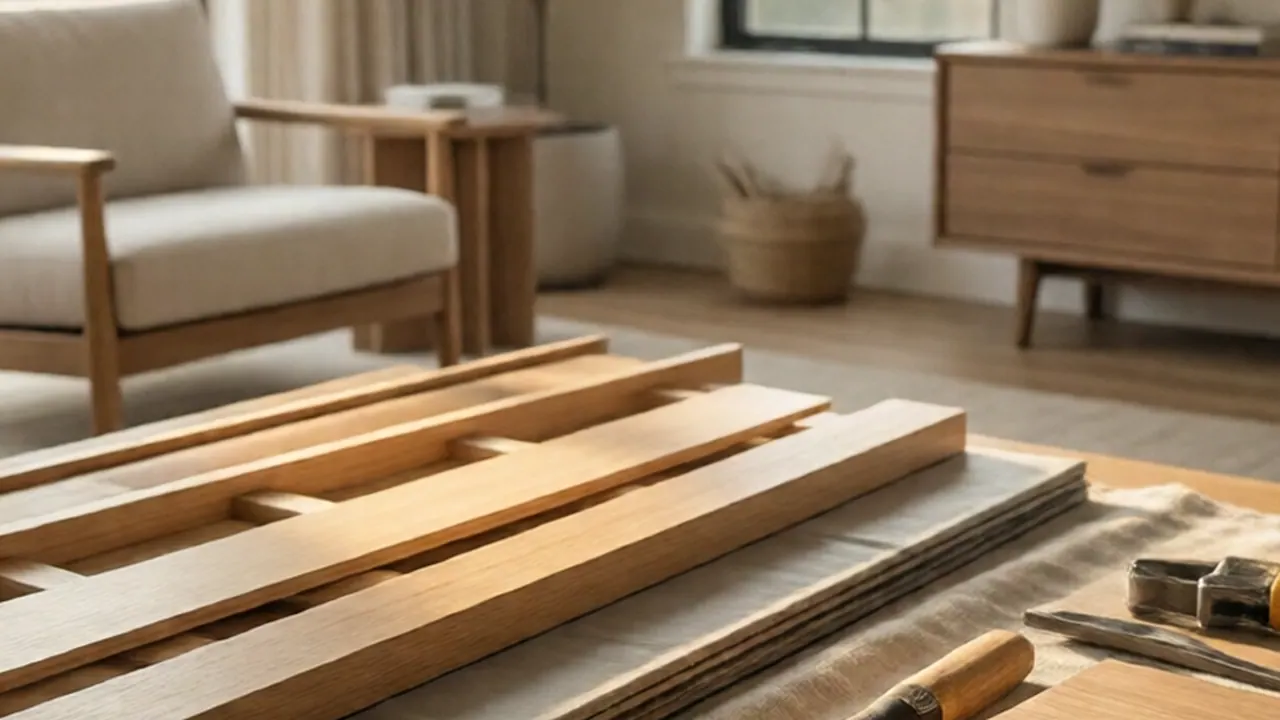
Padding door casings and floors keeps original finishes intact during assembly.
Plan Room Layouts That Suit Older Architecture
Established homes have their own logic. Windows may sit high, closets may be shallow, and radiators or built-in cabinets take up wall space. A layout that looks right on a floor plan may block a window or a door swing in real life.
Start with the fixed features:
- Doors and their swing direction
- Windows, including sills and sash movement
- Radiators, vents, outlets, and light switches
- Fireplaces and built-ins
- Ceiling fixtures and any sloped areas
Then place large pieces first, usually the bed and wardrobe. Walk the room with painter's tape marking each footprint. Leave enough clearance to open drawers, pass through doorways, and reach outlets. Keep desks out of direct glare on screens if the room has tall windows.
Sometimes the answer is a smaller piece or a different orientation. A shorter wardrobe on a side wall can work better than a tall one squeezed into a corner. If you are not sure, send a photo for a written quote and describe the room, so the team can comment on fit before you buy.
When to Call a Pro
Some furniture is simple enough for a careful homeowner with the right tools. Other jobs are better handled by a professional, especially in older homes.
Consider doing it yourself when the pieces are small, the route is clear, the instructions are straightforward, and you have time and a helper.
Consider hiring help when:
- The route has tight stairs, sharp turns, or narrow doorways.
- The floors or trim are original and easily marked.
- The piece is very heavy, very tall, or needs wall anchoring.
- The layout involves built-ins, radiators, or unusual wall materials.
- You have a deadline and limited time to troubleshoot.
Professional assembly is not only about speed. It reduces the chance of damage to walls, floors, and furniture, and it puts experienced hands on the steps that are hardest to reverse.
If you plan to hire anyone for work beyond assembly, such as wall repairs or fixture changes, check the contractor's status with the state before you sign. The California Contractors State License Board explains how to look up a contractor and what to ask on its consumer page.
You can learn more about local service options in San Marino.
FAQ
Do I need a building permit to anchor a bookshelf or wardrobe?
Usually not for a freestanding piece fixed with standard hardware. Anchoring furniture is not the same as structural work. If you plan to change walls, add built-in cabinetry, or alter electrical or plumbing, check with the city before starting. The City of Los Angeles permit information is available through the Los Angeles Department of Building and Safety.
Can I assemble furniture directly on original hardwood floors?
Yes, but protect the surface first. Use a rigid board or thick cardboard under the work area, and place pads under furniture bases. Avoid dragging pieces across the floor, since grit and friction can scratch the finish.
How do I keep plaster walls from cracking when I hang shelves?
Use anchors designed for plaster, or fasten into studs where possible. Drill slowly with a depth stop, and avoid hitting the lath behind the plaster. If the wall feels soft or crumbly, stop and ask for an assessment before adding weight.
Why does new furniture smell strong in an older home?
Many new pieces release odors from glues, coatings, and finishes. Ventilate the room while assembling, and let items air out before placing them in a closed bedroom. The EPA's overview of volatile organic compounds in indoor air explains why this matters, and you can read it at the EPA's indoor air page.
Should I secure tall furniture even if I rarely have earthquakes?
Yes. Tall pieces can tip during any strong shaking, and anchoring is a simple step that protects people and belongings. The Earthquake Country Alliance walks through the basics at its preparedness guide.
Sources
- California Contractors State License Board: Hire a Contractor
- U.S. EPA: Volatile Organic Compounds and Indoor Air Quality
- Earthquake Country Alliance: Step 1, Be Prepared
Permit work: Permit jobs get a written project estimate; permits handled as required.
STATOX Handyman Service · Send a photo · +1 (820) 200-4919
Keep reading
 furniture assemblyFurniture Assembly in San Marino Older Plaster HomesPlanning furniture assembly San Marino style? Learn how plaster walls change anchoring, tools, and layout so your new pieces go in right the first time.
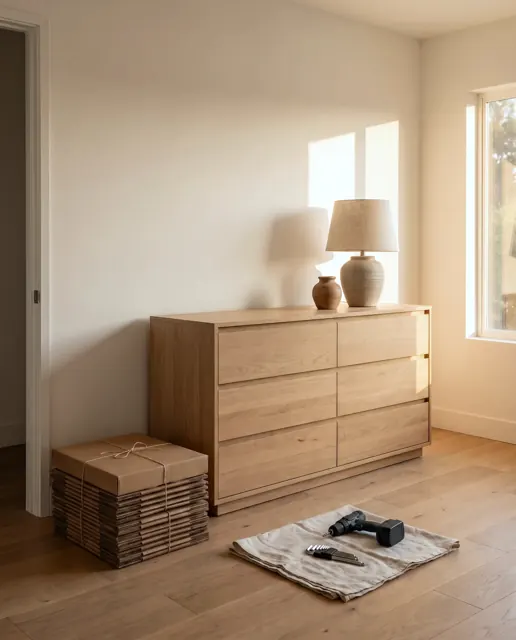 furniture assemblyDIY vs Hiring a Pro for Furniture Assembly: What to WeighWondering whether to hire someone to assemble furniture or do it yourself? Compare time, tools, risk, and safety before you open the box.
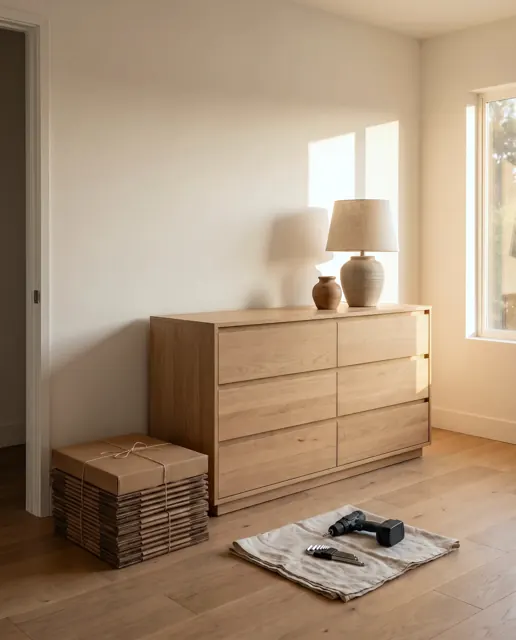 furniture assemblyEarthquake Prep: Securing Tall Furniture in Los AngelesLearn how to secure furniture earthquake Los Angeles homes need: what to anchor first, which hardware fits your walls, and when to get help. Worth a read.