Furniture Assembly in San Marino Older Plaster Homes
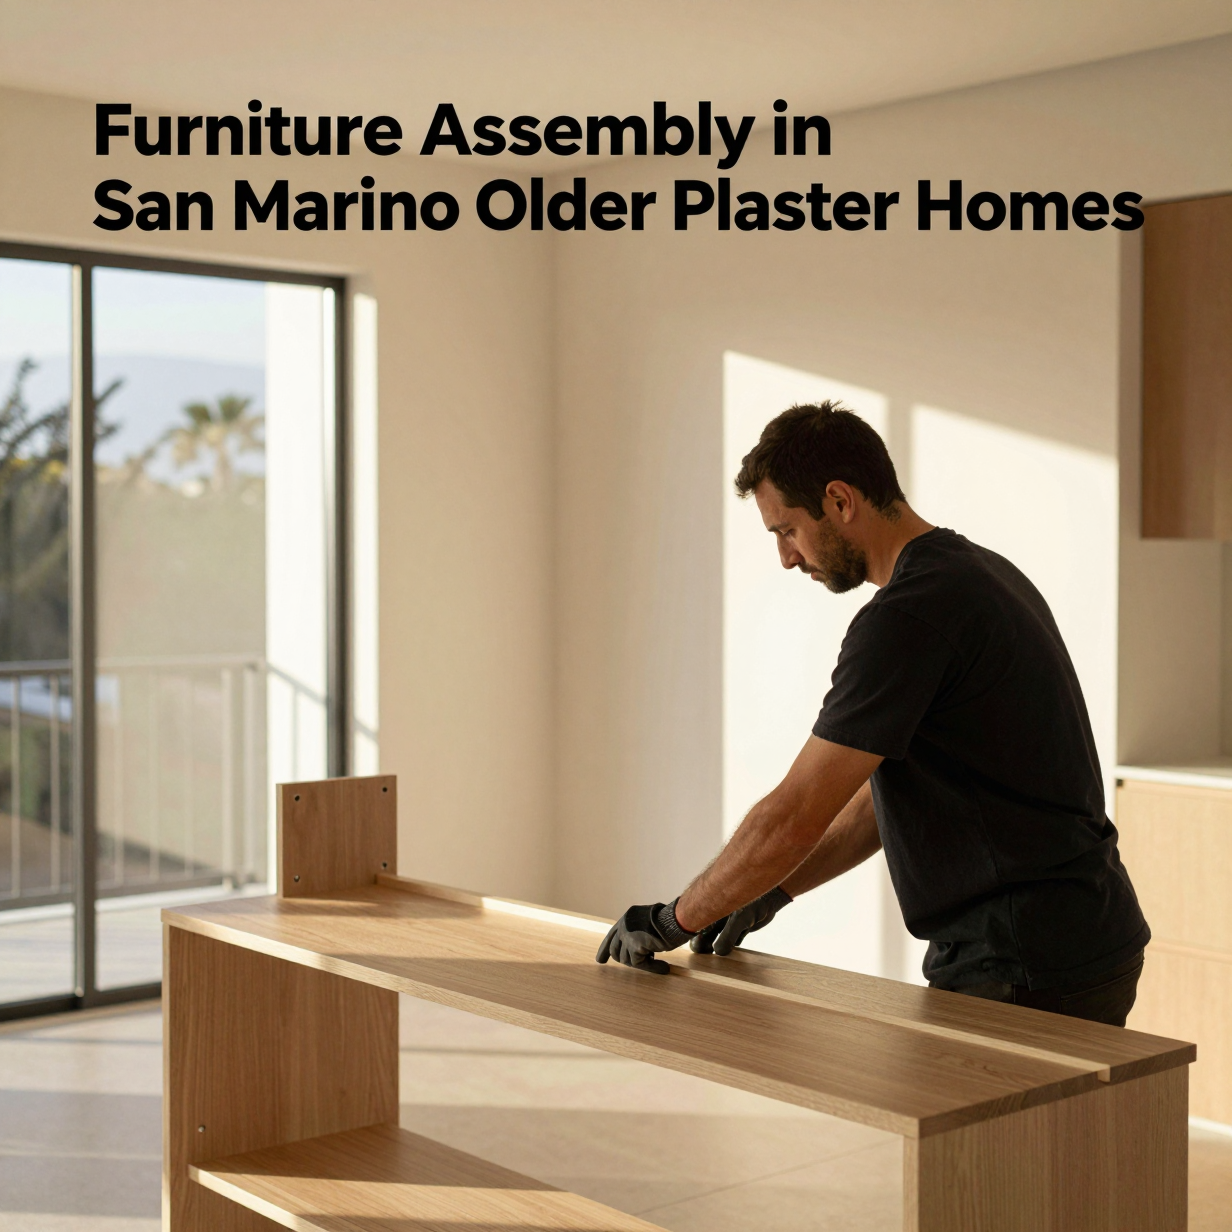
Furniture assembly in San Marino's older homes mostly comes down to the walls. Plaster over wood lath is harder, more brittle, and less predictable than modern drywall, so tall pieces need different anchors, slower drilling, and a little planning before the first screw. Flat-pack furniture itself goes together the same way anywhere; it's the anchoring, the floors, and the tight doorways that need local know-how.
Why plaster walls change the job
Many San Marino homes were built in eras when walls were finished with plaster over wood lath strips, not drywall panels. The surface is dense and often uneven. It can also hide surprises: layers of old paint, patched sections, and gaps behind the lath.
Here is what that means in practice:
- Drilling can crack or crumble plaster. A fast drill with a hammer setting can break off chunks around the hole.
- Standard drywall anchors may not hold. Plastic expansion anchors made for hollow drywall can spin, loosen, or fail in plaster and lath.
- Studs are harder to find. Many stud finders struggle with plaster's thickness and lath's metal nails, so readings can be misleading.
- Walls are rarely perfectly flat or plumb. A tall wardrobe may rock or lean until it is shimmed.
None of this makes assembly hard. It just means the wall-side steps deserve patience.
Planning before you open the boxes
A few minutes of prep saves hours of rework, especially in homes with character details like picture rails, thick baseboards, and arched doorways.
Measure the path, not just the spot. Older homes often have narrower hallways, tighter stair turns, and doors that are slimmer than today's standard. Measure every opening the boxes will pass through. A long dresser box that fits in the car may not clear a hallway corner.
Check the floor. Hardwood floors in older homes may be original and can slope slightly. Plan for felt pads or a blanket under the work area, and note any low spots where a cabinet may need shimming.
Look at the wall. Tap lightly. Solid sound suggests plaster over lath or masonry; hollow sound suggests a gap or patched drywall. Look for cracks, bulges, or hairline fractures near where the piece will sit, and avoid anchoring into damaged areas.
Think about baseboards. Tall furniture often sits against thick, decorative baseboards. That can leave the piece tilted away from the wall or prevent it from sitting flush. Plan for spacers or a small notch in the back panel if the manufacturer allows it.
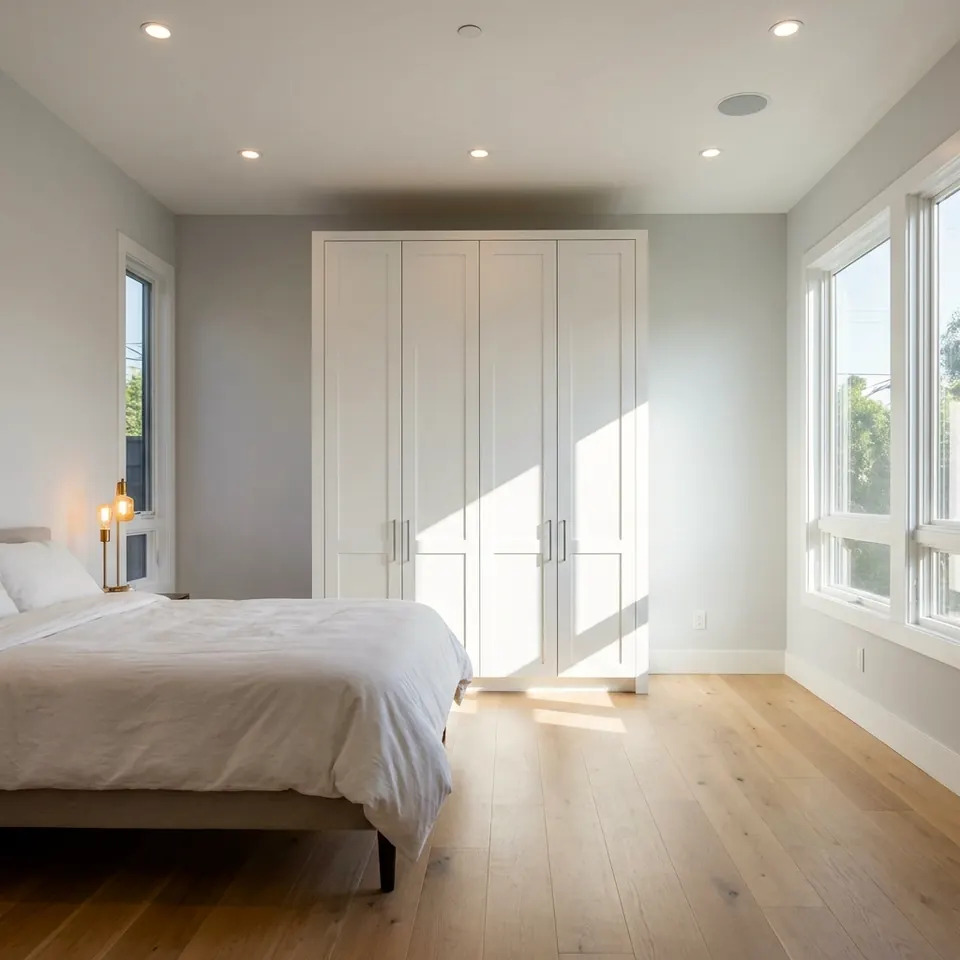
Marking the anchor point first keeps drilling into plaster controlled and deliberate.
Anchoring tall furniture to plaster and lath
Anchoring matters in Southern California. Tall bookcases, dressers, and wardrobes can tip during an earthquake or when a child climbs them. Earthquake Country Alliance guidance on securing your space, listed in the sources below, encourages fastening tall furniture to walls, and the same logic applies to older homes.
The goal is to reach solid wood, not just plaster. Here is a general approach:
- Locate framing. Use a stud finder as a starting guess, then confirm with a small test hole in a hidden spot, such as behind where the furniture will sit.
- Pre-drill gently. Use a sharp bit, light pressure, and no hammer setting. A strip of painter's tape over the spot can reduce chipping.
- Choose the right fastener. When you hit a stud, a screw long enough to pass through the furniture's back rail, the plaster, and into the wood works well. Where no stud lines up, look for anchors rated for plaster and lath instead of basic drywall plugs.
- Use the furniture's anchor point. Attach through the sturdy top rail or the manufacturer's bracket, not the thin back panel alone.
- Test it. Pull gently on the top of the piece. If it moves or the fastener shifts, stop and rethink the connection.
If a wall feels crumbly or a hole keeps widening, stop drilling there. A repair or a different anchoring approach is better than a fastener that only looks secure.
Plaster-friendly tools and materials
You don't need a truck full of equipment, but the right basics help.
| Task | Better choice for plaster | Common mistake |
|---|---|---|
| Drilling | Sharp bit, low speed, light pressure | Hammer-drill setting that cracks plaster |
| Finding framing | Stud finder plus a small test hole | Trusting one beep |
| Fastening to wall | Screws into studs or anchors made for plaster | Basic plastic drywall plugs |
| Protecting surfaces | Painter's tape, blankets, felt pads | Dragging boxes across floors |
| Leveling | Shims and a small level | Forcing the piece flush |
| Dust control | Vacuum held near the bit | Letting dust spread through the room |
Also keep a small repair kit nearby: patching compound, a putty knife, and touch-up paint. A hole in the wrong spot is easier to fix right away.

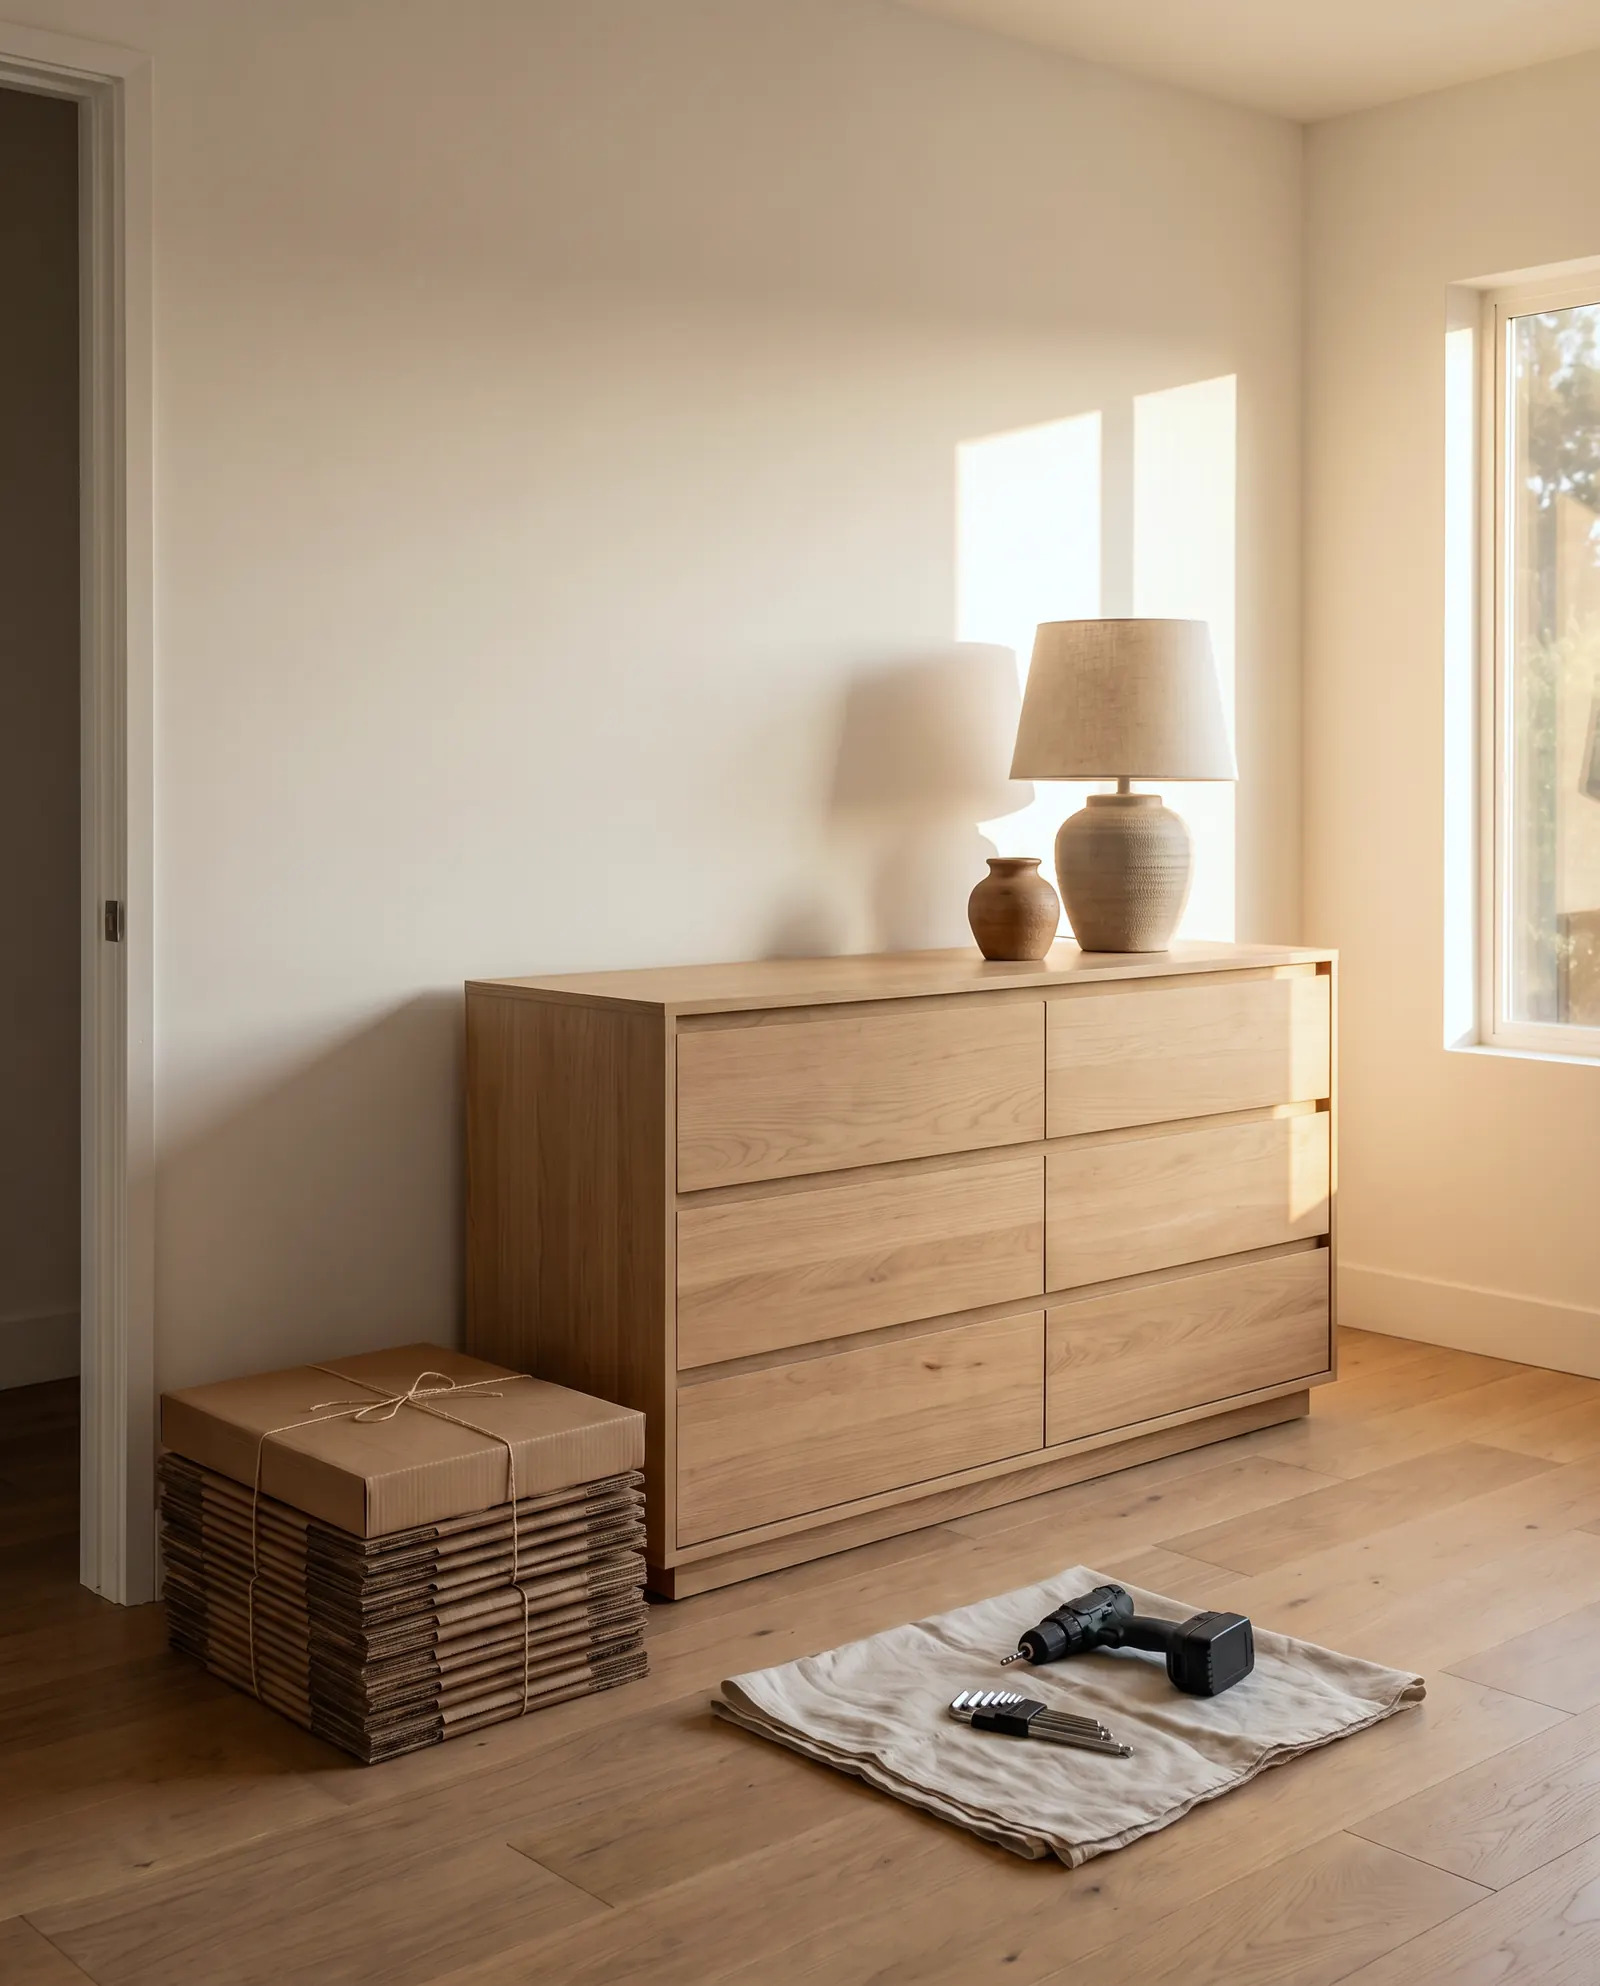
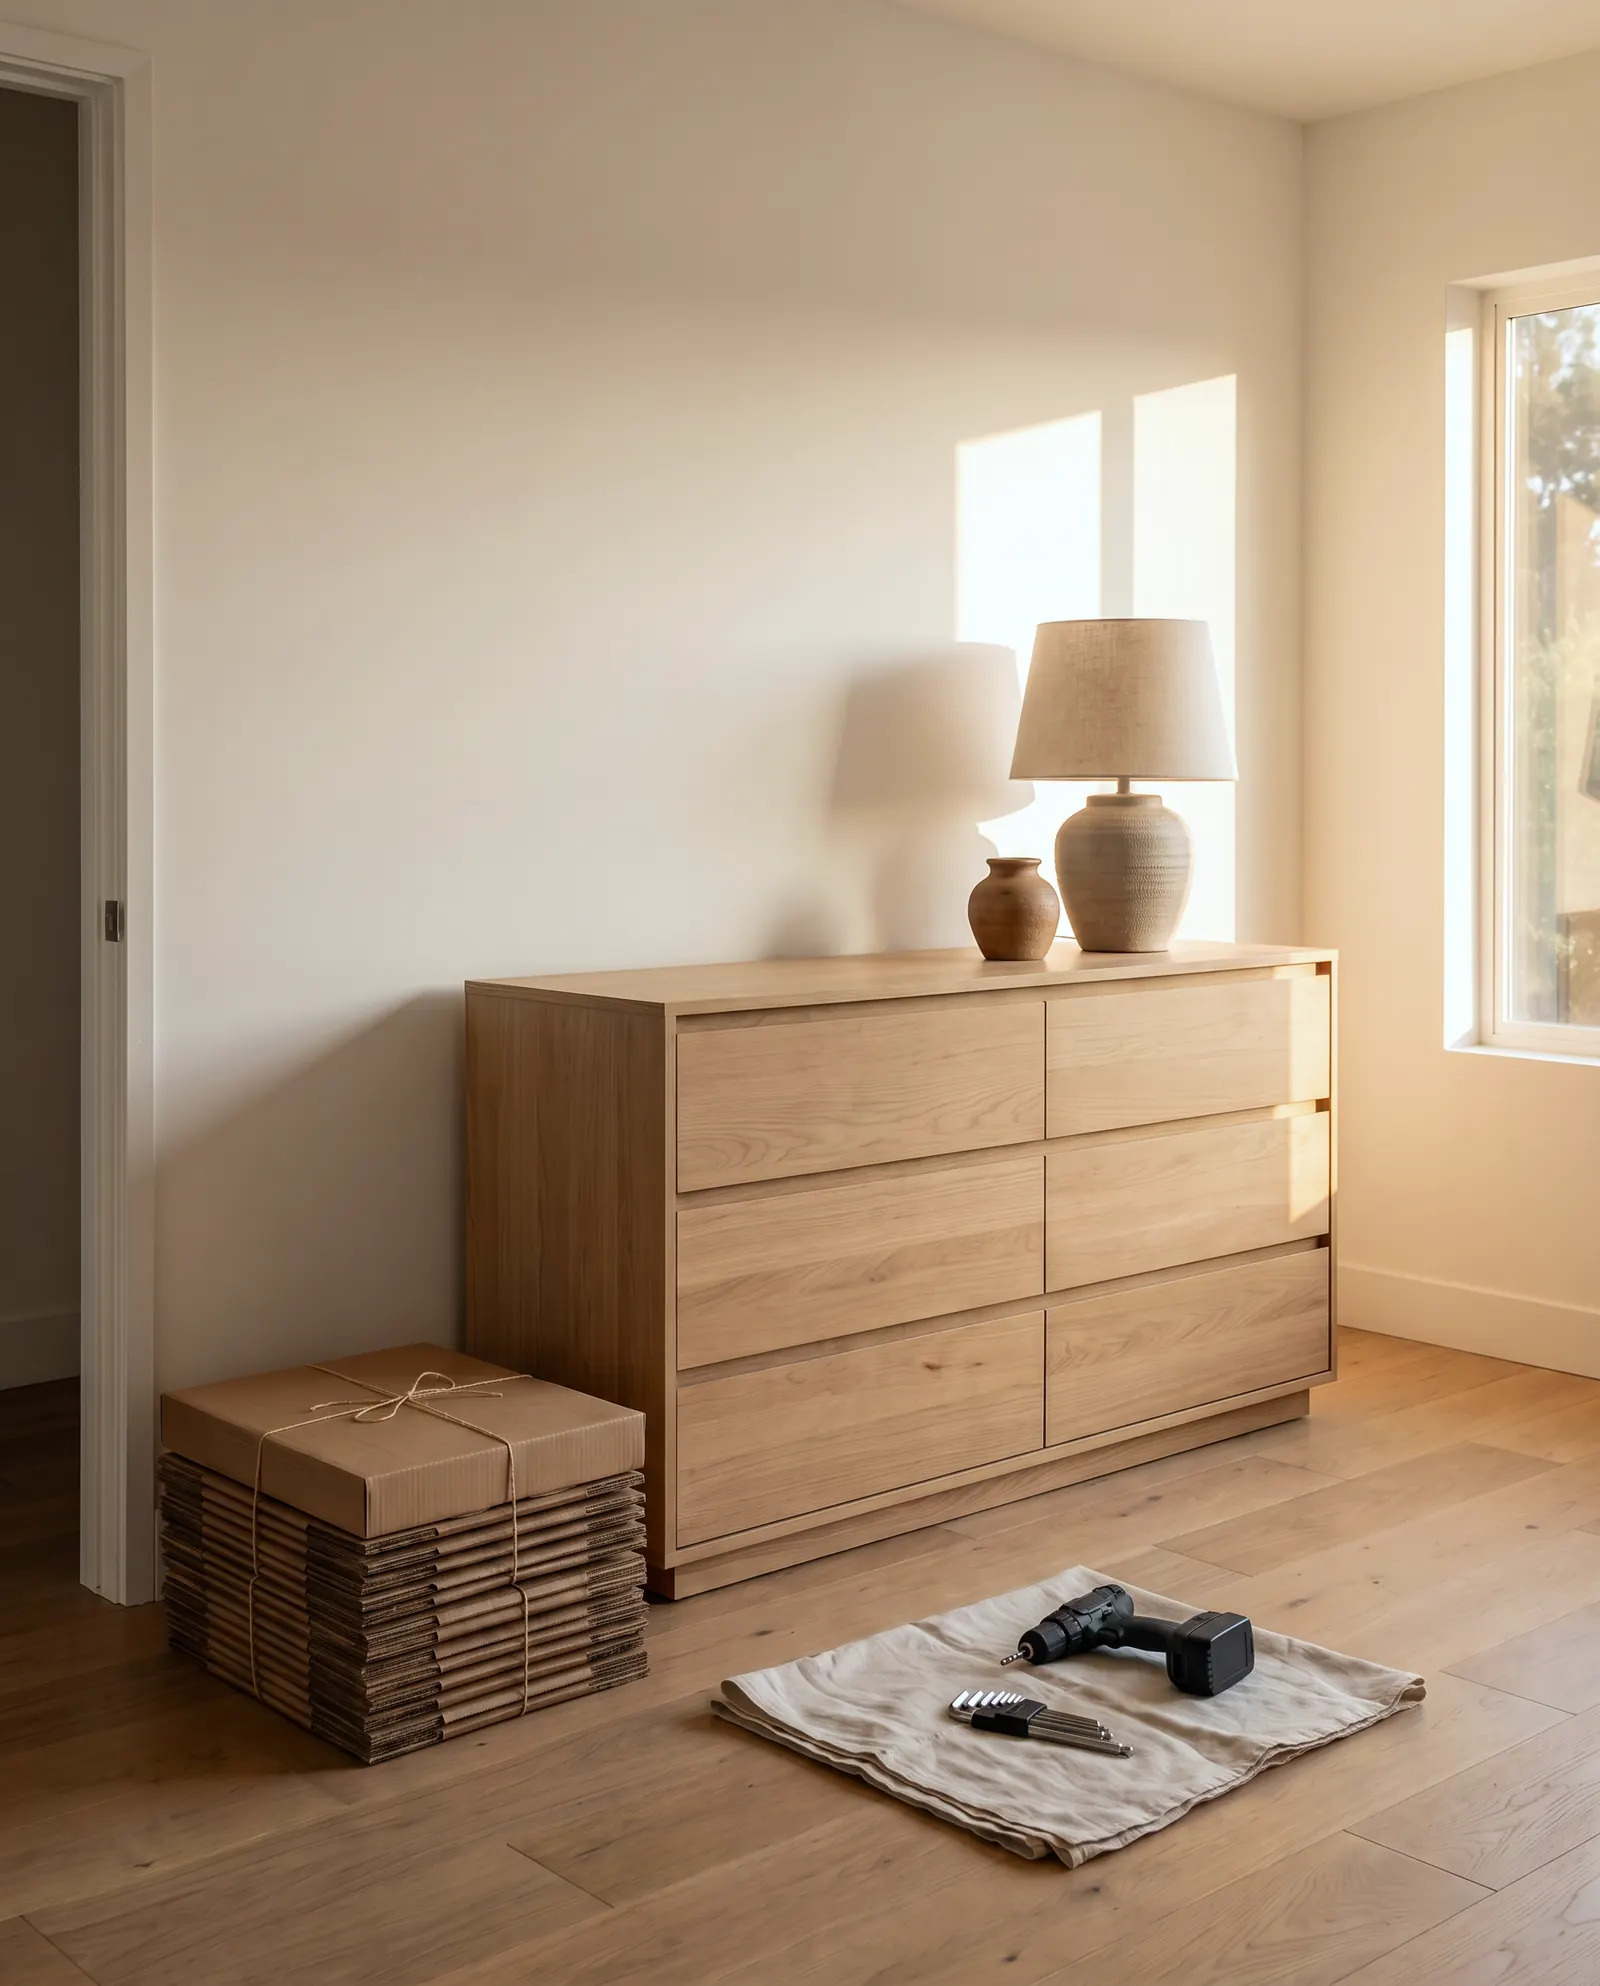
A finished dresser strapped to framing, sitting level on an older hardwood floor.
Assembly tips that matter in older homes
Build in the room where it will live, when possible. Narrow halls and tight corners make moving a fully built wardrobe difficult. Assemble large pieces in place, leaving enough clearance to stand them up. Check ceiling height first; tall units are often built flat and tipped upright.
Don't fully tighten until the frame is square. Snug every connection first, check that corners are square, and then tighten. Cam locks and dowels can stress a frame if it is forced.
Mind the back panel. Thin hardboard backs keep furniture square. Nail or fasten them evenly, because a crooked back makes doors hang badly.
Ventilate for new furniture. New particleboard and finishes can release volatile organic compounds. The EPA's indoor air quality page on VOCs explains why airing out a room is a sensible habit. Open a window while assembling.
Protect period details. Wrap furniture corners when moving past wood trim, built-ins, and archways.
When to call a pro
Many pieces are fine for a patient DIYer: a small bookshelf, a nightstand, a simple desk. Consider hiring help when:
- The piece is tall, heavy, or needs two people to stand up safely.
- You need to anchor into plaster and aren't sure where the framing is.
- The wall has cracks, bulges, or crumbling spots near the install location.
- The item has complex parts, such as wardrobes with sliding doors, modular systems, or bunk beds.
- You have many pieces to assemble and want them done consistently.
- Access is tight and you'd rather not risk scraping trim or floors.
Our furniture assembly service covers these jobs for homes across San Marino. If you'd like to know what a job involves before committing, you can send a photo for a written quote.
For any hired help, the Contractors State License Board's consumer pages (linked below) explain how to check a contractor and what to ask before work begins. Some work beyond simple assembly may fall under different rules, so it's worth reading them.
FAQ
Can I use a regular stud finder on plaster walls?
It may help as a starting point, but plaster's thickness and lath nails can give false readings. Confirm with a small test hole in a hidden spot before you commit to an anchor location.
Do I really need to anchor furniture to the wall?
For tall or top-heavy pieces, yes. Anchoring reduces tipping risk from earthquakes or climbing children. Earthquake Country Alliance guidance supports securing tall furniture in California homes.
What if there's no stud where I need the anchor?
Move the anchor point to the nearest stud if the furniture allows, or use anchors designed for plaster and lath. Avoid basic drywall plugs, which can pull out of older walls.
Will drilling damage my plaster?
It can if you drill too fast or use a hammer setting. A sharp bit, low speed, and painter's tape help. Small holes can be patched with compound and touch-up paint.
Should furniture be assembled before moving it into the room?
Usually it's easier to assemble large pieces where they will stay, especially in older homes with narrow halls and tight turns. Smaller items can be built anywhere and carried in.
Sources
- Earthquake Country Alliance: Step 1, Secure Your Space
- U.S. EPA: Volatile Organic Compounds' Impact on Indoor Air Quality
- CSLB: Hire a Contractor
- Ready.gov: Earthquakes
STATOX Handyman Service · Send a photo · +1 (820) 200-4919
Keep reading
 furniture assemblyDIY vs Hiring a Pro for Furniture Assembly: What to WeighWondering whether to hire someone to assemble furniture or do it yourself? Compare time, tools, risk, and safety before you open the box.
 furniture assemblyFlat-Pack Furniture Problems and How to Fix ThemNeed a wobbly flat pack furniture fix? Learn why assembled pieces rock, sag, or gap, and what to check first. Worth a read before you take it apart.
 furniture assemblyFurniture Assembly Prep Checklist Before Your Handyman VisitUse this furniture assembly checklist to get your space, boxes, and walls ready before your handyman arrives. A few minutes of prep makes the visit smoother.