Bathroom Caulk and Grout Failing? How to Fix It for Good
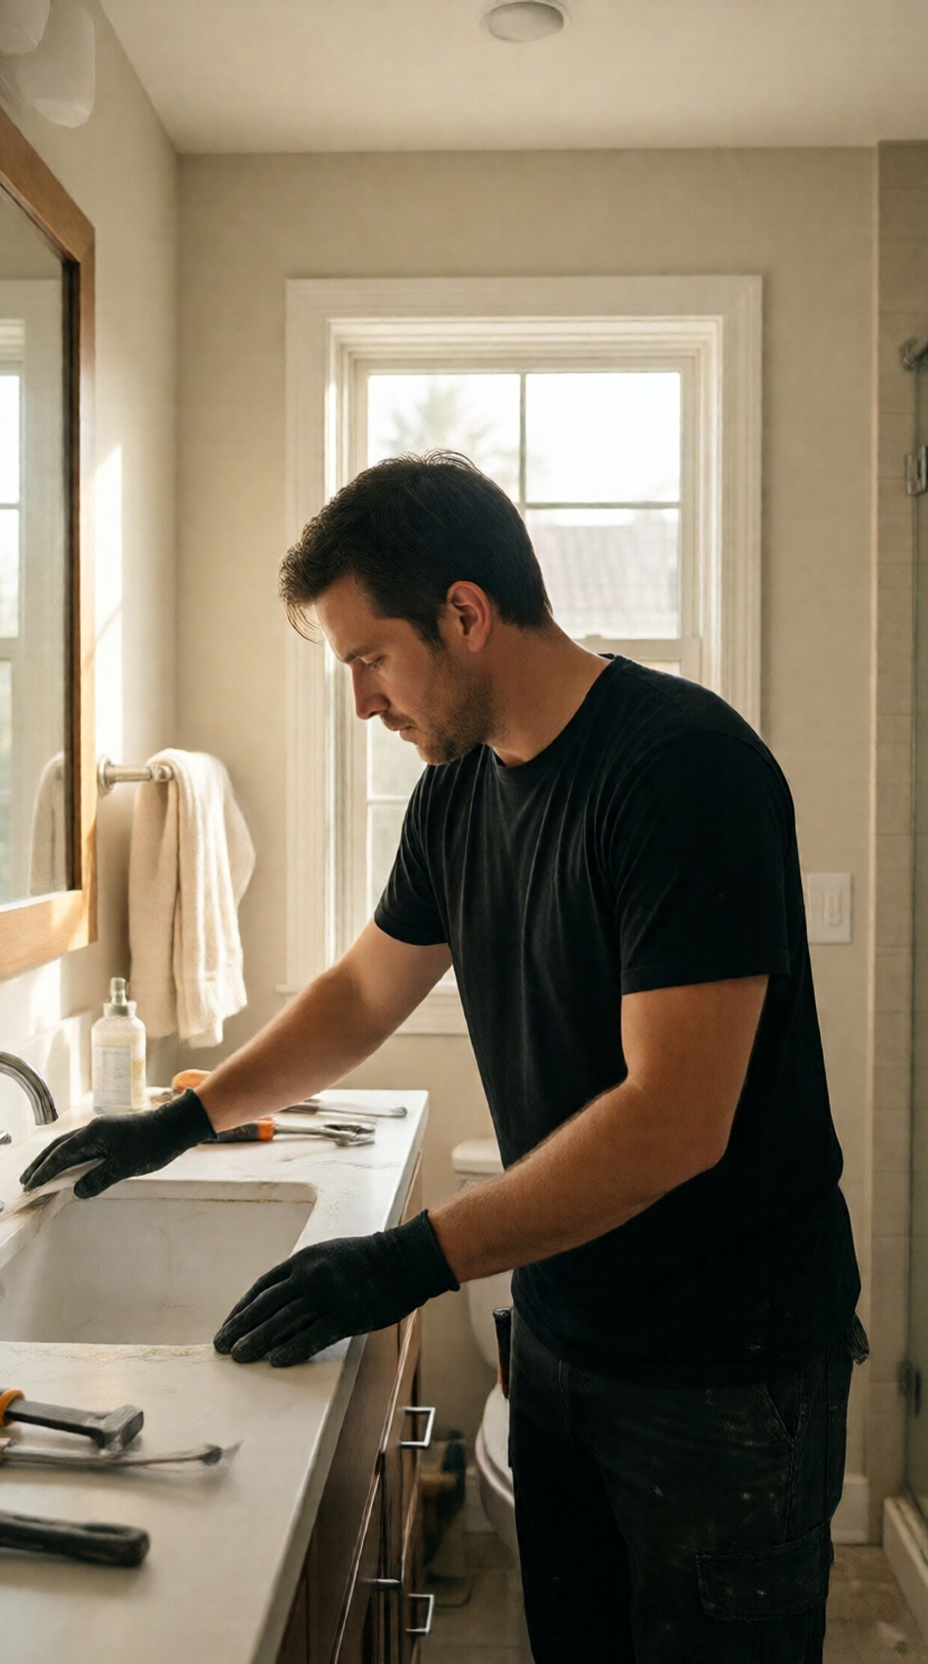
If your caulk keeps peeling or your grout keeps cracking, the problem is usually not the product. It's the prep, the wrong material in the wrong joint, or movement and moisture that were never addressed. Lasting bathroom caulk and grout repair means removing the failed material completely, getting the joint clean and dry, and using grout in flat joints and flexible caulk in corners and changes of plane.
Here is how to figure out what's failing, why, and how to fix it so you aren't redoing it next season.
Why bathroom caulk and grout keep failing
Grout and caulk do different jobs, and most repeat failures come from mixing them up.
Grout is rigid. It fills the joints between tiles and works well where tiles sit in the same flat plane. Caulk is flexible. It belongs where two surfaces meet at an angle or where different materials meet, such as tile to tub, tile to countertop, or an inside corner.
Common reasons repairs don't last:
- Grout in a moving joint. Where the wall meets the tub, or two walls meet in a corner, there is normal seasonal and daily movement. Rigid grout there will crack, every time.
- Caulk over dirty or damp surfaces. Soap film, old silicone residue, and trapped moisture keep new caulk from bonding.
- Caulk laid over old caulk. The new bead is only as strong as what's under it.
- Constant moisture. Poor ventilation keeps joints damp, which feeds mold and breaks down materials faster.
- Unsealed or worn grout. Cementitious grout is porous. Without sealing where it's recommended, it absorbs water.
- A tub that flexes. If the tub moves when someone steps in, the caulk line will keep splitting.
Read the damage before you repair it
A quick look tells you whether this is a surface refresh or a sign of something deeper.
| What you see | Likely cause | Typical fix |
|---|---|---|
| Thin cracks in flat grout lines | Age, shrinkage, or poor mixing | Remove and regrout affected lines |
| Crumbling or sandy grout | Water absorption or weak mix | Regrout; check for moisture behind |
| Caulk peeling away at the tub edge | Poor adhesion or tub movement | Remove all caulk, clean, re-caulk |
| Black or dark lines in caulk | Mold growing in the bead | Replace the caulk; clean surrounding area |
| Dark staining in grout only | Soap scum, mildew, or dirt | Deep clean first, then reassess |
| Loose or hollow-sounding tile | Failed bond or water behind tile | Stop DIY; have it inspected |
| Soft spots, swelling, or musty smell | Moisture in the wall or floor | Professional assessment |
Tap gently on tiles near the damage. A hollow sound, a tile that shifts, or grout that keeps cracking in the same spot all point beyond cosmetics.
Gather the right materials first
Having everything on hand keeps you from rushing a step.
- Grout saw or oscillating tool with a grout blade
- Plastic scraper and utility knife for caulk removal
- Caulk remover product (optional, helpful for silicone)
- Shop vacuum
- Rubbing alcohol or a similar cleaner for final wipe-down
- Painter's tape
- Mold-and-mildew cleaner suitable for tile
- Matching grout (sanded for wider joints, unsanded for narrow ones, per the package guidance)
- Grout float, bucket, and sponge
- 100% silicone or a high-quality kitchen-and-bath sealant rated for wet areas
- Caulk gun and a damp rag
- Grout sealer, if your grout type calls for it
The Tile Council of North America (TCNA) is a widely used industry reference for tile installation standards, including movement joints, if you want to read more about how joints are meant to be handled.
How to repair bathroom caulk and grout step by step
Work in this order: clean, remove, regrout, dry, then caulk. Caulk goes last because it needs to land on finished, clean surfaces.
- Clean and treat mold first. Scrub the area with a bathroom cleaner made for mildew. Wear gloves and ventilate the room. Never mix cleaning products.
- Remove all old caulk. Slice along both edges with a utility knife, then peel and scrape. Go back for every thin remnant. Residue is the number one reason new caulk lifts.
- Remove failed grout. Use a grout saw to take out cracked or crumbling grout to a consistent depth, usually about two-thirds of the tile thickness or until you reach sound material. Be careful not to chip tile edges.
- Vacuum the joints. Dust left behind weakens the bond.
- Mix and apply new grout. Follow the package directions closely for water ratio and mixing time. Press grout into joints with a float held at an angle, then wipe diagonally across the joints.
- Clean haze and let it cure. Wipe with a damp sponge, rinsing often. Give the grout the full cure time on the label before it gets wet and before sealing.
- Seal grout if recommended. Apply sealer according to the product instructions.
- Prep the caulk joint. Wipe with rubbing alcohol and let it dry completely. For a tub, some people fill it with water before caulking so the tub is at its weighted position and the caulk doesn't pull apart when the tub is used. Drain after the caulk cures.
- Tape and caulk. Tape both sides of the joint, cut the nozzle small, and run one steady bead.
- Tool the bead. Smooth with a gloved, damp finger or a tooling tool, then pull the tape while the caulk is still wet.
- Let it cure. Keep the area dry for as long as the manufacturer states.
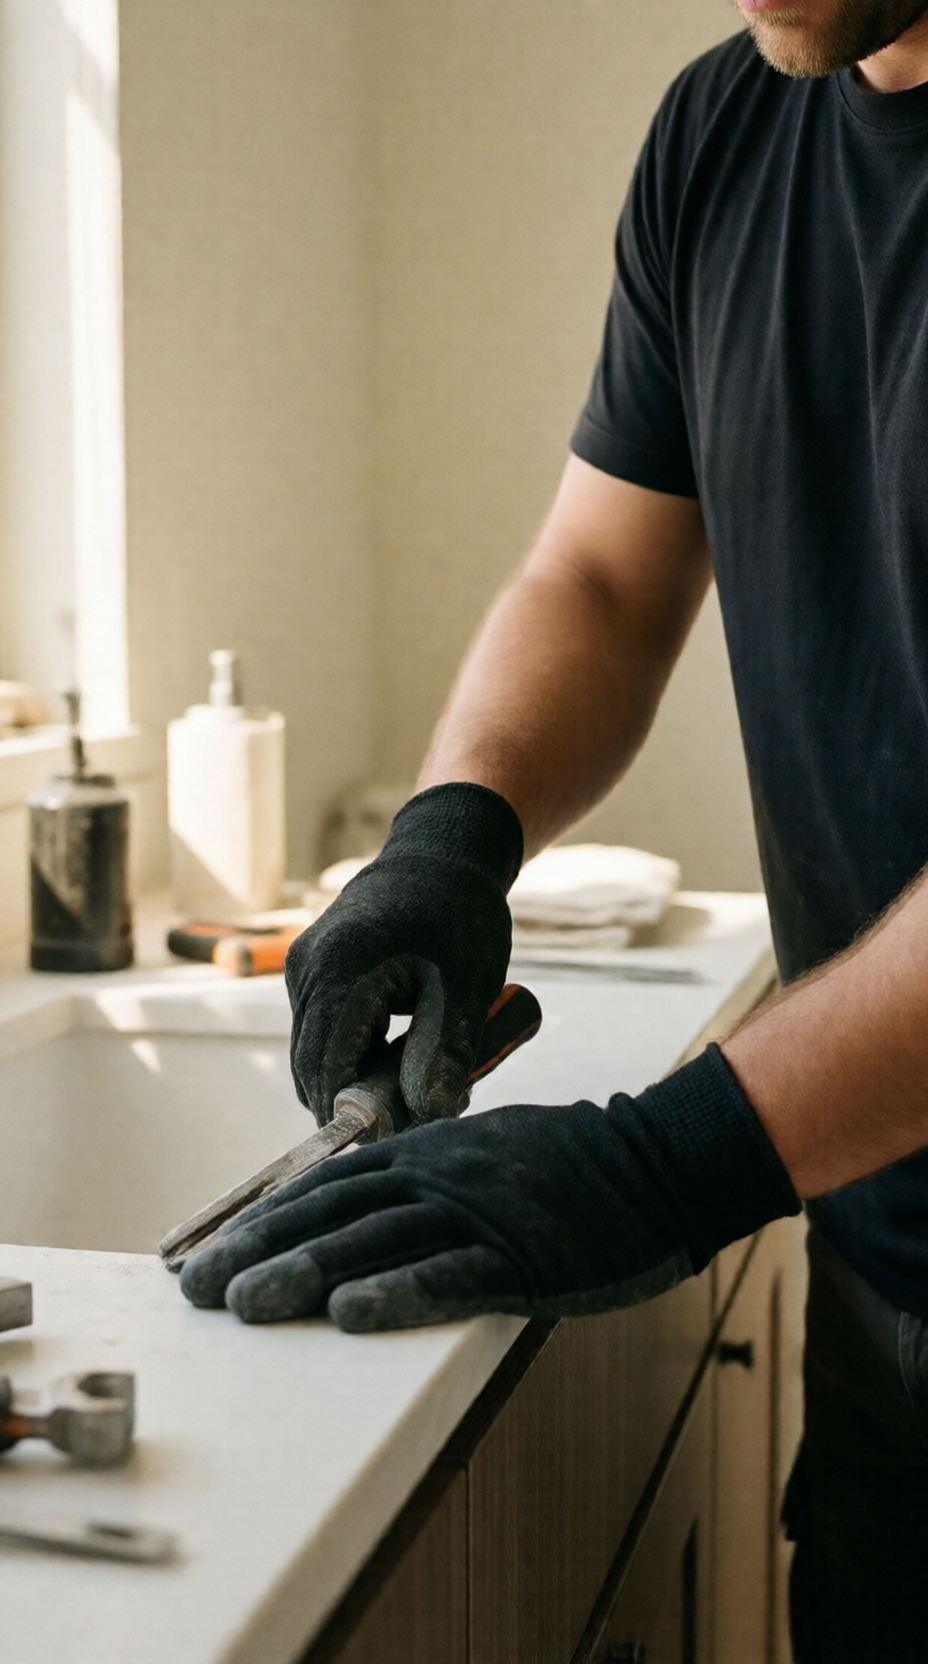
Full removal of the old bead is the step that decides whether new caulk will hold.
Choosing the right caulk and grout for each spot
Matching the material to the joint is where most do-it-yourself repairs go right or wrong.
| Location | Use | Why |
|---|---|---|
| Flat joints between wall tiles | Grout | Same plane, little movement |
| Floor tile joints | Grout (sanded where joints are wider) | Rigid, durable surface |
| Tub-to-wall tile joint | Flexible caulk | Tub and wall move differently |
| Inside corners (wall to wall) | Flexible caulk | Corners are movement points |
| Floor-to-wall transition | Flexible caulk | Prevents cracking at the edge |
| Around sink or countertop edges | Flexible caulk | Different materials meet |
| Around fixtures and trim | Flexible caulk | Seals gaps where water can enter |
A few tips on products:
- Choose a sealant labeled for kitchens and baths and read whether it is meant for the surfaces you have, such as tile, acrylic, or fiberglass.
- Avoid painter's-type acrylic caulk in areas that get direct water spray.
- Color match matters less than a clean, consistent bead. Many people choose a caulk color that matches the grout so the joint looks continuous.

Grout in the flat joints and flexible caulk at the tub edge is the pairing that tends to last.
Keep moisture and mold from coming back
Even a perfect repair will struggle in a bathroom that stays wet. The EPA's guidance on mold is clear that controlling moisture is the key to controlling mold growth indoors.
Habits that help:
- Run the exhaust fan during showers and for a while afterward.
- Squeegee or wipe shower walls and the tub edge when you can.
- Leave the door or a window open to let humid air out.
- Fix drips promptly. A constantly dripping showerhead or faucet keeps joints wet. The EPA WaterSense program offers helpful leak-checking guidance.
- Wash gently. Use a mild cleaner regularly instead of harsh scrubbing that wears down grout.
- Check the fan itself. If tissue doesn't hold against the grille, the fan may not be moving much air, and it may be worth having looked at.
In Los Angeles, many homes have older bathrooms with fans that are undersized, noisy, or vented poorly, and some bathrooms have no fan at all. That alone can explain why caulk darkens within months.
When to call a pro
Plenty of caulk and small grout repairs are fair DIY projects. If you're patient with prep, you can get good results.
It's time to bring in help when:
- Tiles are loose, hollow, or lifting
- Grout or caulk keeps failing in the same place after a careful repair
- The wall feels soft, spongy, or discolored behind the tile
- You notice a persistent musty smell with no visible source
- The tub or shower pan flexes underfoot
- Mold returns quickly or covers a large area
- You see staining on a ceiling or wall below or beside the bathroom
- The job involves replacing many tiles, a valve, or a shower pan
Those signs can point to water getting behind the surface, and surface repairs won't fix that. In that case, the right move is to find the source first.
At STATOX, our bathroom service covers caulk and grout repair along with tile and related fixes. If you'd like an idea of the scope before anyone visits, you can send a photo for a written quote.
If you hire anyone for bathroom work, the Contractors State License Board has a consumer guide on how to hire a contractor in California, and it's worth reading before you sign anything. If your project grows into something that involves plumbing changes or structural work, check with LADBS about whether a permit applies.
FAQ
Can I just put new caulk over the old caulk?
It's not a good idea. New caulk doesn't bond well to old caulk, soap film, or mildew, so it tends to peel or darken quickly. Remove the old bead fully, clean, and let the joint dry first.
Why does my caulk turn black so fast?
Mold and mildew feed on moisture and soap residue. If the bead stays damp, or if it was applied over a dirty surface, dark spots can show up early. Better ventilation, drying the area, and a clean application help.
Should I use grout or caulk where the tub meets the tile?
Use flexible caulk. That joint moves, and rigid grout will crack there. Grout belongs in the flat spaces between tiles.
Do I need to remove all the grout to fix cracks?
Not necessarily. If the grout is mostly sound, you can remove and replace only the cracked or crumbling sections. If cracks are widespread or the grout powders away, regrouting a larger area makes more sense.
How do I know if the problem is more than cosmetic?
Look for loose or hollow tiles, soft walls, a musty smell, stains nearby, or repeated failure in the same spot. Those clues suggest water is getting past the surface, and a closer inspection is wise.
Sources
- EPA: A Brief Guide to Mold, Moisture, and Your Home
- EPA WaterSense: Fix a Leak Week
- Tile Council of North America
- CSLB: Hire a Contractor
Safety note: work on electrical panels, gas, structure or anything that needs a permit should be done by a licensed contractor with the required permits.
STATOX Handyman Service · Send a photo · +1 (820) 200-4919
Keep reading
 bathroomBathroom Repair Prep Checklist Before the Handyman VisitUse this bathroom repair prep checklist to clear the space, gather photos, and find your shutoffs so your handyman visit goes smoothly. Read before you book.
 bathroomBathroom Tile vs Vinyl vs Acrylic Surrounds: ComparedBathroom tile vs vinyl vs acrylic: how each surround handles water, cleaning, and repairs in Los Angeles homes. Read before you choose your material.
 bathroomBel Air Bathroom Repairs in Hillside and Older HomesPlanning bathroom repair Bel Air homes need? Learn what hillside and older houses hide behind tile and drywall, and what to check first before it gets costly.