How to Check and Prepare a Subfloor Before New Flooring

Subfloor preparation before flooring means confirming that the surface under your new floor is flat, dry, and solid. A subfloor that passes those three checks gives new flooring a stable base, while one that fails can cause squeaks, gaps, cupping, or early failure. You can check most of this yourself with a straightedge, a moisture meter, and a careful walk across the room.
This guide walks through how to inspect each condition, which fixes are common, and when it makes sense to bring in a professional. If you are planning a project, our flooring service team can also review your floor with you.
Why the Subfloor Matters More Than the Finish
New flooring, whether it is laminate, luxury vinyl plank, engineered wood, or tile, only performs as well as the layer beneath it. The finish floor is designed to sit on a surface that is level, firm, and stable in moisture. When the subfloor moves, the finish floor moves with it.
Most flooring problems that show up within the first year trace back to a few causes:
- Dips or high spots that leave the finish floor unsupported
- Loose boards or panels that flex under foot and squeak
- Moisture from below or from a past leak that was never fully dried
- Old adhesive, debris, or paint that prevents a clean bond
Taking an hour to check these items before you order materials can save you from tearing out new flooring later.
How to Check Flatness
Flatness is the first thing to test. Most flooring manufacturers publish a tolerance for how much variation the subfloor can have over a set length, so check the instructions for the product you choose.
To check flatness at home:
- Clear the room of furniture, rugs, and loose debris.
- Lay a 6- to 8-foot straightedge across the floor in several directions.
- Slide a feeler gauge or a set of shims under the straightedge to measure gaps.
- Mark any dips, humps, or edges where one panel sits higher than the next.
- Repeat the check near doorways and along the walls, where transitions often hide problems.
Pay close attention to seams between plywood or OSB panels. A raised edge of even a small fraction of an inch can show through thin flooring. Mark each problem spot with painter's tape so you can plan repairs before installation.
How to Check Dryness
Moisture is the most damaging condition for a subfloor, and it is often invisible. Wood subfloors can swell, cup, or grow mold when they stay damp, and some adhesives and underlayments are sensitive to moisture levels.
Start with a visual and sensory check:
- Look for dark staining, warped boards, or a white powder on the surface.
- Smell the room for musty odors, especially in corners and near exterior walls.
- Check under sinks, around tubs, and near exterior doors for past water exposure.
Then use a moisture meter. Pin-type meters can read moisture content in wood, while pinless meters scan the surface without leaving marks. Take readings in several spots, including the middle of the room and near the perimeter. Compare readings to the flooring manufacturer's requirements, since those limits vary by product.
If you find a consistently high reading, do not install flooring yet. Find and fix the source first, then allow the subfloor to dry fully before you proceed.
For general background on how moisture and indoor conditions affect a home, the U.S. Environmental Protection Agency's Inside Story guide to indoor air quality offers useful context on keeping living spaces healthy during and after home projects.
How to Check Solidity
A solid subfloor does not flex, bounce, or squeak when you walk across it. Solidity problems usually come from loose fasteners, undersized joists, or damaged panels.
Use this checklist as you walk the room:
- [ ] Walk slowly across every section and listen for squeaks or pops.
- [ ] Press firmly on each panel near the seams and corners.
- [ ] Look for cracks, delamination, or soft spots in plywood or OSB.
- [ ] Check that screws or nails are tight and not backing out of the panel.
- [ ] Look from below, if you have access to a crawlspace or basement, for sagging joists or water stains.
- [ ] Note any areas that feel spongy, since these often hide rot or moisture damage.
Squeaks are often a loose-fastener problem that can be fixed with construction screws driven into the joist. Soft spots that feel spongy under pressure usually need the damaged section cut out and replaced.
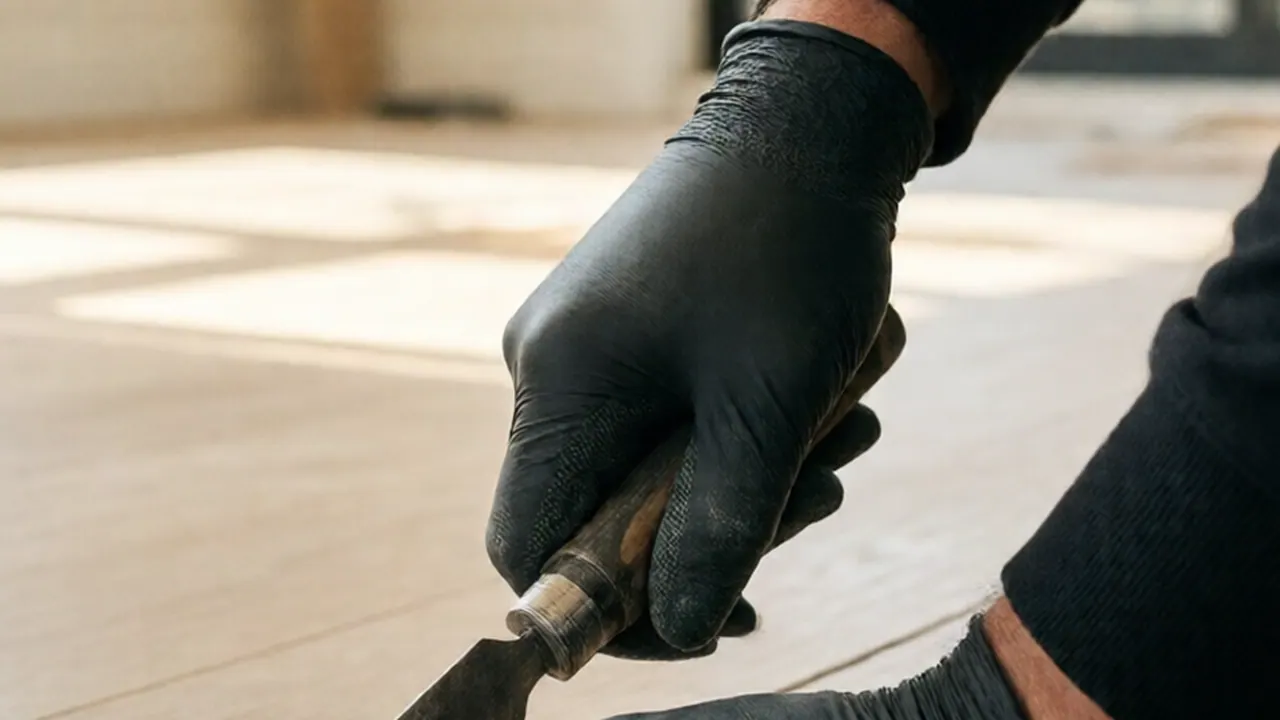
Common Subfloor Fixes and How They Compare
Once you know what needs attention, the next step is choosing a fix. The table below compares common approaches so you can match the repair to the problem.
| Problem | Typical Fix | DIY Difficulty | Notes |
|---|---|---|---|
| Small dips or low spots | Self-leveling compound or floor patch | Moderate | Prime first; follow drying times on the product label |
| Raised seams or edges | Sanding high points or re-fastening panels | Low to moderate | Sanding creates dust; use proper ventilation |
| Squeaks from loose panels | Construction screws into joists, or subfloor adhesive | Low to moderate | Access from below can make this easier |
| Soft or damaged panels | Cut out and replace the section | Moderate to high | Requires checking joists and matching panel thickness |
| Moisture from a past leak | Find and fix the source, then dry fully | Varies | Persistent moisture usually needs a professional assessment |
| Old adhesive or debris | Scrape, sand, or grind to a clean surface | Moderate | Test older materials before removing them |
For self-leveling compound, the product label controls the mixing ratio, pour depth, and waiting time before flooring goes down. Following those instructions closely is more important than speed.
Cleaning the surface matters too. Dust, paint, wax, and adhesive residue can stop flooring glue or underlayment from bonding. Sweep and vacuum thoroughly after any sanding or patching.
When to Call a Pro
Many subfloor checks are well within reach for a careful homeowner. Measuring flatness, reading moisture, and tightening loose screws are reasonable DIY tasks. Patching small dips and replacing a few panels are also manageable for many people who are comfortable with basic carpentry.
Consider hiring a professional when:
- Moisture readings stay high after the source is fixed, or you see mold.
- Soft spots extend across large areas or suggest joist damage.
- The subfloor is sagging, or you suspect structural problems.
- Your home is older and you find unexpected materials under the floor.
- You are working on a multi-room project and need the work coordinated with other trades.
- You are unsure whether a repair will meet the flooring manufacturer's requirements.
Before hiring anyone, it helps to verify their licensing status yourself. The California Contractors State License Board offers guidance on how to hire a contractor and how to check credentials. For projects that may need a permit in Los Angeles, the Los Angeles Department of Building and Safety explains when permits and inspections apply.
If you would like a second opinion on your subfloor, you can send a photo for a written quote and describe what you have found. A clear photo of the seams, stains, or soft spots helps us understand the condition before anyone visits the home.

FAQ
How flat does a subfloor need to be before installing new flooring?
Flatness requirements depend on the flooring type and the manufacturer. Check the product instructions for the allowed variation over a set length, usually measured with a straightedge. Address any dips or high spots that exceed those limits before installation, since uneven support can cause cracking, gaps, or squeaks in the finish floor.
Can I install flooring directly over an old subfloor?
Sometimes, but only if the old subfloor is flat, dry, solid, and clean. Remove loose adhesive, debris, and paint, and fix any squeaks or soft spots first. If the existing surface has moisture problems or heavy damage, replacing the affected sections is usually the safer choice.
How do I know if moisture is a problem in my subfloor?
Look for staining, warping, musty odors, and any history of leaks. Then take readings with a moisture meter in several locations and compare them to the flooring manufacturer's requirements. Consistently high readings mean you should find and fix the moisture source and let the subfloor dry before installing anything.
Do I need a permit to repair a subfloor?
It depends on the scope of the work and the city's rules. Minor cosmetic repairs often do not require a permit, but structural work, changes to joists, or some plumbing-related repairs may. The Los Angeles Department of Building and Safety publishes information on permits and inspections that can help you decide whether your project needs one.
What should I do if I find water damage under the floor?
Stop work and identify the source of the water before doing anything else. Allow the area to dry completely, and replace any panels that are swollen, soft, or moldy. Because water damage can hide structural problems, a professional inspection is a good idea when the damage covers a large area or involves joists.
Sources
- California Contractors State License Board: Hire a Contractor
- Los Angeles Department of Building and Safety: Permits and Inspections
- U.S. EPA: The Inside Story, A Guide to Indoor Air Quality
Permit work: Permit jobs get a written project estimate; permits handled as required.
STATOX Handyman Service · Send a photo · +1 (820) 200-4919
Keep reading
 flooringSqueaky, Buckled, or Gapped Floors: Causes and FixesSqueaky floors, buckling, and gaps usually trace back to movement, moisture, or loose fastening. Learn how squeaky floors buckling gaps fix choices work.
 flooringDIY vs Hiring a Pro for Floor InstallationWeighing diy vs professional flooring installation in Los Angeles? See which floors suit a weekend project and which need a pro. Read before you buy.
 flooringFlooring Installation Prep Checklist for HomeownersUse this flooring installation prep checklist to clear rooms, check subfloors, and plan acclimation so install day goes smoothly. Read before you order.