How to Read Furniture Instructions and Avoid Assembly Errors
To read furniture assembly instructions well, work in three passes: inventory the parts and hardware first, study the diagrams for orientation before you join anything, and build one step at a time while checking each step against the parts you have in hand. Most backtracking happens because someone skipped the first pass and started fastening panels before confirming which side faces up. A few minutes of preparation prevents most reversed panels and wrong screws.
This guide walks through that method for flat-pack manuals, hardware lists, and exploded diagrams, whether you are building a bookcase, a dresser, or a bed frame in a small Los Angeles apartment or a house in the Valley.
Start With the Hardware List and Parts Check
Before you open a single bag, lay out the parts and compare them to the manual's parts list. Many manuals name each panel with a letter or number and show a small drawing of it. Match every piece to its label, then count.
Hardware causes more mistakes than almost anything else. Screws that look similar often differ in length or thread, and the difference matters. A wrong length can stop a panel from seating or poke through the far side.
Use this checklist before step one:
- Unpack everything and sort parts by letter or number.
- Compare each panel to the drawing in the parts list.
- Count each type of screw, dowel, cam lock, and bolt against the hardware list.
- Set aside any extra hardware until the build is complete. Extras often mean you have a spare, not a mistake, but confirm that.
- Flag any missing or damaged piece and note it before you start. Do not force a substitute.
- Clear a flat, padded workspace, ideally on a moving blanket or cardboard, so finished faces stay scratch-free.
If the hardware list shows a screw type you do not recognize, lay a sample next to the diagram's callout for that fastener. Do not guess from size alone.
Learn the Symbols and Diagram Language
Most furniture manuals use the same visual language, even when the layouts differ. Learning a handful of symbols saves more time than any other single skill.
Common conventions include:
- Exploded views: Parts drawn slightly apart from each other, with lines showing how they connect.
- Arrows: Often show direction of insertion, such as where a dowel slides into a hole.
- Numbered callouts: Point to a specific hardware item, usually matching the hardware list number.
- Dashed lines: Often indicate hidden parts or hardware on the far side of a panel.
- Circled or shaded areas: Commonly mark the face, edge, or hole pattern that needs attention.
- Small icons of a hand or hammer: Usually signal a manual action, such as tapping a dowel or tightening a bolt.
Read every step's diagram before you pick up a tool. Note which parts are involved, which hardware is called out, and which direction the arrows point. Then build. Reading the step once after you have already started is how people end up with a drawer front attached upside down.
Pay particular attention to the lettering on panels. Many panels have printed hole patterns or small labels on one face. If the manual shows a label on the inside face, that is the inside face, even if it looks like the finished side to you.
Build a Reading Order Before You Touch a Screw
Read the entire manual once, start to finish, before assembly. This takes a few minutes and gives you a mental map. You will notice when a later step depends on something you must do early, such as installing a back panel before the top is attached, or leaving a drawer runner loose until the frame is square.
Mark or note these items as you read:
- Steps that require two people, such as lifting a tall frame upright.
- Steps where you must leave something loose, like a cam lock that will be tightened later.
- Steps that involve the back panel, since it often locks the frame square.
- Any step that says to attach a part "as shown" with a dashed-line callout.
Then work in small batches. Complete one step fully, confirm it matches the diagram, and only then move on. Stopping to verify at the end of each step is far cheaper than discovering a problem three steps later.
Keep the manual open to the current step, and keep the completed hardware bags sealed until you need them. Separate small screws in a labeled cup or tray so they do not mix with the next step's fasteners.
Match Each Panel Using Orientation Clues
Orientation is where most reversed-panel mistakes start. Panels that look symmetrical often are not. Look for these clues before fastening anything:
- Pre-drilled hole patterns: Holes are often offset, so one edge has a different pattern than the other.
- Printed labels or arrows: Manufacturers often print "top" or "front" on one face, or on a corner.
- Shelf pin holes: Adjustable shelf holes usually run in a specific row. Installing a panel upside down can misalign the pins.
- Rabbets and grooves: A back panel often slides into a groove on one side only. Check which edge has the groove.
- Edge banding: A finished edge is usually the front-facing edge. Rough or unfinished edges usually face the back or the inside.
- Drawer and door clearance: Check the diagram to see which way the door swings or where a drawer slide mounts.
Before you tighten anything, hold the panel up to the frame and compare it to the drawing. Ask yourself where the finished face should be. If a panel would only fit one way, it is probably in the right orientation. If it fits either way, look for a label or hole pattern before you commit.
Test-fit before final tightening whenever possible. Lightly snug screws, then check that the frame is square by measuring diagonals. Equal diagonals mean the frame is square. Only tighten fully after the piece looks right.
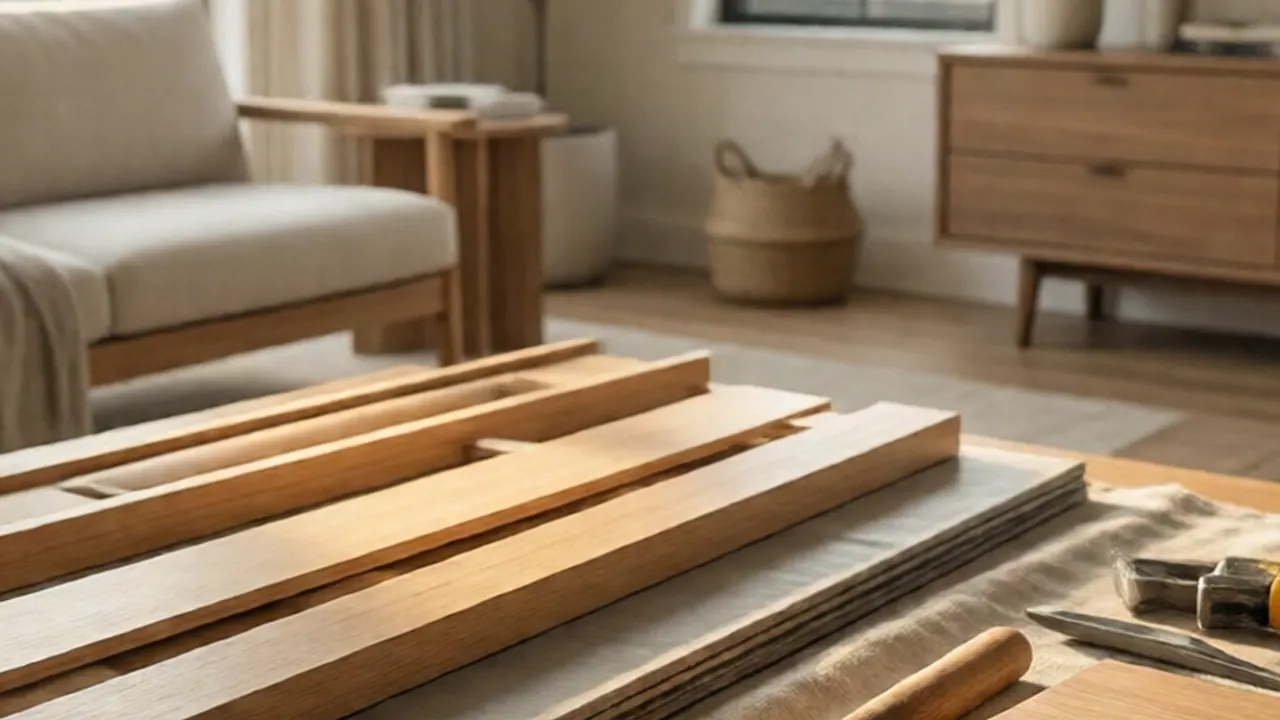
Check hole patterns and printed labels before you fasten a panel in place.
Common Errors and How to Catch Them
Some errors come up again and again. Knowing what they look like helps you catch them early.
| Error | What it looks like | How to prevent it |
|---|---|---|
| Reversed panel | Holes or finished edge face the wrong way | Compare to diagram and look for printed labels before fastening |
| Wrong screw length | Screw bottoms out or pokes through | Match each screw to the hardware list and test-fit with one screw first |
| Skipped dowel or cam | Joint feels loose or does not lock | Count hardware per step and check off each fastener as you use it |
| Out-of-square frame | Doors rub, drawers stick, diagonals differ | Measure diagonals and square the frame before final tightening |
| Back panel left off | Frame wobbles, feels weak | Confirm the back panel step and install it before the frame is fully tightened |
| Mixed hardware bags | Parts seem to fit but feel wrong | Sort and label hardware by step, and keep leftovers separate |
If you find an error, stop. Back out the fasteners, reread the step, and correct it before continuing. Forcing a panel into the wrong position can split particleboard, strip pilot holes, or crack a dowel. Those damages cost more time than the backtrack itself.
When to Call a Pro
Many people can assemble a simple piece of furniture themselves, especially when the manual is clear and the hardware is well organized. DIY is a reasonable choice for a nightstand, a small bookcase, or a basic shelf unit.
Consider hiring help when:
- The piece is large, tall, or heavy, and you cannot safely lift it upright alone.
- The manual is missing pages, the hardware list does not match the parts, or pieces are damaged.
- The job involves fastening into a wall, such as anchoring a tall dresser or bookcase.
- You have already backtracked more than once and want the piece finished correctly.
- Your schedule does not allow for the time a careful build takes.
Anchoring matters in earthquake country. The Earthquake Country Alliance and Ready.gov both encourage securing tall furniture to wall studs so it cannot tip. Anchoring is a separate job from assembly, and it is worth getting right. If you are unsure how to attach to your wall type, ask for help before you drill.
If you want an assembly crew to handle the build, our furniture assembly service covers flat-pack pieces from start to finish. If you prefer to hand off only part of a project, send a photo for a written quote and describe what you need. A written quote lets you compare options before you decide.
If you hire any contractor for larger household work, the California Contractors State License Board offers guidance on checking a contractor and understanding what to ask before work begins.
FAQ
What should I do if the manual is unclear?
Stop and compare the diagram to the parts in front of you. Look for printed labels, hole patterns, and the numbered callouts on the hardware list. If a step still does not make sense, check whether the manufacturer has a parts or support page for your model number. Do not guess on a step that involves a load-bearing joint.
How do I tell which side of a panel is the front?
Look for printed labels, a finished edge, edge banding, and hole patterns that differ from one edge to the other. Finished faces are usually the ones that show in the room. Back panels often have a groove or rabbet on one side only.
Can I reuse hardware if I lose a screw?
Use only hardware that matches the length, thread, and type in the hardware list. If a screw is missing, do not substitute one that looks close. Contact the manufacturer or a local hardware store that can match the exact size from your sample.
Why does my dresser wobble even after I finished?
The most common causes are a missing or loose back panel, a frame that was never squared, or joints that were not fully tightened. Check the diagonals, tighten the fasteners in order, and confirm the back panel is attached. If the piece is tall, consider anchoring it to the wall.
Should I assemble furniture in the room where it will go?
Often, yes. Large pieces can be difficult to move once built, and doorways or stairs may block them. Assemble in the room if you can, but first confirm there is enough space to work and to stand the piece upright.
Sources
Permit work: Permit jobs get a written project estimate; permits handled as required.
STATOX Handyman Service · Send a photo · +1 (820) 200-4919
Keep reading
 furniture assemblyDIY vs Hiring a Pro for Furniture Assembly: What to WeighWondering whether to hire someone to assemble furniture or do it yourself? Compare time, tools, risk, and safety before you open the box.
 furniture assemblyEarthquake Prep: Securing Tall Furniture in Los AngelesLearn how to secure furniture earthquake Los Angeles homes need: what to anchor first, which hardware fits your walls, and when to get help. Worth a read.
 furniture assemblyFlat-Pack Furniture Problems and How to Fix ThemNeed a wobbly flat pack furniture fix? Learn why assembled pieces rock, sag, or gap, and what to check first. Worth a read before you take it apart.