Installing a Bathroom Fan with Light in Los Angeles
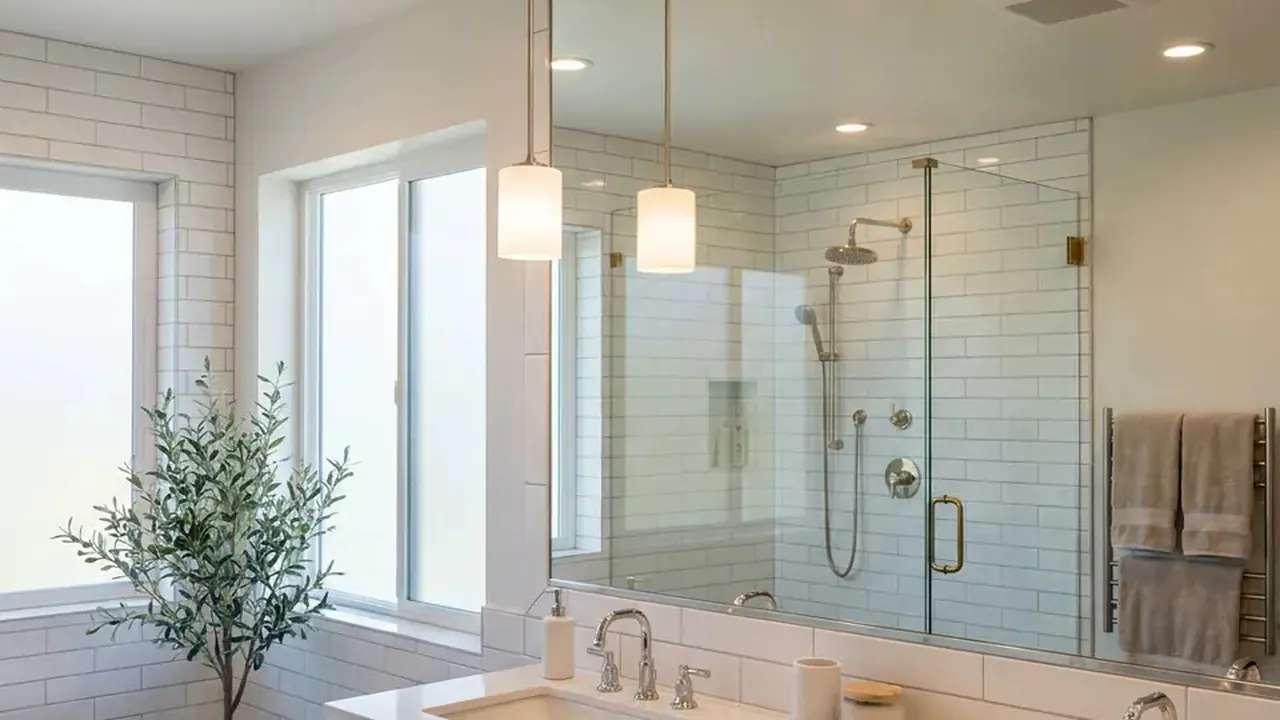
A bathroom fan with light combines moisture-exhaust ventilation and overhead room lighting into a single ceiling unit fitted between your ceiling joists. Installing or replacing one requires cutting a broad ceiling opening, running rigid or semi-rigid ductwork to an exterior wall cap or roof jack, and wiring separate switch legs for the motor and light fixture.
In Los Angeles homes, venting moisture isn't just about clear mirrors—it prevents structural wood rot, paint peeling, and mold growth inside unconditioned wall and roof cavities. Homes built across Southern California present distinct installation challenges, ranging from 1920s plaster-and-lath ceilings in Spanish Colonial bungalows to flat-roof Mid-Century residences without attic workspace.
Sizing CFM and Duct Runs for Los Angeles Homes
The airflow capacity of a bathroom fan is measured in Cubic Feet per Minute (CFM). The baseline standard requires 1 CFM per square foot of bathroom area for rooms under 100 square feet. A standard 8-by-10-foot bathroom requires at least an 80 CFM fan unit. For larger master suites with enclosed water closets or steam showers, add 50 CFM per fixture to ensure adequate moisture extraction.
Noise levels are rated in sones. A standard builder-grade fan operates around 3.0 to 4.0 sones, which sounds like a running kitchen blender. Modern units rated at 1.0 sone or lower operate quietly, making them ideal for spaces close to main living areas.
``` +-------------------+--------------------+------------------------+-------------------+ | Room Size (Sq Ft) | Minimum CFM Needed | Recommended Duct Size | Target Noise Sone | +-------------------+--------------------+------------------------+-------------------+ | Up to 50 sq ft | 50 CFM | 4-inch rigid metal | 0.3 to 1.0 sones | | 50 to 90 sq ft | 80 to 90 CFM | 4-inch rigid metal | 0.5 to 1.5 sones | | 90 to 120 sq ft | 110 CFM | 6-inch rigid metal | 0.5 to 1.5 sones | | Over 120 sq ft | 150+ CFM | 6-inch smooth aluminum | 1.0 to 2.0 sones | +-------------------+--------------------+------------------------+-------------------+ ```
Duct selection dictates how efficiently your fan clears humid air. Standard 4-inch vinyl accordion ducting should never be used; flexible plastic sags over time, traps moisture, and degrades in hot Los Angeles attics where summer temperatures regularly top 120 degrees Fahrenheit. Always run smooth 4-inch or 6-inch galvanized metal or semi-rigid aluminum ducting.
Never terminate fan ductwork inside an attic cavity or crawlspace. Exhausting warm, wet air directly under structural roof rafters creates an ideal environment for mold growth on subfloor plywood and Douglas fir framing members. Damp exhaust air must exit completely outside through an exterior wall vent cap or a dedicated roof jack fitted with an integrated backdraft damper.
Navigating LA Ceiling Construction: Plaster vs. Drywall
Cutting into a ceiling requires understanding your home's structural material. Los Angeles housing stock features two distinct ceiling types, each requiring a specific cutting technique:
- Pre-1950 Plaster and Lath: Common in Historic Highland Park, Mid-City, and Pasadena homes. Plaster is brittle, heavy, and layered over thin wood lath strips. Using a reciprocating saw on plaster creates heavy vibrations that shatter surrounding keyways, causing large ceiling sections to sag or collapse.
- Post-1950 Gypsum Board (Drywall): Standard in San Fernando Valley tract homes and modern remodels. Drywall cuts easily with a hand jab saw or oscillating multi-tool, creating clean rectangular openings between 16-inch center joists.
To install a retrofit unit in a plaster ceiling without destroying the surrounding finish:
- Locate framing joists using a deep-scan stud finder or a thin probe bit.
- Outline the fan housing footprint onto the ceiling using painter's tape to prevent surface chipping.
- Score the outer plaster perimeter deeply with a carbide utility knife to sever the finish coat.
- Cut the inner section using an oscillating multi-tool equipped with a carbide grit blade, running at medium speed with minimal pushing force.
- Support underlying wood lath strips from below while sawing through them to avoid snapping the plaster keys holding the rest of the room ceiling intact.

Upgrading Features: Heaters, Speakers, and Sensors
When selecting a replacement fixture from a local retailer or home center like a bathroom fan with light Home Depot model, consider additional integrated features:
Supplemental Heating Units
A bathroom fan with light and heater includes a high-draw heating element (typically 1,300 to 1,500 watts). These units cannot simply be wired into an existing lighting circuit. They require a dedicated 15-amp or 20-amp line back to the main breaker panel using 12-gauge wire. Connecting a high-wattage heater to a standard shared 14-gauge lighting circuit will cause immediate circuit breaker trips.
Audio and Smart Connectivity
A bathroom fan with light and speaker or bathroom fan with light and bluetooth speaker requires continuous power to the internal receiver module. If wired into a single wall switch, Bluetooth connectivity cuts out whenever the light is turned off. Proper functionality requires a 14/3 wire configuration from the switch box, allowing independent power to the fan motor, LED array, and wireless module.
Automated Moisture Control
A bathroom fan with light and humidity sensor monitors ambient Relative Humidity (RH) levels inside the room. When RH spikes past a pre-set threshold (typically 60%), the sensor automatically energizes the fan motor even if the wall switch is off. This function is valuable in coastal neighborhoods like Santa Monica, Venice, and San Pedro, where high ocean humidity slows down natural moisture evaporation.
Performing a Bathroom Fan with Light Replacement
Replacing an existing fan unit requires matching housing dimensions, duct locations, and electrical cable capacity. Follow these precise steps for a safe swap:
- Shut Off Power: Disconnect electrical supply to the bathroom circuit at the main breaker panel. Verify absence of voltage at the wall switch using a non-contact voltage tester.
- Remove Old Fixture: Pull down the existing cover grille, disconnect the motor plug from the internal receptacle, unscrew the housing brackets from the joists, and drop the old metal box through the ceiling opening.
- Inspect Electrical and Duct Connections: Verify that the existing cable is 14/2 with ground (for single switch) or 14/3 with ground (for dual switch operation). Inspect the existing duct to ensure it is rigid aluminum or smooth metal, not degraded plastic.
- Prepare Opening: Measure the cutout against your replacement unit frame. Expand the opening using an oscillating saw if upgrading to a larger housing.
- Mount Retrofit Brackets: Slide adjustable retrofit mounting bars through the cutout and lock them against adjacent joists. Secure the new fan housing directly to the bars using self-tapping sheet metal screws.
- Attach Ducting and Electrical: Connect the metal exhaust duct to the fan housing collar using metal foil tape (never duct tape). Secure electrical cables inside the built-in junction box using an approved NM-B wire connector clamp.
- Wire Fixture: Connect matching conductor wires (black to switch leg hot, white to neutral, green or bare copper to ground). Twist securely inside wire nuts and fold neatly back into the junction box.
- Attach Grille and Test: Plug in the light assembly, push the spring clips into the housing slots, re-engage breaker power, and test motor draw, light switch, and backdraft flap operation.

External Vents and Santa Ana Wind Protection
The outdoor termination point is as critical as the indoor housing. In Southern California, powerful Santa Ana winds create high dynamic pressure against exterior walls, forcing exterior air backward through weak exhaust lines.
- Wall Caps: Use heavy-gauge aluminum or stainless steel hoods equipped with a spring-loaded or weighted damper flap and an integrated wire mesh screen to block nesting birds and rodents. Seal the wall plate perimeter against exterior stucco using polyurethane sealant.
- Roof Jacks: On pitched roof homes, install a flashed metal roof jack under asphalt shingles or concrete tiles. Apply roofing cement beneath the flashing flange to ensure a watertight seal during winter rains.
Without a properly sealing damper, outdoor dust and heat enter the bathroom through the ductwork during dry wind events.
When to Call a Pro
While replacing a simple drop-in exhaust fan is a reasonable DIY project for homeowners comfortable with basic wiring, complex installations carry risks:
- Cutting openings through plaster-and-lath ceilings without cracking surrounding finishes.
- Running new rigid metal ductwork through tight attic spaces or flat roof cavities without attic access.
- Pulling new 12-gauge electrical home runs through finished walls for heater-combo units.
- Penetrating stucco exteriors or tile roofs to install compliant exterior termination caps.
At STATOX, we eliminate guesswork and keep your home protected. When you contact us for a bathroom service, simply send a photo for a written quote. You receive one plain, written price upfront with zero unexpected fees. Upon arrival, our technicians inspect your ceiling construction, measure existing duct clearance, test voltage loads, and complete the installation correctly from start to finish.
FAQ
Can I replace a standard ceiling light with a bathroom fan with light combo?
Yes, but you must expand the ceiling cutout, install a new retrofit housing bracket between joists, run 4-inch or 6-inch exhaust ductwork through the attic or wall cavity to the outdoors, and potentially run an additional electrical switch wire to control the fan and light independently.
Why does my bathroom fan with humidity sensor stay on continuously?
Humidity sensors run constantly if the internal RH threshold dial is set too low (e.g., 40%) or if ambient outdoor humidity in coastal Los Angeles areas remains elevated. Adjust the sensitivity dial on the fan housing to 65% or check if the wall switch override mode has been accidentally left on.
Do I need two wall switches for a fan with light combo?
It is not mandatory, but it is recommended. Wiring the light and fan motor to a double-rocker switch allows you to run the fan for 20 minutes post-shower to clear moisture without leaving bright overhead LED lights turned on.
Can I vent my bathroom fan through a soffit under the eaves?
Venting downward through a soffit grille is strongly discouraged. Warm, moist air discharged from an eave vent naturally rises and gets pulled right back into the attic space through adjacent soffit intake vents, causing moisture build-up beneath the roof deck.
Sources
- California Contractors State License Board (CSLB) - Hire a Contractor
- Los Angeles Department of Building and Safety (LADBS) - Permits & Inspections
- US EPA - Mold and Moisture Guide
- US EPA WaterSense Program
Permit work: Permit jobs get a written project estimate; permits handled as required.
STATOX Handyman Service · Send a photo · +1 (820) 200-4919
Keep reading
 bathroomBathroom Lighting Upgrade Guide for Better VisibilityPlanning a bathroom lighting upgrade in your Los Angeles home requires wet-rated fixtures, proper sconce height, and anchors for lath and plaster walls.
 bathroomBathroom Repair Prep Checklist Before the Handyman VisitUse this bathroom repair prep checklist to clear the space, gather photos, and find your shutoffs so your handyman visit goes smoothly. Read before you book.
 bathroomBathroom Tile vs Vinyl vs Acrylic Surrounds: ComparedBathroom tile vs vinyl vs acrylic: how each surround handles water, cleaning, and repairs in Los Angeles homes. Read before you choose your material.