Installing Keypad Locks for Home Security
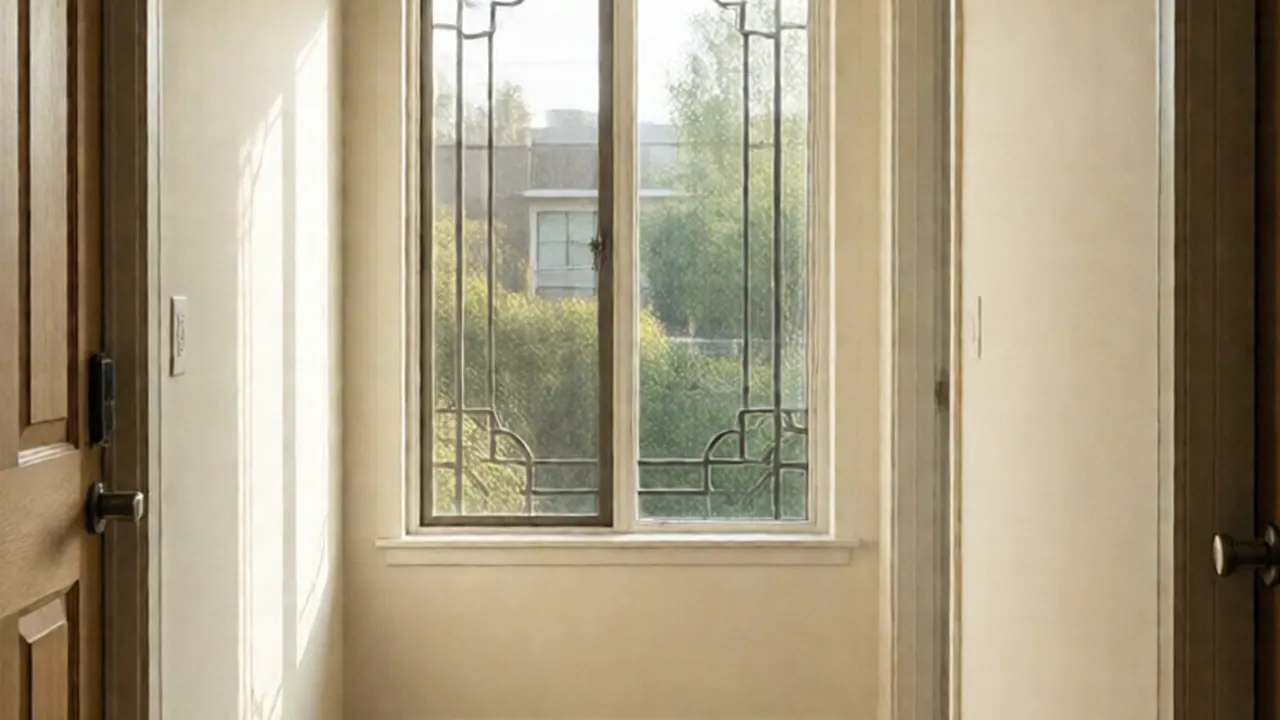
Installing keypad locks requires removing your existing deadbolt, verifying standard borehole dimensions, and aligning the motorized bolt with the frame strike plate so the mechanism never binds. Most electronic deadbolts mount in about forty minutes if the door bore is 2-1/8 inches and the backset matches your lock latch.
When you install an electronic deadbolt, mechanical tolerances become much tighter than they are with an old keyed cylinder. A human hand can push, lift, or pull a warped door to force a mechanical key to turn. A small electric motor running on four AA batteries cannot. If the deadbolt encounters even two millimeters of resistance inside the door jamb strike pocket, the motor stalls, errors out, and drains fresh batteries in less than a month.
Sizing and Borehole Measurements for Older Homes
Before unboxing hardware, measure the existing door prep with a steel tape. Modern electronic deadbolts from Schlage, Kwikset, and Yale expect standard modern cross-bores, but Southern California's housing stock varies dramatically by era.
- Borehole Diameter: Measure across the main circular opening in your door. Modern deadbolts require a 2-1/8 inch (54 mm) hole. Spanish Colonial, Craftsman, and pre-1950 bungalows across Mid-City, Pasadena, and Silver Lake often have older 1-1/2 inch holes or vintage mortise lock cutouts. If your bore is 1-1/2 inches, you will need a hole-saw enlargement guide clamp to drill it out to 2-1/8 inches without wandering.
- Backset: Measure from the edge of the door to the center of the borehole. Standard backset is either 2-3/8 inches (60 mm) or 2-3/4 inches (70 mm). Most electronic latches adjust between both dimensions by twisting the latch barrel, but verify this before sliding it into the door edge.
- Door Thickness: Standard exterior doors measure 1-3/4 inches thick. Interior utility doors or original mid-century entries occasionally measure 1-3/8 inches, which requires a thin-door spacer ring behind the keypad exterior escutcheon to prevent the mounting bolts from bottoming out. Custom architectural doors can measure 2 inches to 2-1/4 inches, requiring an extended tailpiece and longer through-bolts.
- Latch Hole and Chisel Depth: The edge bore for the bolt itself must be 1 inch (25 mm) in diameter. The faceplate mortise on the door edge needs to sit flush with the wood. A raised faceplate rubs against the door stop molding, preventing the door from closing square.
``` Standard Modern Bore: 2-1/8" face bore | 1" edge bore | 2-3/8" or 2-3/4" backset Pre-1950 Vintage Prep: 1-1/2" face bore | 7/8" edge bore | Variable backset / mortise pocket ```
Why Los Angeles Door Frames Cause Motorized Locks to Bind
In Southern California, door frames move constantly due to local soil and weather patterns. Hillside construction across the Hollywood Hills, Echo Park, and Baldwin Hills experiences minor seasonal slope creep. Valley homes resting on expansive clay slabs expand during winter rains and contract during summer heat waves.
When the framing shifts, the door drops slightly on its hinges. A mechanical bolt might still latch if you pull the handle firmly toward your chest, but a battery-operated motor will throw a jam code.
Furthermore, Santa Ana winds bring hot, arid air that dries out exterior wood jambs, followed by humid coastal marine layers that swell front-facing stiles and rails. If your deadbolt rubs against the top, bottom, or back of the strike plate opening during normal weather, that friction will completely stop an electronic deadbolt once seasonal shifts occur.
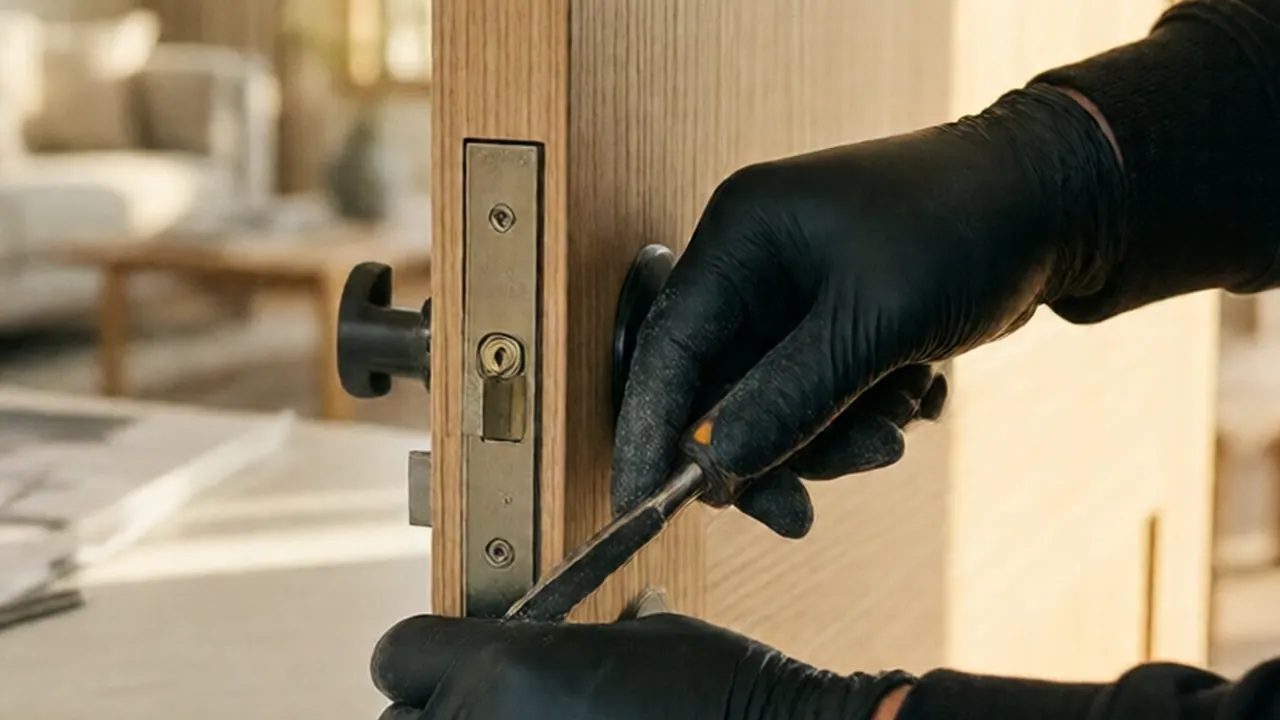
Step-by-Step: Installing Keypad Locks Correctly
Follow these steps to mount the hardware cleanly and prevent mechanical binding.
- Remove Old Hardware and Clean the Bore: Take off the old thumbturn, exterior cylinder, and latch. Scrape out any old dried paint or debris inside the mortise cutouts using a 1-inch wood chisel.
- Install the Deadbolt Latch: Set the latch to the correct backset (2-3/8 or 2-3/4 inches). Insert the latch with the word "TOP" or the upward arrow facing up. If the latch does not slide in smoothly, do not force it with a hammer; ream the 1-inch edge hole with a rasp. Secure the faceplate with the two wood screws provided, keeping it flush with the door edge.
- Route the Wire Harness: Feed the power and control cable underneath the deadbolt latch assembly. Never run the wire over the top or through the latch mechanism; the moving cam will pinch and slice the wire insulation over time, causing an electrical short.
- Seat the Exterior Escutcheon: Push the exterior keypad flush against the door exterior, aligning the horizontal or vertical tailpiece (depending on manufacturer specifications) through the center hub of the latch.
- Mount the Interior Support Plate: Hold the exterior keypad straight. Thread the data cable through the cutout on the metal interior mounting plate. Thread the two structural machine screws by hand first to avoid cross-threading, then tighten them evenly with a handheld No. 2 Phillips screwdriver. Avoid cordless impact drivers, which warp the steel plate and pinch the internal drive cam.
- Connect the Cable and Mount the Interior Housing: Plug the wire harness into the interior circuit board until the clip clicks. Tuck excess wire slack into the hollow cavity of the interior housing. Attach the housing to the backing plate using the small retaining screws.
- Perform the Motor Handing Process: Before setting user codes, leave the door open and insert the batteries while following the manufacturer's handing calibration sequence. The lock must cycle the bolt out and in while the door is ajar so the onboard controller learns the exact extension distance without hitting the frame.
Strike Plates, Framing Screws, and Reinforcement
The strike plate installed on the door jamb provides your actual physical security. Factory deadbolt packages include a decorative strike plate, a heavy-gauge steel reinforcement plate, and two 3-inch hardened steel screws.
Many installers skip the long screws because driving them into an old jamb is difficult. In older Los Angeles homes with plaster-and-lath walls, the plaster keys behind the jamb crumble easily if hit with unpiloted fasteners. Drill pilot holes using an 1/8-inch drill bit at least 2-1/2 inches deep before driving 3-inch screws.
These long screws anchor the steel reinforcement plate directly into the 2x4 jack stud behind the jamb, rather than anchoring into the 3/4-inch soft pine jamb casing.
| Strike Component | Standard Hardware Included | Security Reinforcement Spec | Purpose |
|---|---|---|---|
| Strike Screws | Two 3/4-inch casing screws | Two 3-inch hardened steel screws | Reaches through jamb into structural wall framing |
| Strike Pocket Depth | 1/2 inch to 5/8 inch | Minimum 1 inch full depth | Allows motorized bolt to extend completely without hitting wood |
| Reinforcement Plate | Thin decorative brass/steel | 1/8-inch thick stamped steel backing | Distributes kick-in force across multiple framing studs |
| Clearance Margin | Zero tolerance | 1/16-inch perimeter clearance | Prevents deadbolt motor stall during seasonal jamb movement |
How STATOX Handles Lock Installation in Practice
When a homeowner contacts us about installing keypad locks or fixing a jammed electronic bolt, we verify the door condition first. You can send a photo for a written quote showing the full door, the current latch edge, and the jamb strike plate. We evaluate the alignment before arriving on site and provide a clear written price with no hidden surcharges.
On arrival, we inspect the door hinges before touching the lock. Loose hinge screws cause the top of the door to tilt downward toward the strike jamb. We tighten or replace top hinge fasteners with structural screws to bring the door back into square within the opening.
Next, we check the strike pocket depth. Standard drill bits used for keyed locks often leave the jamb hole only 5/8 of an inch deep. Electronic deadbolts require a full 1-inch clearance to register the bolt as locked. We bore out the framing behind the strike and chisel the opening so the motorized bolt extends effortlessly without touching the metal edges. If your door needs extensive carpentry or jamb reconstruction, explore our complete locks doors service to see how we align framing and architectural doors across the region.
When to Call a Pro
Installing an electronic lock is an approachable DIY task if your door is modern, plumb, and already drilled to 2-1/8 inches. However, specific situations require specialized carpentry tools:
- Vintage Mortise Pockets: If your door has a large vintage mortise box with an integrated latch and skeleton key, removing it leaves a massive rectangular cavity in the side of your door. Converting this requires wooden filler blocks, epoxy, re-drilling, and re-mortising the edge.
- Misaligned Stucco Openings: If an exterior stucco wall has settled and twisted the door frame out of plane, the door cannot latch without hard shoulder pressure. The jamb must be adjusted or the door hinges shimmed before an electronic lock will function.
- Hollow Metal or Steel Doors: Mid-century modern homes and security screen doors often feature metal frames. Enlarging or cutting new holes through steel requires bi-metal hole saws, cutting fluid, and deburring tools.
- Split Jambs from Prior Break-Ins: If the strike jamb has split wood fibers, standard screws will not hold. The damaged section must be cut out and a solid hardwood Dutchman patch glued and screwed into the framing.
FAQ
Why does my electronic deadbolt beep and show an error even though it extends?
Keypad locks feature internal sensors that measure the precise rotation of the motor or the throw distance of the bolt. If the bolt hits the bottom of the strike pocket hole before extending fully, the sensor registers a jam. Deepen the strike pocket in the jamb to at least 1 inch using a 1-inch spade bit.
Can I install a keypad lock on an exterior gate exposed to Southern California weather?
Only if the keypad lock is specifically rated for exterior perimeter gates. Standard residential deadbolts are weather-resistant on the keypad side, but their interior escutcheon housing the battery tray and circuit board is only weather-resistant for indoor use. Moisture from rain or heavy coastal fog will corrode interior battery terminals if installed on an open yard gate.
Do electronic deadbolts work with Santa Ana wind pressure?
High winds create positive air pressure on one side of the house and negative pressure on the other, pulling exterior doors tightly against the jamb stops. If your strike plate position is cut too tight, wind load forces the deadbolt against the strike lip, stalling the motor. Moving the strike plate 1/16 of an inch inward relieves this pressure.
How often do batteries need replacement in a keypad lock?
Under normal conditions with proper strike alignment, quality alkaline batteries last between nine and twelve months. If your batteries die in four to six weeks, the lock motor is working against friction every time it extends or retracts. Check your strike plate for scratch marks indicating the bolt is rubbing against the metal.
Sources
- California Contractors State License Board (CSLB) - Hiring a Contractor
- California Department of Consumer Affairs
- Los Angeles Department of Building and Safety - Permits & Code Standards
- California Department of Housing and Community Development
Permit work: Permit jobs get a written project estimate; permits handled as required.
STATOX Handyman Service · Send a photo · +1 (820) 200-4919
Keep reading
 locks doorsBel Air Hillside Homes: Door and Lock Upgrade GuidePlanning door lock installation in Bel Air? Learn how hillside homes, gates, and entry doors affect lock choices, fit, and security. Read before you buy.
 locks doorsBeverly Hills Older Homes: Door Hardware Repair TipsDoor hardware repair Beverly Hills homeowners can trust: fix sticking latches, loose knobs, and worn hinges in older homes. Read before you replace anything.
 locks doorsDeadbolt vs Smart Lock: Which Fits Your Home Better?Deadbolt vs smart lock: compare security, convenience, batteries, and fit for Los Angeles homes so you can pick the right lock for your front door.