Furniture Assembly Tips for New Apartments in Pasadena
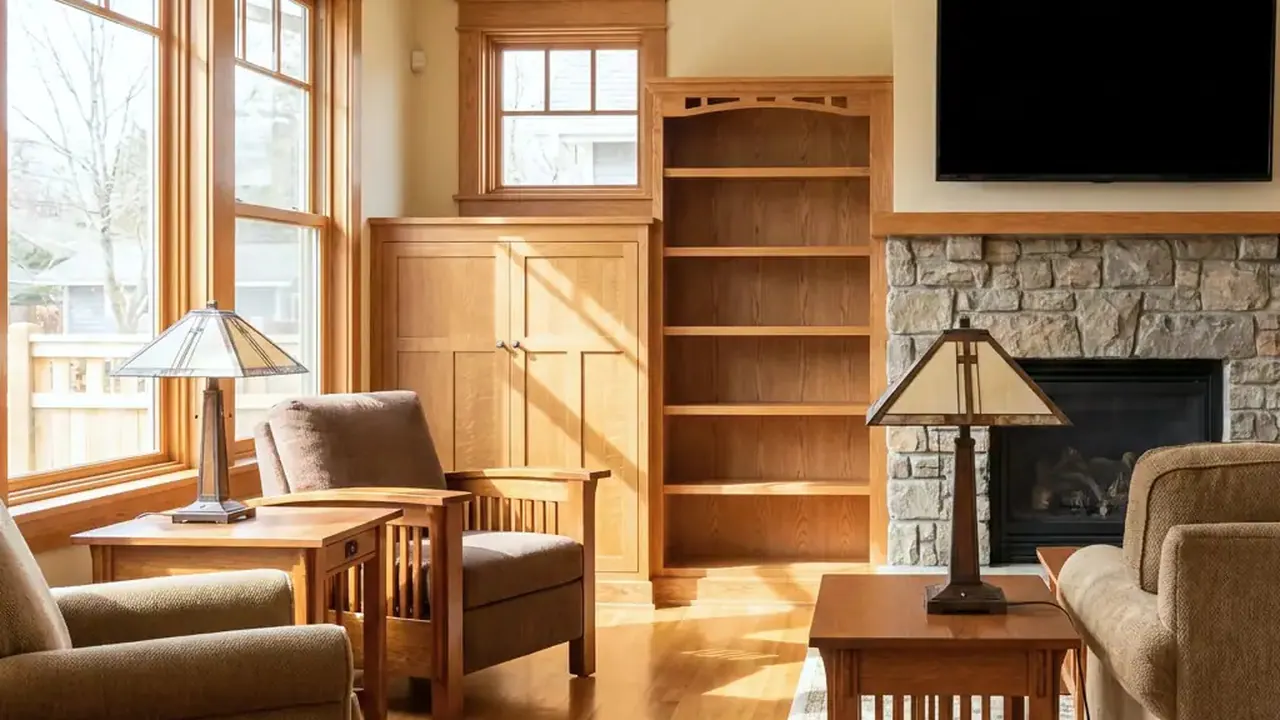
Planning furniture assembly in Pasadena requires adapting your tools and wall anchors to the specific construction of your apartment, whether it is a 1920s plaster-and-lath unit in Madison Heights or a modern mid-rise along Colorado Boulevard. Handling flat-pack assembly yourself means dealing with tight layouts, uneven oak or Douglas fir floors, and critical anti-tip safety near the San Gabriel fault lines.
Apartment Wall Types in Pasadena: Plaster, Lath, and Drywall
Historic apartment buildings around Old Pasadena, Playhouse Village, and Orange Grove Boulevard frequently feature 3/4-inch thick lime plaster laid over wood lath strips. Modern residential developments near Del Mar Station or South Lake Avenue use 1/2-inch or 5/8-inch drywall over steel or wood studs. Securing tall flat-pack cabinets or heavy shelving requires knowing exact wall construction before drilling.
Standard electronic stud finders operate by reading dielectric changes through uniform sheetrock. These sensors fail on plaster walls because uneven plaster keys and lath spacing generate constant false readings. To trace 2x4 wood framing behind plaster and lath, sweep a neodymium magnet horizontally across the wall surface. The magnet clings to iron lath nails driven straight into stud centers. Framing studs in pre-1950 Pasadena buildings usually sit 16 inches apart on center, though historic structural alterations occasionally leave non-standard 24-inch gaps.
When mounting hardware into hollow plaster sections where framing is absent, skip plastic expansion anchors. Plaster crumbles under lateral pressure, causing plastic plugs to pull free. Instead, drill through the plaster layer using a 1/2-inch carbide-tipped bit at low speed to keep the finish coat intact. Insert 3/16-inch steel strap toggles (Snaptoggles) that flip open behind the wood lath to spread structural weight.
For drywall in newer mid-rise complexes, use a multi-scan stud sensor to find structural supports. If your complex uses metal studs rather than wood 2x4s, wood screws will strip out of the light-gauge steel channel. Anchor heavy items into metal studs using 1/4-inch steel strap toggles drilled directly into the center of the steel channel.
Essential Tools and Floor Protection for Flat-Pack Builds
Setting up flat-pack pieces without scuffing finishes or damaging apartment flooring requires an organized setup. Vintage oak flooring, Douglas fir planking, and modern luxury vinyl tile scratch easily under sharp engineered wood edges or stray hardware. Clear an assembly space at least double the footprint of your finished item. Spread 72x80-inch heavy padded moving blankets or thick corrugated shipping cardboard across your entire work area before unboxing parts.
Avoid relying on thin L-shaped Allen wrenches and stamped steel open-end spanners included in flat-pack hardware bags. Prepare these tools before starting assembly:
- Manual Screwdriver with No. 2 Phillips Bit: A dedicated manual driver with a magnetic tip seats screws cleanly without stripping soft zinc fasteners.
- 12-Volt Cordless Driver: Set the mechanical clutch to low torque (level 3 to 5). High-torque 18V drivers snap zinc cam locks, strip pilot holes in low-density particleboard, and crack laminate wood veneers.
- 4mm and 5mm Hex Bits: Use metric Allen bits loaded into a bit holder for fast, controlled bolt installation.
- 16-Ounce Rubber Mallet: A non-marring rubber mallet seats wood dowels flush without denting composite panel edges.
- 24-Inch Torpedo Level: A spirit level verifies that dresser frames and wardrobe bases sit plumb on older, settled subfloors.
- Hard Plastic Wedge Shims: Tapered plastic shims compensate for subfloor slope common in vintage multi-family structures.
Seismic Safety: Wall-Anchoring Heavy Storage Near the Foothills
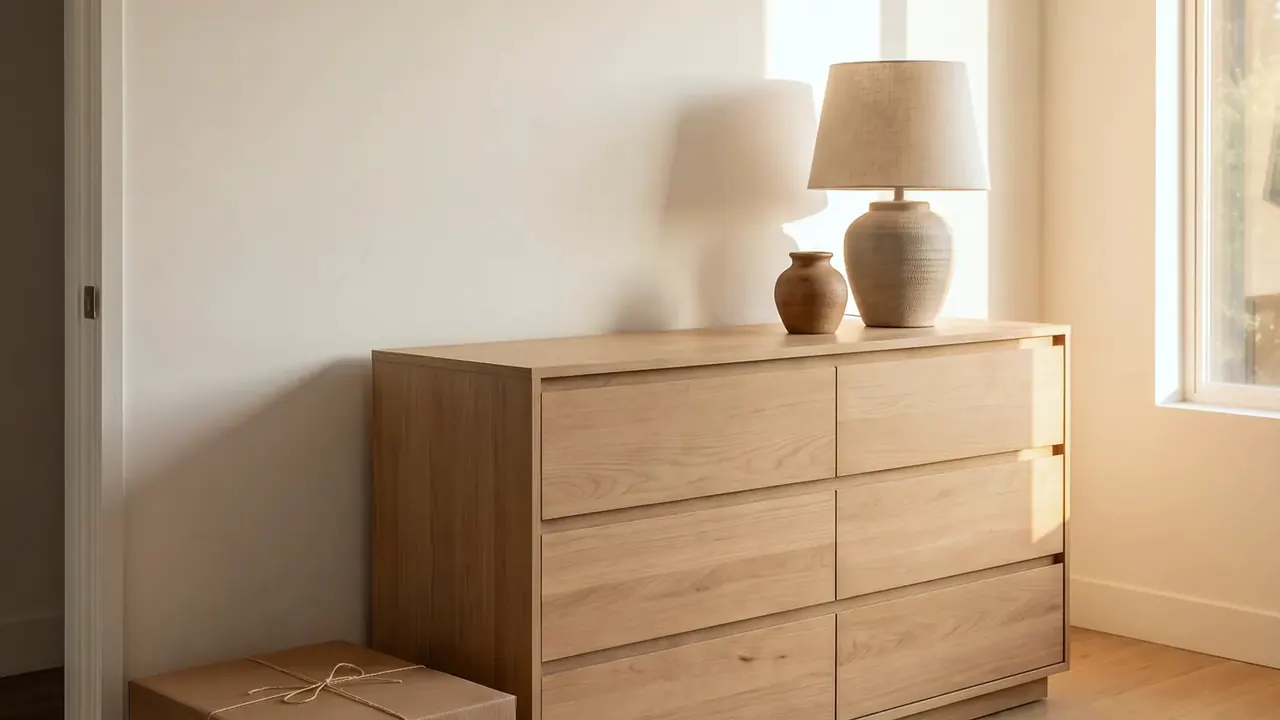
Pasadena sits directly adjacent to active geological fault systems, including the Sierra Madre Fault Zone and the Raymond Fault. Ground movement during minor earthquakes makes tall furniture—such as modular wardrobes, tall dressers, and freestanding bookcases—prone to tipping over if not anchored into solid framing.
Generic plastic strap kits packaged with flat-pack items brittle over time and can pull loose under lateral shear forces. Secure any storage piece taller than 30 inches using heavy steel L-brackets or braided steel cable safety assemblies.
When mounting anti-tip hardware into solid wood framing behind plaster or drywall, drive 3-inch No. 10 wood screws through the mounting bracket directly into the stud core. Ensure at least 1.5 inches of screw thread engages solid wood.
Follow this sequence for mounting anti-tip hardware correctly:
- Locate structural studs behind your furniture placement using a magnetic nail tracer or stud sensor.
- Mark wall bracket attachment points 2 inches below the top panel of the cabinet to keep hardware hidden from sight.
- Pre-drill stud locations with a 1/8-inch wood bit, then secure the bracket into the stud using a 3-inch No. 10 wood screw.
- For hollow plaster or drywall areas lacking stud access, drill a 1/2-inch hole and install a 3/16-inch steel strap toggle.
- Attach the secondary mounting bracket into the solid wooden top frame rail or side upright of the furniture—never attach anchors exclusively to thin 1/8-inch hardboard backing sheets.
- Pass the braided steel cable through both bracket loops, cinching tension so the furniture remains vertical without pulling away from the wall plane.
Step-by-Step Framing for Wardrobes, Platforms, and Drawers
Large modular wardrobes, platform bed frames, and multi-drawer dressers require careful alignment during initial framing steps. Misalignment during initial carcass squareness compounds as you add shelves and doors, leaving drawers sticking or cabinet doors rubbing against frames.
When building platform beds with storage drawers, construct the perimeter frame on a flat, protected surface before installing center support rails or drawer runners. Verify box squareness by taking diagonal measurements from top-left to bottom-right corner, then top-right to bottom-left corner. If both diagonal measurements are identical within 1/16 inch, your frame is perfectly square. If measurements differ, press against the longer diagonal corner until dimensions match before tightening main structural bolts.
Cam lock systems require precise seating depth:
- Thread cam posts into pre-drilled pilot holes by hand until the lower shoulder flange rests flush against the wood veneer.
- Do not overtighten or countersink the shoulder into soft particleboard.
- Fit adjoining panels over protruding cam posts.
- Insert the round locking cam wheel into its recess with the small directional arrow facing toward the post entry hole.
- Rotate the cam wheel 180 degrees clockwise using a manual No. 2 Phillips screwdriver until it locks firmly.
- Forcing a zinc cam lock beyond 180 degrees will snap the cast fitting.
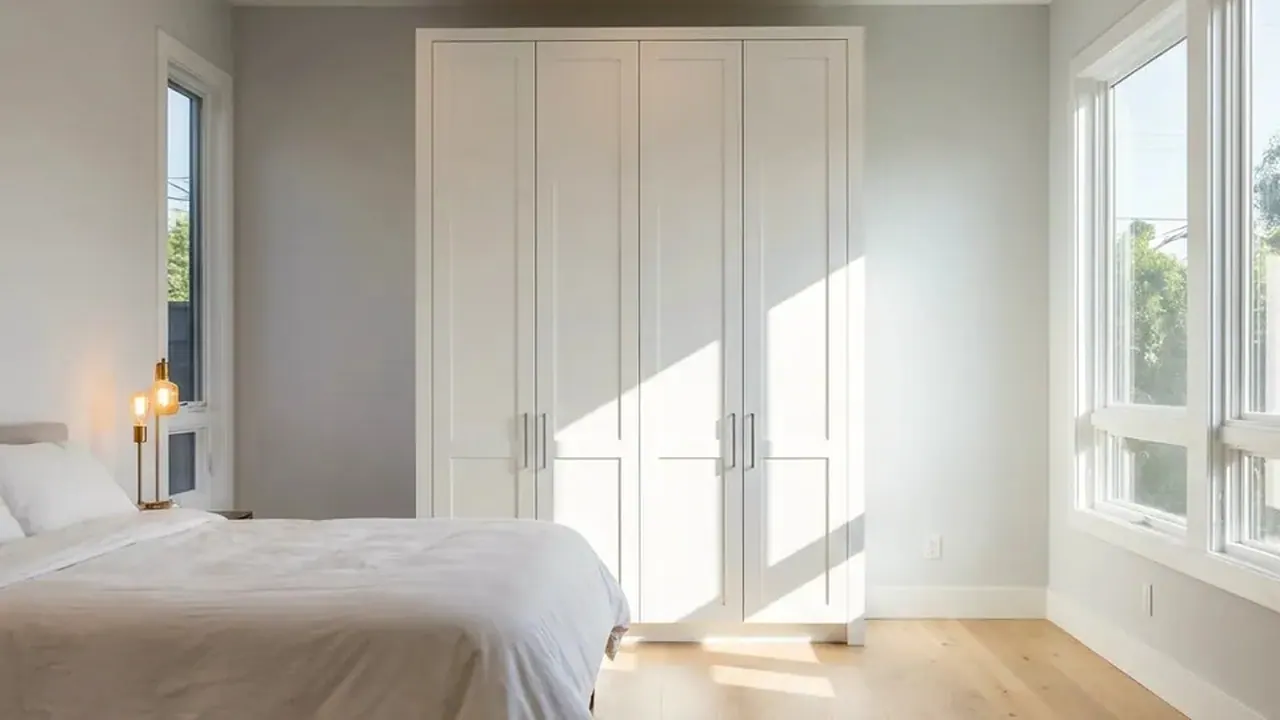
Sliding wardrobe doors require a perfectly plumb cabinet box. Pasadena apartment floors frequently slope up to 1/4 inch across a 4-foot span due to historical foundation settling. Adjust the threaded feet beneath your wardrobe base, or slide hard plastic wedge shims underneath the bottom rails before nailing the rear backer panel into place. A cabinet box that leans out of plumb will cause sliding doors to roll open on their own or drag against tracking channels.
Fastener and Anchor Selection Guide by Wall Material
Choosing drill bits and anchor types to match your Pasadena rental wall material prevents ruined drywall surfaces and unstable mounts:
| Wall Material | Recommended Fastener / Anchor Type | Pre-Drill Bit Size | Typical Application |
|---|---|---|---|
| Plaster & Lath over Wood Studs | 3-inch No. 10 Wood Screw into Stud | 1/8-inch Wood Bit | Bookcases, Tall Wardrobes |
| Hollow Plaster & Lath | 3/16-inch Steel Strap Toggle (Snaptoggle) | 1/2-inch Carbide Bit | Wall Shelves, Medium Storage |
| Drywall over Wood Studs | 2.5-inch No. 10 Wood Screw into Stud | 1/8-inch Wood Bit | Anti-Tip Straps, Heavy Mirrors |
| Drywall over Steel Studs | 1/4-inch Steel Strap Toggle through Stud | 1/2-inch HSS Metal Bit | Storage Cabinets, Modular Racks |
| Masonry / Concrete Brick | 1/4" x 2-1/4" Steel Sleeve Anchor | 1/4-inch Carbide Masonry Bit | Structural Shelving, Frame Mounts |
When to Call a Pro
Assembling simple end tables, nightstands, or two-piece dining chairs is straightforward DIY work. However, certain complex setups benefit from experienced assistance:
- Tall Modular Storage Systems: Assembling 90-inch tall wardrobe units requires multiple hands to lift, square, level, and anchor structural carcasses without cracking dowel joints.
- Vintage Plaster Drilling: Drilling fragile plaster walls without cracking decorative finish coats or missing hidden 2x4 framing requires specialized bits and toggle hardware.
- Steel Stud Anchoring: Installing heavy floating credenzas or tall shelving systems into light-gauge steel framing found in modern mid-rise apartments requires heavy-duty toggle anchors.
- Hardware Sorting and Frame Alignment: Correcting stripped thread pitches or missing structural cams without damaging composite panels.
At STATOX, we handle assembly work systematically. You can send a photo for a written quote showing your unopened flat-pack boxes, room layout, and wall types. When our technician arrives, we inspect wall construction, measure floor level variance, count hardware components, and provide one clear written price before turning a single screw. Learn more about our specialized furniture assembly service available across all neighborhoods in Pasadena.
FAQ
Can I drill directly into plaster-and-lath walls in historic Pasadena apartments?
Yes, provided you use the right drill bit and fasteners. Use a 1/8-inch wood bit when anchoring directly into 2x4 wood studs behind plaster. For hollow wall spaces between lath strips, clear the plaster with a 1/2-inch carbide-tipped bit at low drill speeds, then install steel strap toggles. Avoid plastic expansion plugs or high-impact hammer drills, which crack older plaster coats.
How do I stop a flat-pack wardrobe from wobbling on an uneven Pasadena floor?
Do not wedge soft cardboard scraps under the base, as cardboard compresses under weight. Slide hard plastic leveling shims under the low side of the bottom rails or adjust the threaded feet built into the cabinet frame. Check top horizontal rails with a 24-inch spirit level, trim excess shim length flush with a utility knife, and secure anti-tip anchors into a wall stud.
What tools cause the most damage to engineered particleboard furniture?
High-torque 18V or 20V impact drivers cause significant damage. Impact tools deliver sudden rotational blows that strip pre-drilled pilot holes in low-density particleboard and snap zinc cam locks. Stick to manual screwdrivers or a low-torque 12V cordless driver set to a low clutch setting.
Why do cam lock fasteners snap or fail to pull panels tight?
Cam locks break when forced past their 180-degree rotation limit or when cam posts are driven too deep into panel pilot holes. Screw cam posts by hand until the shoulder flange sits flush against the panel face, point the arrow on the cam wheel toward the post hole, and turn the wheel 180 degrees clockwise until snug.
Is wall anchoring necessary for low dressers and nightstands?
Yes. According to safety guidance from AnchorIt.gov, any clothing storage unit over 30 inches tall or any piece that becomes front-heavy when drawers are extended should be anchored directly into wall framing, particularly in active seismic zones near the San Gabriel foothills.
Sources
- Anchor It! - U.S. Consumer Product Safety Commission
- Earthquake Country Alliance - Step 1: Secure Your Space
- California Contractors State License Board - Consumer Resources
- California Department of Consumer Affairs
Permit work: Permit jobs get a written project estimate; permits handled as required.
STATOX Handyman Service · Send a photo · +1 (820) 200-4919
Keep reading
 furniture assemblyDIY vs Hiring a Pro for Furniture Assembly: What to WeighWondering whether to hire someone to assemble furniture or do it yourself? Compare time, tools, risk, and safety before you open the box.
 furniture assemblyEarthquake Prep: Securing Tall Furniture in Los AngelesLearn how to secure furniture earthquake Los Angeles homes need: what to anchor first, which hardware fits your walls, and when to get help. Worth a read.
 furniture assemblyFlat-Pack Furniture Problems and How to Fix ThemNeed a wobbly flat pack furniture fix? Learn why assembled pieces rock, sag, or gap, and what to check first. Worth a read before you take it apart.