San Marino Door Lock Upgrade Options
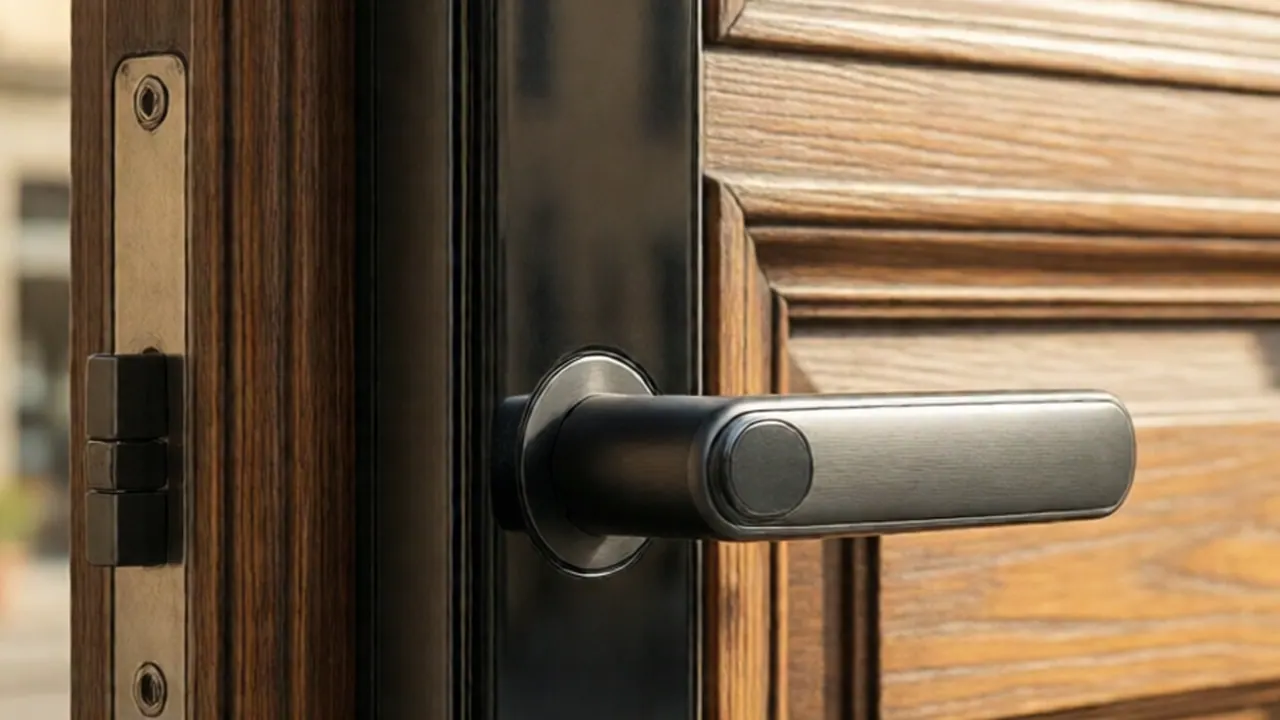
Upgrading or repairing a san marino door lock means working around heavy, oversized solid wood doors and architectural mortise pockets. Homes throughout the city—from 1920s Spanish Colonial Revival estates on Huntington Drive to mid-century properties near Lacy Park—frequently feature front entries that standard off-the-shelf deadbolts simply will not fit without modification.
Standard modern exterior doors are 1-3/4 inches thick and pre-bored with a 2-1/8-inch cross bore at a 2-3/8-inch backset. In contrast, an original exterior door in San Marino is commonly 2-1/4 inches thick, made of solid white oak, walnut, or vertical-grain Douglas fir, and carved out internally for a cast-iron mortise cassette. Swapping locks requires matching existing pocket cavities, handling seasonal frame shift, and reinforcing fasteners through plaster-and-lath down to structural studs.
Understanding Historic Mortise Pockets vs. Modern Bored Cylinders
Most pre-1950 entries in the area feature a mortise lockset. A mortise lock does not use two separate holes bored through the face of the door for a knob and deadbolt. Instead, a deep rectangular pocket (often 4 to 6 inches tall, 3/4 to 1-1/8 inches wide, and up to 4 inches deep) is carved directly into the edge of the wood door stile.
If you attempt to replace an old mortise lock with a modern electronic keypad or standard tubular deadbolt, you will run into three major mechanical obstacles:
- The Backset Discrepancy: Standard hardware sits at 2-3/8 or 2-3/4 inches from the door edge. Historic mortise locks often feature a 2-1/2-inch backset, placing the center of the keyway in an unusual position relative to modern trim plates.
- The Hollow Cavity Problem: Removing the old cast-iron lock body leaves an open void in the door edge. Standard deadbolt latches require solid wood around their 1-inch edge bore; without filling the mortise with a custom hardwood block glued into place, the new lock will wiggle loose under regular hand pressure.
- Escutcheon Coverage: Mortise trim uses an elongated exterior plate (the escutcheon). Replacing it with a round modern rosette exposes unpainted wood, old mounting screw holes, and scarred finishes that require extensive wood patching.
To retain the architectural value of the home while increasing security, the cleanest path is upgrading to a modern architectural-grade mortise cassette. Brands like Baldwin, Accurate, and Marks manufacture high-security mortise bodies with integrated cylinders that slip directly into historic pockets with only minor chisel adjustments to the faceplate cutout.
Upgrading the San Marino Door Handle and Trim Hardware
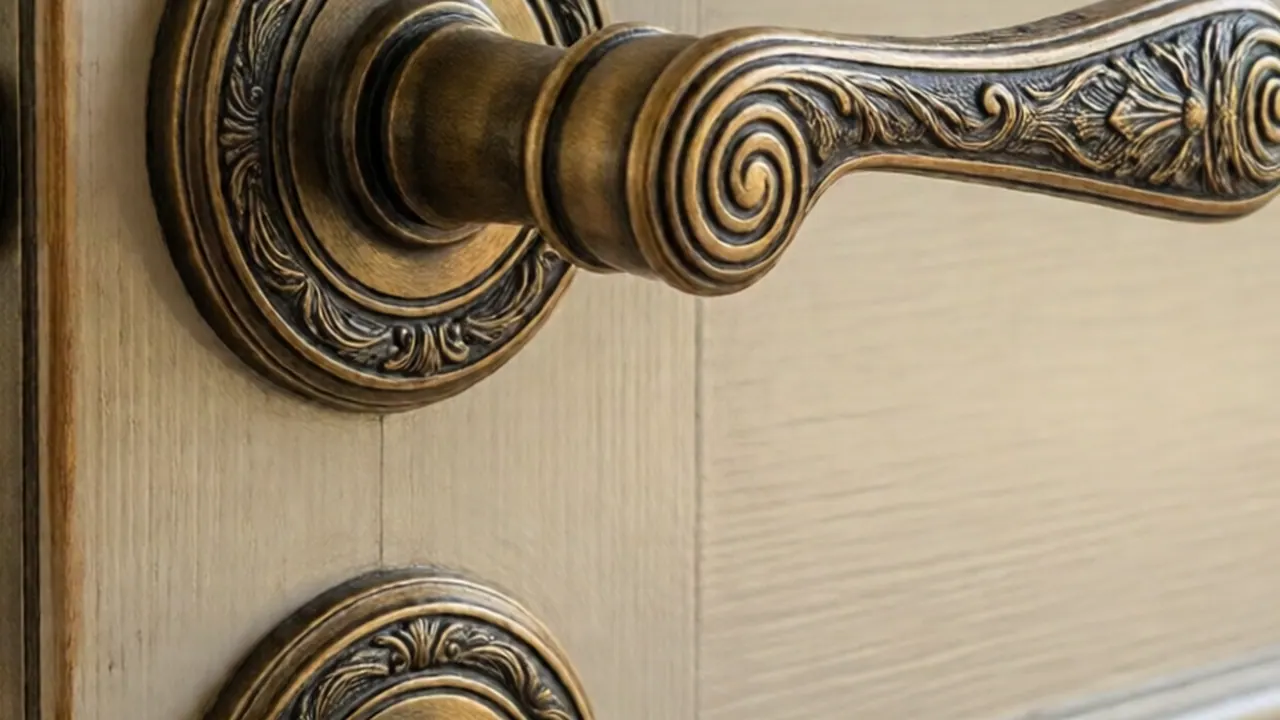
When replacing a worn san marino door handle, aesthetics must balance mechanical clearance. Solid brass or forged bronze handles suit the local architecture, but you must measure your door's stile width before ordering hardware. Wide decorative escutcheon plates on grand Tudor or Mediterranean Revival doors can strike the exterior wood brickmold or weatherstripping if the lock backset is narrow.
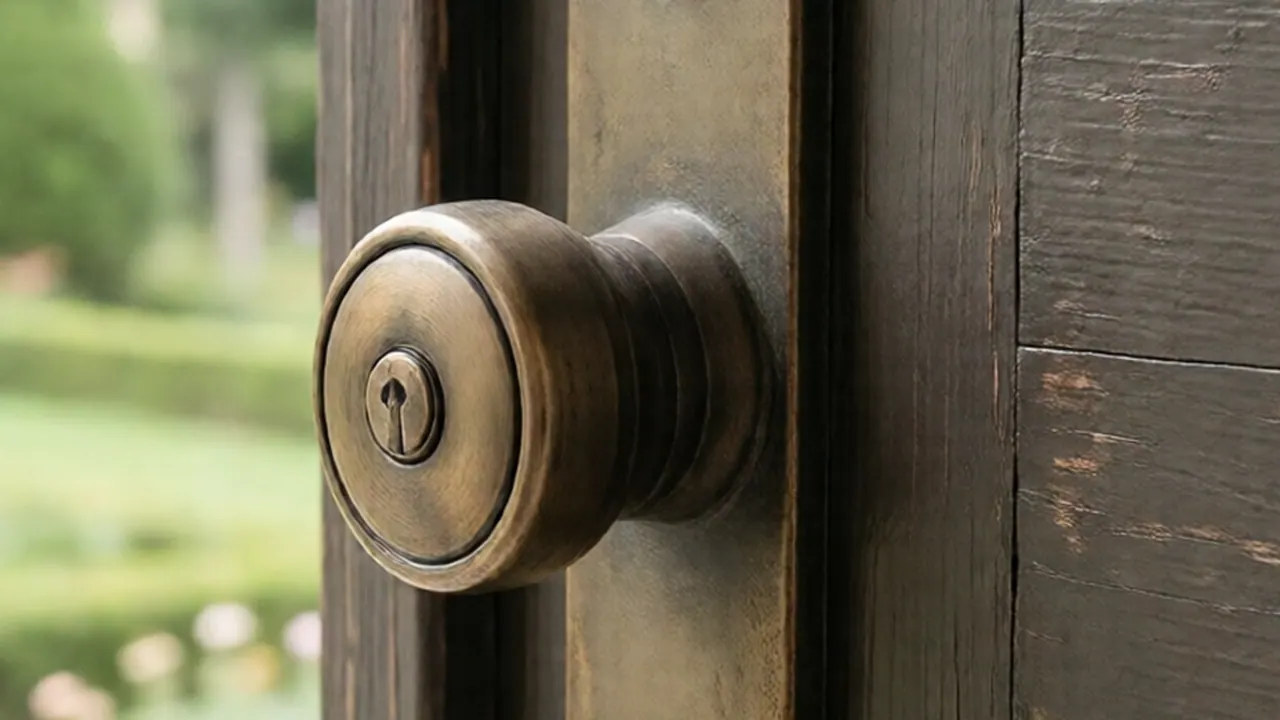
Hardware finish durability also matters in the San Gabriel Valley. Intense summer sun, dry heat, and fine dust carried by autumn Santa Ana winds will degrade lacquer-coated finishes quickly. Unlacquered brass or living bronze finishes naturally develop a patina, while PVD (Physical Vapor Deposition) lifetime finishes resist UV breakdown without peeling or cloudy blotches.
| Hardware Type | Door Thickness Compatibility | Structural Modification Required | Primary Application |
|---|---|---|---|
| Architectural Mortise Cassette | 1-3/4" to 2-1/2" | Minimal (matches existing stile cavity) | Historic solid wood doors, heavy architectural entries |
| Tubular Handleset Retrofit | 1-3/4" (requires extension kit for 2-1/4") | High (requires filling cavity with hardwood plug) | Newer solid-core doors or fully remodeled entryways |
| Multi-Point Shoot-Bolt Lock | 1-3/4" to 2-1/4" | Extensive (edge routing along entire door height) | Oversized French doors, high-wind patio entries |
| Smart Deadbolt Conversion Kit | 1-3/4" to 2" | Low to moderate (mortise adapter required) | Side doors, back entries with standard cylindrical pre-bores |
San Marino Concertina Door Installation and Hardware Upgrades
Modern architectural renovations in the area frequently incorporate folding patio doors that open living spaces out to gardens, courtyards, and loggias. A san marino concertina door (often called a bifold or accordion glass door system) relies on a continuous track system and multi-point locking gear to stay weather-tight and secure.
Hardware on concertina systems does not behave like a standard hinged door. When tackling a san marino concertina door installation or lock upgrade, keep these key factors in mind:
- Top-Hung vs. Bottom-Rolling Tracks: Top-hung systems carry the entire glass panel weight on the upper header, using the bottom track purely as a guide. If the header sags even 1/8 inch due to seasonal framing settlement, the top shoot-bolts will jam in their keepers.
- Euro-Profile Cylinders: Most folding concertina doors use European profile lock cylinders integrated with multi-point edge mechanisms. Upgrading these locks requires matching the exact split measurement (e.g., 35mm interior / 45mm exterior) rather than buying standard American cylinders.
- Santa Ana Dust Accumulation: In Southern California, fine grit settles in the bottom guide channels of folding doors. This debris prevents bottom drop-bolts from engaging cleanly, causing the primary handle mechanism to seize when forced.
For specialized patio doors and architectural systems, our team handles adjustments and lock replacements through our dedicated locks doors service.
Reinforcing Strike Plates on Historic Plaster-and-Lath Frames
The lock on your front door is only as strong as the wood frame holding the strike plate. In older properties, the wall construction consists of 3/4-inch wood lath and plaster laid over rough-sawn framing studs.
Standard hardware ship kits include 3/4-inch screws for the jamb strike. In a plaster-and-lath house, a 3/4-inch screw only catches the soft decorative casing or the finished jamb board. It never reaches structural lumber. A single shoulder thrust against the door will split the jamb and blow the strike plate out of the frame.
Step-by-Step Strike Reinforcement:
- Remove the Old Strike Plate: Unscrew the original short screws and pull the small brass plate off the jamb.
- Inspect the Jamb Cavity: Check whether the deadbolt extends into a shallow mortise in the trim or a full 1-inch pocket. If the deadbolt cannot extend fully, the internal locking cam never deadlocks, leaving the bolt vulnerable to being pushed back with a blade.
- Deepen the Bolt Pocket: Use a 1-inch wood chisel to carve the bolt pocket to a full 1-1/4-inch depth into the wood framing.
- Install a Heavy-Duty Box Strike: Place a heavy-gauge steel reinforcement strike plate with offset screw holes. Offset holes ensure your screws do not align along the exact same wood grain, which prevents splitting the 2x4 jack stud behind the jamb.
- Drive Structural Screws: Pre-drill pilot holes using an 1/8-inch bit angled slightly away from the door opening toward the wall interior. Drive 3-inch or 3-1/2-inch #9 hardened steel wood screws through the strike plate, through the finished jamb, through the plaster-and-lath gap, and deep into the structural 2x4 framing stud.
How STATOX Handles Lock Upgrades
When a homeowner contacts us about updating hardware on an estate door, we avoid guessing or using generic parts. Our process is built around the specific framing and door types found across local neighborhoods:
- Photo First: You send a photo for a written quote showing the edge of the door, the current faceplates, and the full door profile. We identify whether your setup is a mortise pocket, a cylindrical bore, or a multi-point track system before we arrive.
- One Clear Written Price: We provide a single written quote based on the specific hardware compatibility, required chiseling, and frame reinforcement needed.
- Arrival Assessment: On site, our first step is checking the door swing and clearance. Heavy solid wood doors naturally settle over decades, stretching hinge knuckles. We check hinge plumb, inspect the frame for foundation settling, and verify latch-to-strike alignment before mounting new lock components so the bolt throws smoothly without sticking.
When to Call a Pro
If your door uses a standard cylindrical lock with a 2-1/8-inch hole and you are replacing it with a similar mechanical deadbolt, this is a reasonable DIY afternoon project. You only need a screwdriver, a measuring tape, and basic hand tools.
However, consider hiring a specialist if: Your door has an original mortise cassette that is sticking, slipping, or requires an internal spring replacement. The door slab is 2-1/4 inches or thicker, requiring extended spindle lengths, custom tailpieces, and thick-door cylinder adapters. You are converting an antique mortise door to accommodate a modern digital or smart deadbolt. The door rubs the jamb, sticks at the threshold, or requires you to lift the handle or pull the slab inward to turn the key. Forcing a new lock onto a misaligned door will quickly break internal latch springs and burn out electronic smart-lock motors.
FAQ
What should I check if searching for a "san marino doorn" replacement?
Homeowners searching for "san marino doorn" are typically looking for Dutch-style split doors (traditionally known in early architectural terms as Dutch doors or boerderijdeur) or European door hardware systems found on historic local homes. Dutch doors require independent latching hardware on both top and bottom leaves, joined by a quadrant latch or sliding bolt. Upgrading locks on these setups requires two distinct strike alignments that operate independently while maintaining an exterior deadbolt seal.
Can I put a keypad smart lock on an antique mortise door?
Yes, but you cannot simply buy a standard retail smart deadbolt designed for round holes. You have two options: buy a specialized commercial-grade mortise smart lock body (which costs significantly more and requires precise cassette dimension matching), or convert the door by cutting and gluing a solid hardwood plug into the mortise pocket, chiseling it flush, and re-boring standard 2-1/8-inch cylindrical holes through the face.
Why does my front door lock stick during summer and turn freely in winter?
This is common across the San Gabriel Valley due to temperature swings and humidity shifts. Solid wood doors expand in warmer weather, absorbing ambient humidity, and dry out during arid winter and fall conditions. If the door margins were cut tight without accounting for thermal expansion, the latch or deadbolt binds against the strike plate lip. Adjusting hinge shims or opening the strike pocket slightly with a hand file resolves the binding.
How do I measure my door backset correctly?
Measure from the absolute center of the keyhole (or the center of the handle turn knob) straight to the edge of the door slab. Do not measure to the stop molding on the frame. Modern standard backsets measure exactly 2-3/8 inches or 2-3/4 inches. Historic mortise doors frequently measure 2-1/2 inches.
Sources
- California Department of Consumer Affairs
- Contractors State License Board - Consumer Guide
- California Department of Housing and Community Development
Permit work: Permit jobs get a written project estimate; permits handled as required.
STATOX Handyman Service · Send a photo · +1 (820) 200-4919
Keep reading
 locks doorsBel Air Hillside Homes: Door and Lock Upgrade GuidePlanning door lock installation in Bel Air? Learn how hillside homes, gates, and entry doors affect lock choices, fit, and security. Read before you buy.
 locks doorsBeverly Hills Older Homes: Door Hardware Repair TipsDoor hardware repair Beverly Hills homeowners can trust: fix sticking latches, loose knobs, and worn hinges in older homes. Read before you replace anything.
 locks doorsDeadbolt vs Smart Lock: Which Fits Your Home Better?Deadbolt vs smart lock: compare security, convenience, batteries, and fit for Los Angeles homes so you can pick the right lock for your front door.