Tile Installation Prep Checklist for Los Angeles Homeowners
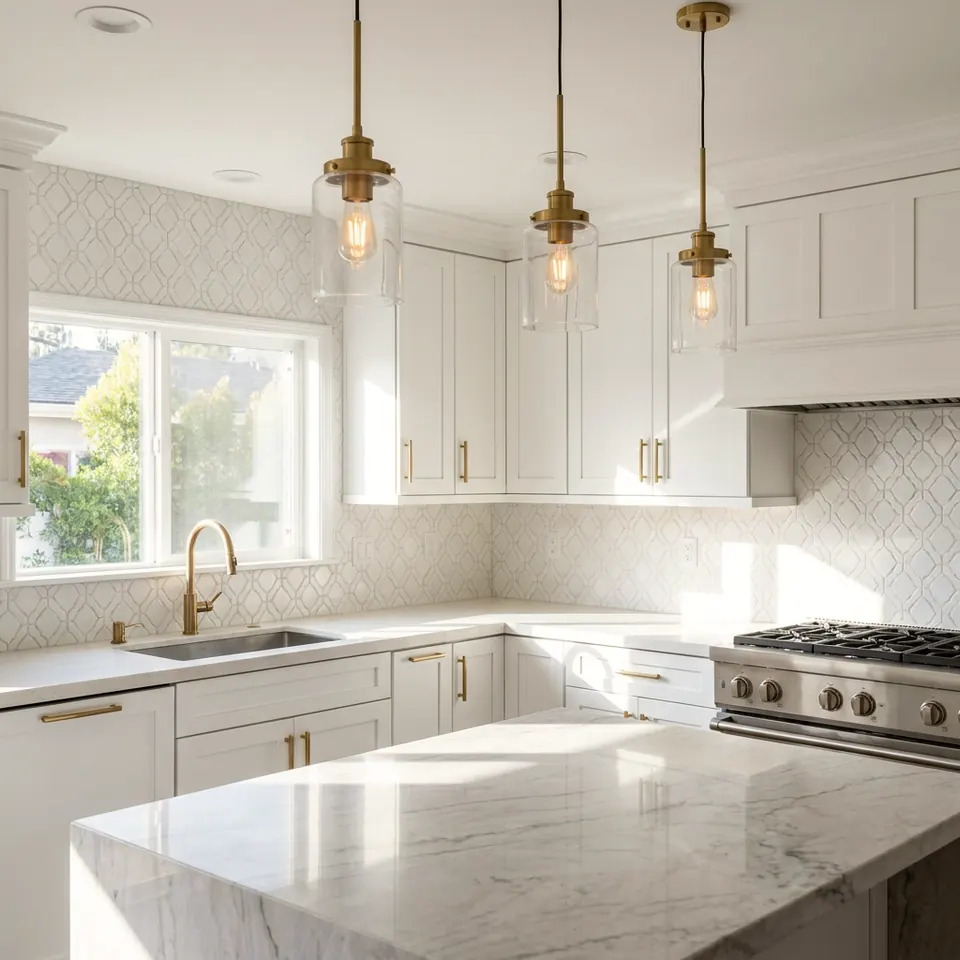
A good tile job is decided before the first tile is set. Your tile installation prep checklist comes down to five things: a flat, solid, dry surface; the right materials ordered with extra; a cleared workspace; a confirmed layout; and a plan for water, dust, and access. Work through the sections below and you will avoid most common problems, like cracked tile, uneven edges, and loose grout lines.
Start With the Surface: Flat, Solid, Clean, and Dry
Tile is only as good as what's under it. Most failures that show up months later, such as cracks, hollow-sounding tiles, and popping corners, trace back to the substrate.
Check these before anything else:
- Flatness. Lay a long straightedge across the floor or wall in several directions. Dips and humps show up as gaps under the edge. Large-format tile is especially unforgiving, so low spots usually need leveling compound and high spots need grinding.
- Movement. Walk the floor. Bounce, creaking, or flex means the subfloor or framing needs attention before tile goes on.
- Cleanliness. Old adhesive, paint, wax, oil, and dust keep thinset from gripping the surface. Scrape and vacuum thoroughly.
- Moisture. Look for stains, soft spots, or a musty smell, especially around toilets, tubs, and under sinks. The EPA's guide to mold and moisture explains why fixing the water source comes first; tile over a damp problem just hides it.
- Existing flooring. Know what you have: old tile, vinyl, plywood, concrete slab. Each needs a different approach, and some older materials should be tested before you disturb them.
Know Your Los Angeles Home Before You Plan
Homes around Los Angeles vary a lot, and that changes prep.
- Concrete slabs are common in many single-story homes and some ground-floor units. Hairline cracks are normal, but they can telegraph through tile unless an appropriate crack-isolation layer is used.
- Raised wood floors in older bungalows and Spanish-style homes can have more flex and need stiffening or a proper underlayment.
- Condos and apartments often have HOA rules about flooring types, sound control, work hours, and elevator or loading access. Get these in writing before you order anything.
- Older homes may have layers of previous flooring, uneven framing, or out-of-square walls that change how much prep the job needs.
If your project involves changing plumbing, moving walls, or other structural work, check with the City of Los Angeles about whether a permit applies. The LADBS permits and inspections page is the place to start. Straight tile replacement usually isn't the issue, but related work can be.
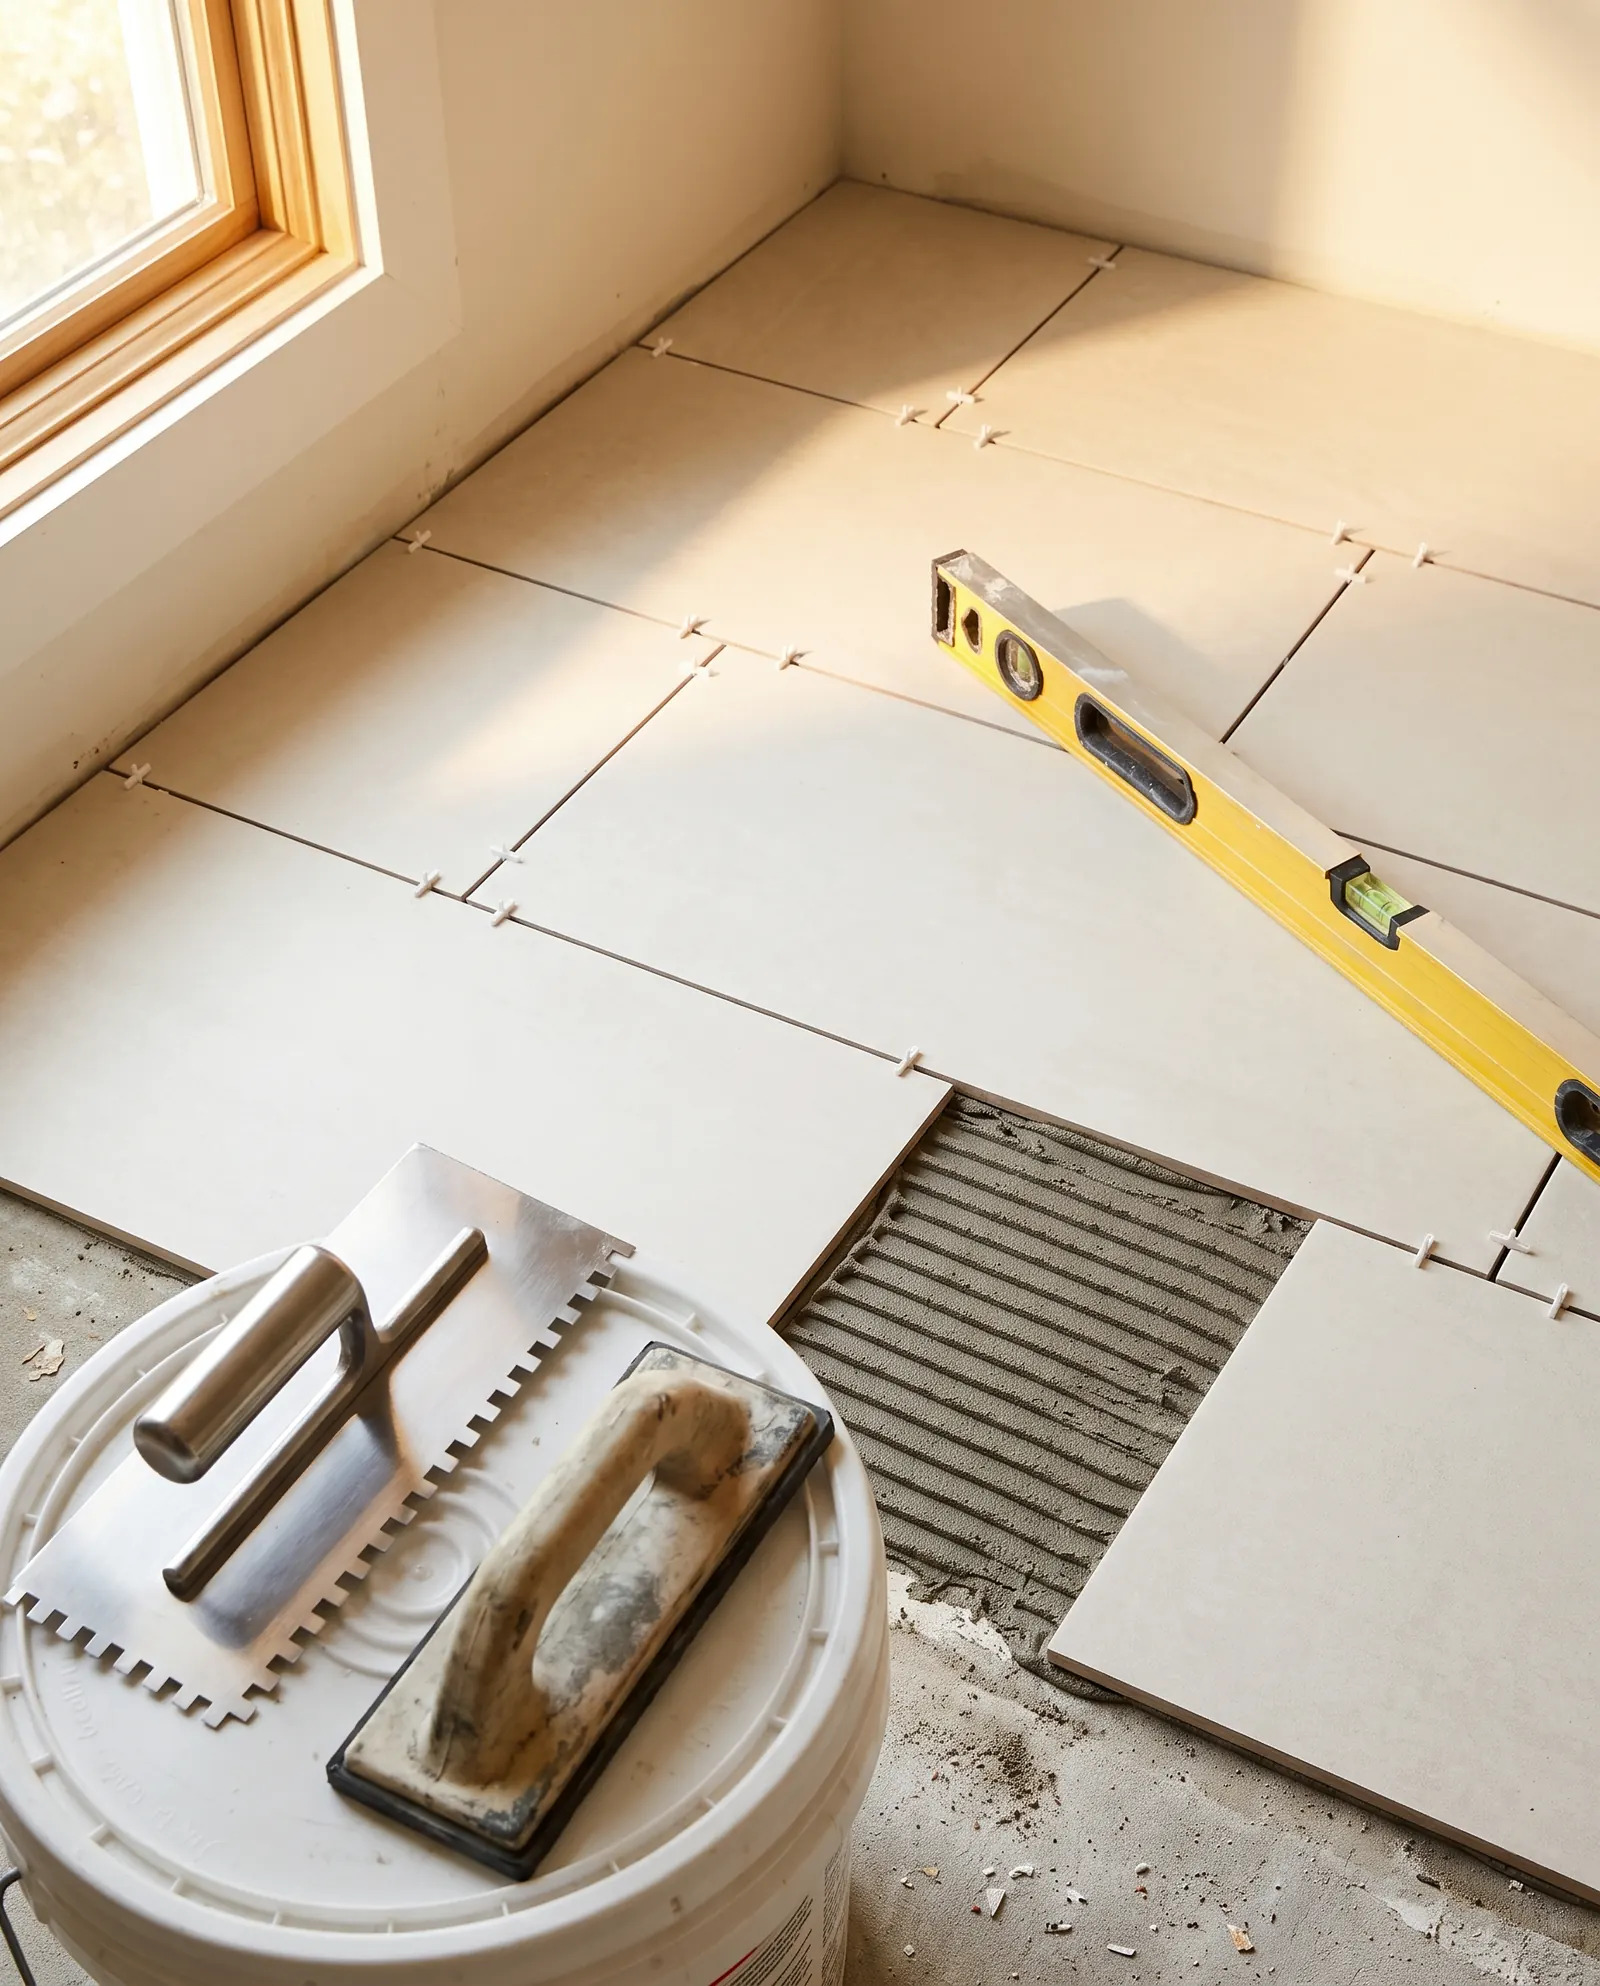
A long straightedge or level shows the dips and humps that need fixing before tile.
Choose Materials and Order Enough
Tile choice affects prep more than people expect. Porcelain, ceramic, and natural stone all behave differently, and the wrong pairing of tile, setting material, and location causes trouble.
| Tile type | Good fit | Prep notes |
|---|---|---|
| Porcelain | Floors, showers, entries, outdoor areas | Dense and durable; needs a flat surface and proper thinset for the size |
| Ceramic | Walls, backsplashes, light-traffic floors | Easier to cut; check the rating for floor use |
| Natural stone | Bathrooms, accent areas | Needs sealing and careful setting materials; can stain or etch |
| Large-format (any type) | Open floors, feature walls | Demands a very flat substrate and the right trowel |
| Mosaic sheets | Shower floors, niches, backsplashes | More grout lines; good for slopes and curves |
The Tile Council of North America (TCNA) publishes the industry handbook that installers use as a reference for methods and materials, and its site is a useful starting point for understanding standards.
Ordering tips:
- Measure the area, then add extra for cuts and breakage. Diagonal or patterned layouts need more overage than straight lays.
- Buy all tile from the same lot or batch number so color and size match.
- Keep a few spare tiles after the job for future repairs. Discontinued tile is hard to match.
- Open several boxes and mix tiles as you lay, to even out shade variation.
The Room-Prep Checklist
Use this list before work begins.
Clear and protect - Remove furniture, rugs, and wall decor from the work area. - Remove the toilet, vanity, or appliances if they sit on the tile area, or plan for them to be removed. - Take out baseboards carefully if you plan to reuse them, and label them. - Cover nearby floors with protective paper or boards, and seal doorways with plastic sheeting to limit dust.
Check the details - Confirm door clearance. New tile plus underlayment adds height, and doors may need trimming. - Check transitions where tile meets wood, carpet, or other flooring. - Note where the floor meets cabinets, tubs, and thresholds. - Look at your water shutoffs and make sure they work.
Plan the logistics - Decide where tile, bags of thinset, and tools will be staged. - Plan for a working bathroom elsewhere in the home if yours will be down. - Tell neighbors or your HOA if noise or deliveries will be involved. - Let pets and kids know the room is off limits, since setting materials need to stay undisturbed.
Layout, Waterproofing, and Details That Get Missed

A dry layout with chalk lines shows where cuts will land before any thinset is mixed.
Dry-fit your layout. Lay tile out without adhesive from the room's center or most visible line. The goal is to avoid thin slivers at walls and doorways. Shifting the starting line by a few inches often fixes it.
Plan around focal points. In a bathroom, center patterns on the vanity or tub. In a kitchen, think about where cuts fall along cabinets and the backsplash.
Waterproofing matters in wet areas. Showers, tub surrounds, and bathroom floors need a proper waterproofing system, not just tile and grout. Grout and many tiles are not waterproof by themselves. Ask what membrane or backer system is planned, and how corners, seams, and the drain are handled.
Slope and drainage. Shower floors need the right slope toward the drain. This is set in the prep stage and is hard to fix afterward.
Movement joints. Large floors and spots where tile meets walls or other surfaces typically need flexible joints rather than rigid grout. Ask where they will go.
Cure times. Thinset, grout, and sealers need time before foot traffic and water exposure. Plan your schedule so the room is not needed during that window, and follow the product instructions.
When to Call a Pro
Plenty of tile projects are reasonable DIY: a small backsplash, a simple wall, or a modest floor on a sound, flat surface. If you are patient, have the tools, and the surface is in good shape, you can do well.
Hire help when:
- The substrate is uneven, bouncy, cracked, or damp.
- You are tiling a shower, tub surround, or any area that must hold water.
- You are using large-format tile, natural stone, or intricate patterns.
- There is plumbing or electrical work involved, or you suspect a permit may be needed.
- The area is large, or the deadline matters, and mistakes are hard to remove.
Removing bad tile is much harder than installing it right the first time. If you are unsure, having someone look at the surface first can save a lot of rework. Our tile service covers prep through finish, and you can send a photo for a written quote to talk through what your surface needs.
When hiring anyone, the California Contractors State License Board has guidance for consumers on checking credentials and understanding contracts. It's worth reading before you sign anything.
FAQ
How far ahead should I start prepping for tile?
Start planning a few weeks ahead if you can. Tile orders can take time to arrive, and surface repairs or leveling need to cure before setting begins. Rushing prep is where many mistakes happen.
Can I tile over my existing tile?
Sometimes, if the old tile is firmly attached, flat, and clean, and the added height won't cause problems at doors, drains, or fixtures. Hollow-sounding or cracked tile should come out. A pro can check this for you.
Do I need to remove the toilet and vanity?
Usually yes for a clean result. Tiling around them leaves awkward edges and makes future replacement harder. Removing them lets tile run underneath and gives a better finish.
How much extra tile should I buy?
A common approach is to add extra for cuts and breakage, with more for diagonal layouts, patterns, or rooms with many corners. Ask your installer for a recommendation based on your layout, and keep leftovers for repairs.
What if I find mold or water damage under old flooring?
Stop and deal with the moisture source first. The EPA's mold guidance stresses fixing water problems before repairs. Small areas may be manageable, but larger or recurring damage needs proper repair before any new tile goes down.
Sources
- California Contractors State License Board: Hire a Contractor
- Los Angeles Department of Building and Safety: Permits and Inspections
- U.S. EPA: A Brief Guide to Mold, Moisture, and Your Home
- Tile Council of North America
Safety note: work on electrical panels, gas, structure or anything that needs a permit should be done by a licensed contractor with the required permits.
STATOX Handyman Service · Send a photo · +1 (820) 200-4919
Keep reading
 tileCracked or Loose Tile: Causes and Fixes for LA HomesCracked tile repair Los Angeles homeowners can trust starts with finding the cause. Learn what makes tile crack or loosen and what actually fixes it.
 tileDIY or Hire a Pro for Tile Work? How to Decide in LAWeighing DIY tile vs hiring a pro in Los Angeles? Use this plain-language guide to match the job, your tools, and your patience before you start.
 tilePorcelain vs Ceramic Tile: Which Fits a Los Angeles Home?Porcelain vs ceramic tile for Los Angeles homes: how they differ in water, wear, and install, and which suits your floor, shower, or backsplash. Read first.